Cisco RV042 User Guide - Page 40
Content Filter, ProtectLink, VPN > Summary, Summary - vpn tunnel
 |
UPC - 745883560530
View all Cisco RV042 manuals
Add to My Manuals
Save this manual to your list of manuals |
Page 40 highlights
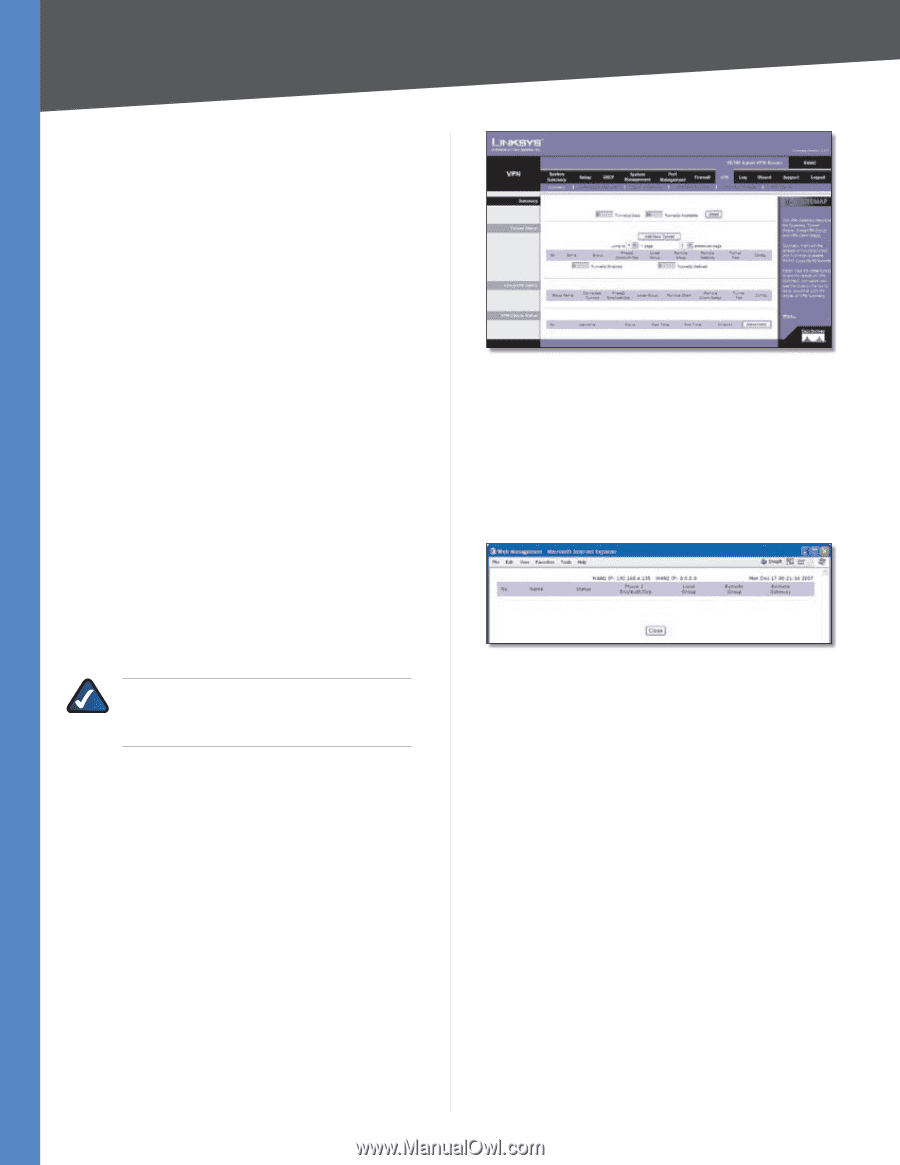
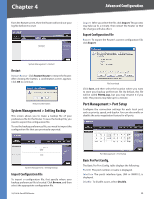
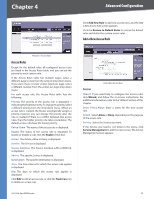
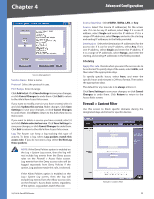
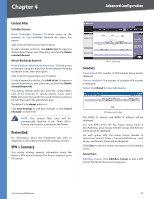
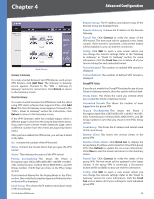
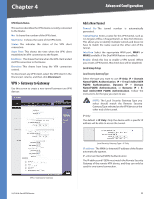
Chapter 4 Advanced Configuration Content Filter Forbidden Domains Block Forbidden Domains To block access to the websites on the Forbidden Domains list, select this option. Add Enter the domain you want to block. To add a domain to the list, click Add to list. To remove a domain from the list, select the entry, and click the Delete selected domain. Website Blocking by Keywords Enable Website Blocking by Keywords To block access to websites using the keywords on the Website Blocking by Keywords list, select this option. Add Enter the keyword you want to block. To add a keyword to the list, click Add to list. To remove a domain from the list, select the entry, and click the Delete selected keywords. Scheduling Decide when you want the content filters rules to be enforced. To specify specific hours, select from, and enter the specific hours and minutes in 24-hour format. Then select the appropriate days. The default is to always enforce it. Click Save Settings to save your changes, or click Cancel Changes to undo them. NOTE: The content filter rules will be automatically disabled if the Trend Micro ProtectLink service is activated on the Router. ProtectLink For information about the ProtectLink tab, refer to "Appendix G: Trend Micro ProtectLink Gateway Service". VPN > Summary This screen displays general information about the Router's VPN tunnel settings. The Router supports up to 50 tunnels. VPN > Summary Summary Tunnel Used The number of VPN tunnels being used is displayed. Tunnel Available The number of available VPN tunnels is displayed. Detail Click Detail for more information. VPN Summary Details The WAN1 IP address and WAN2 IP address will be displayed. For each VPN tunnel, the No., Name, Status, Phase 2 Enc/Auth/Grp, Local Group, Remote Group, and Remote Gateway will be displayed. For each group VPN, the Group Name, number of Connected Tunnels, Phase 2 Encrypt/Auth/Group, Local Group, and Remote Client will be displayed. Click Close to exit this screen and return to the Summary screen. Tunnel Status Add New Tunnel Click Add New Tunnel to add a VPN tunnel. The Mode Choose screen appears. 10/100 4-Port VPN Router 33
-
 1
1 -
2
-
3
-
4
-
5
-
6
-
7
-
8
-
9
-
10
-
11
-
12
-
13
-
14
-
15
-
16
-
17
-
18
-
19
-
20
-
21
-
22
-
23
-
24
-
25
-
26
-
27
-
28
-
29
-
30
-
31
-
32
-
33
-
34
-
 35
35 -
 36
36 -
 37
37 -
 38
38 -
 39
39 -
 40
40 -
 41
41 -
 42
42 -
 43
43 -
 44
44 -
 45
45 -
46
-
47
-
48
-
49
-
50
-
51
-
52
-
53
-
54
-
55
-
56
-
57
-
58
-
59
-
60
-
61
-
62
-
63
-
64
-
65
-
66
-
67
-
68
-
69
-
70
-
71
-
72
-
73
-
74
-
75
-
76
-
77
-
78
-
79
-
80
-
81
-
82
-
83
-
84
-
85
-
86
-
87
-
88
-
89
-
90
-
91
-
92
-
93
-
94
-
95
-
96
-
97
-
98
-
99
-
100
-
101
-
102
-
103
 |
 |