Samsung SGH-T259 User Manual (user Manual) (ver.f4) (English) - Page 13
Switching the Phone On or Off, Low Battery Indicator - used
 |
View all Samsung SGH-T259 manuals
Add to My Manuals
Save this manual to your list of manuals |
Page 13 highlights
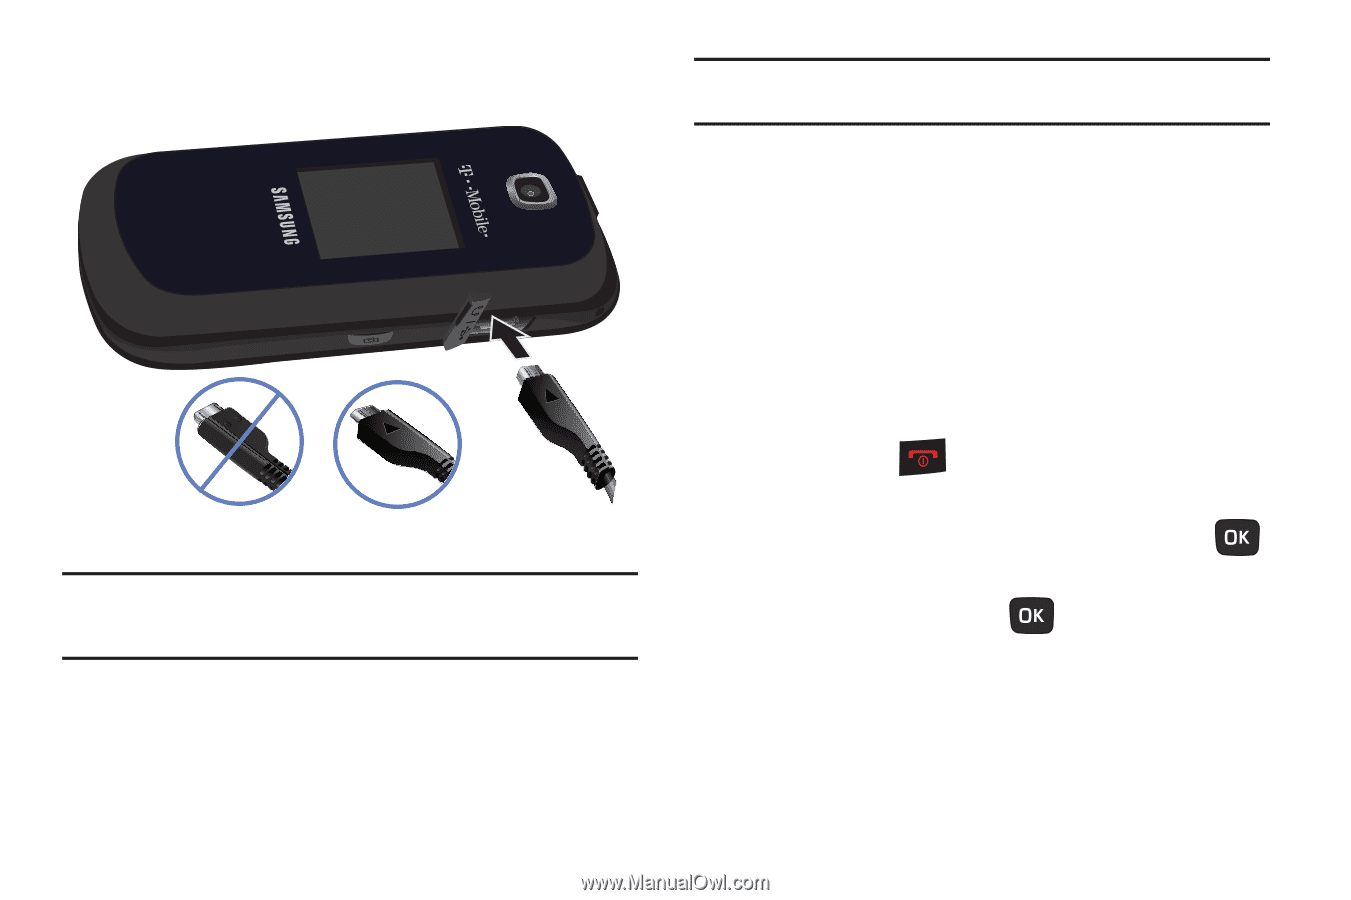
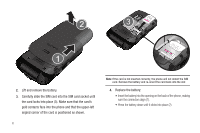
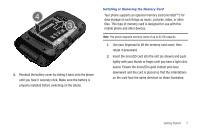
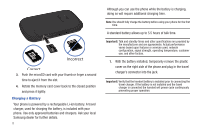
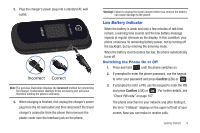
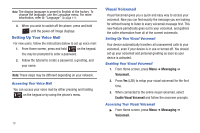
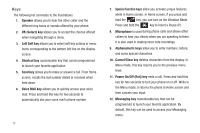
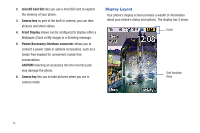
2. Plug the charger's power plug into a standard AC wall outlet. Incorrect Correct Note: The previous illustration displays the incorrect method for connecting the charger. If attempted, damage to the accessory port will occur therefore voiding the phone's warranty. 3. When charging is finished, first unplug the charger's power plug from the AC wall outlet and then disconnect the travel charger's connector from the phone then resecure the plastic cover over the interface jack on the phone. Warning!: Failure to unplug the travel charger before you remove the battery, can cause damage to the phone. Low Battery Indicator When the battery is weak and only a few minutes of talk time remain; a warning tone sounds and the low battery message repeats at regular intervals on the display. In this condition, your phone conserves its remaining battery power, not by turning off the backlight, but by entering the dimming mode. When the battery level becomes too low, the phone automatically turns off. Switching the Phone On or Off 1. Press and hold until the phone switches on. 2. If prompted to enter the phone password, use the keypad to enter your password and press Confirm (LSK) or . 3. If prompted to enter a PIN, use the keypad to enter the PIN and press Confirm (LSK) or . For further details, see "Check PIN code" on page 107. The phone searches for your network and after finding it, the term "T-Mobile" displays on the upper left half of your screen. Now you can make or receive calls. Getting Started 9
-
 1
1 -
2
-
3
-
4
-
5
-
6
-
7
-
 8
8 -
 9
9 -
 10
10 -
 11
11 -
 12
12 -
 13
13 -
 14
14 -
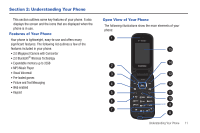 15
15 -
 16
16 -
 17
17 -
 18
18 -
19
-
20
-
21
-
22
-
23
-
24
-
25
-
26
-
27
-
28
-
29
-
30
-
31
-
32
-
33
-
34
-
35
-
36
-
37
-
38
-
39
-
40
-
41
-
42
-
43
-
44
-
45
-
46
-
47
-
48
-
49
-
50
-
51
-
52
-
53
-
54
-
55
-
56
-
57
-
58
-
59
-
60
-
61
-
62
-
63
-
64
-
65
-
66
-
67
-
68
-
69
-
70
-
71
-
72
-
73
-
74
-
75
-
76
-
77
-
78
-
79
-
80
-
81
-
82
-
83
-
84
-
85
-
86
-
87
-
88
-
89
-
90
-
91
-
92
-
93
-
94
-
95
-
96
-
97
-
98
-
99
-
100
-
101
-
102
-
103
-
104
-
105
-
106
-
107
-
108
-
109
-
110
-
111
-
112
-
113
-
114
-
115
-
116
-
117
-
118
-
119
-
120
-
121
-
122
-
123
-
124
-
125
-
126
-
127
-
128
-
129
-
130
-
131
-
132
-
133
-
134
-
135
-
136
-
137
-
138
-
139
-
140
-
141
-
142
-
143
-
144
-
145
-
146
-
147
-
148
-
149
-
150
-
151
-
152
-
153
-
154
-
155
 |
 |