Samsung SGH-T259 User Manual (user Manual) (ver.f4) (English) - Page 48
Email, Audio Postcard, Recent recipients, Contacts, Groups, Online Albums
 |
View all Samsung SGH-T259 manuals
Add to My Manuals
Save this manual to your list of manuals |
Page 48 highlights
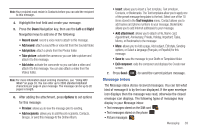
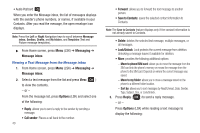
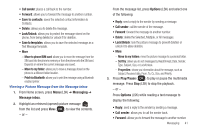
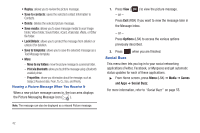
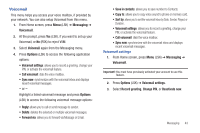
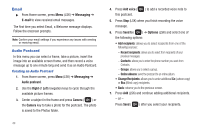
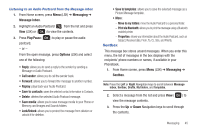
Email ᮣ From Home screen, press Menu (LSK) ➔ Messaging ➔ E-mail to view received email messages. The first time you select Email, a Welcome message displays. Follow the onscreen prompts. Note: Confirm your email settings if you experience any issues with sending or receiving email. Audio Postcard In this menu you can select a frame, take a picture, insert the image into an available screen frame, and then record a voice message up to one minute long and send it as an Audio Postcard. Creating an Audio Postcard 1. From Home screen, press Menu (LSK) ➔ Messaging ➔ Audio postcard. 2. Use the Right of Left navigation keys to cycle through the available picture frames. 3. Center a subject in the frame and press Camera ( ) or the Camera key to take a photo for the postcard. The photo is saved to the Photos folder. 44 4. Press Add voice ( this postcard. ) to add a recorded voice note to 5. Press Stop (LSK) when you finish recording the voice message. 6. Press Send to ( ) ➔ Options (LSK) and select one of the following options: • Add recipients: allows you to select recipients from one of the following sources: - Recent recipients: allows you to select from recipients of your previous messages. - Contacts: allows you to enter the phone number you want from Contacts. - Groups: allows you to select a group. - Online Albums: send the postcard to an online album. • Change Recipients: allows you to enter additional Cc (carbon copy) or Bcc (Blind copy) recipients. • Back: returns you to the previous screen. 7. Press Add (LSK) and continue adding additional recipients. - or - Press Send ( ) after you select your recipients.
-
 1
1 -
2
-
3
-
4
-
5
-
6
-
7
-
8
-
9
-
10
-
11
-
12
-
13
-
14
-
15
-
16
-
17
-
18
-
19
-
20
-
21
-
22
-
23
-
24
-
25
-
26
-
27
-
28
-
29
-
30
-
31
-
32
-
33
-
34
-
35
-
36
-
37
-
38
-
39
-
40
-
41
-
42
-
 43
43 -
 44
44 -
 45
45 -
 46
46 -
 47
47 -
 48
48 -
 49
49 -
 50
50 -
 51
51 -
 52
52 -
 53
53 -
54
-
55
-
56
-
57
-
58
-
59
-
60
-
61
-
62
-
63
-
64
-
65
-
66
-
67
-
68
-
69
-
70
-
71
-
72
-
73
-
74
-
75
-
76
-
77
-
78
-
79
-
80
-
81
-
82
-
83
-
84
-
85
-
86
-
87
-
88
-
89
-
90
-
91
-
92
-
93
-
94
-
95
-
96
-
97
-
98
-
99
-
100
-
101
-
102
-
103
-
104
-
105
-
106
-
107
-
108
-
109
-
110
-
111
-
112
-
113
-
114
-
115
-
116
-
117
-
118
-
119
-
120
-
121
-
122
-
123
-
124
-
125
-
126
-
127
-
128
-
129
-
130
-
131
-
132
-
133
-
134
-
135
-
136
-
137
-
138
-
139
-
140
-
141
-
142
-
143
-
144
-
145
-
146
-
147
-
148
-
149
-
150
-
151
-
152
-
153
-
154
-
155
 |
 |