Epson CX5400 User Manual - Page 46
Advanced Scanning With EPSON Scan, described in Placing Your Original Document
 |
UPC - 010343848412
View all Epson CX5400 manuals
Add to My Manuals
Save this manual to your list of manuals |
Page 46 highlights
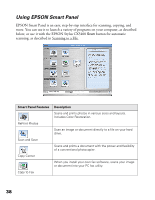
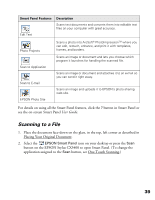
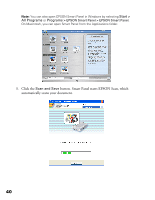
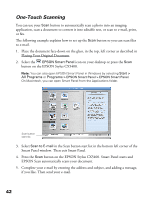
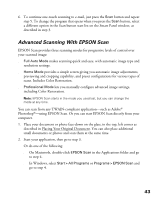
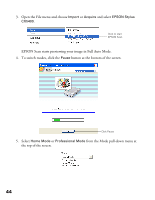
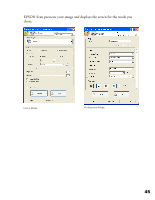
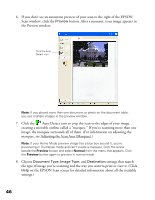
6. To continue one-touch scanning to e-mail, just press the Scan button and repeat step 5. To change the program that opens when you press the Scan button, select a different option in the Scan button start list on the Smart Panel window, as described in step 3. Advanced Scanning With EPSON Scan EPSON Scan provides three scanning modes for progressive levels of control over your scanned image: ■ Full Auto Mode makes scanning quick and easy, with automatic image type and resolution settings. ■ Home Mode provides a simple screen giving you automatic image adjustments, previewing and cropping capability, and preset configurations for various types of scans. Includes Color Restoration. ■ Professional Mode lets you manually configure advanced image settings, including Color Restoration. Note: EPSON Scan starts in the mode you used last, but you can change the mode at any time. You can scan from any TWAIN-compliant application-such as Adobe® Photoshop®-using EPSON Scan. Or you can start EPSON Scan directly from your computer. 1. Place your document or photo face-down on the glass, in the top, left corner as described in Placing Your Original Document. You can also place additional small documents or photos and scan them at the same time. 2. Start your application, then go to step 3. Or do one of the following: ■ On Macintosh, double-click EPSON Scan in the Applications folder and go to step 4. ■ In Windows, select Start > All Programs or Programs > EPSON Scan and go to step 4. 43
-
 1
1 -
2
-
3
-
4
-
5
-
6
-
7
-
8
-
9
-
10
-
11
-
12
-
13
-
14
-
15
-
16
-
17
-
18
-
19
-
20
-
21
-
22
-
23
-
24
-
25
-
26
-
27
-
28
-
29
-
30
-
31
-
32
-
33
-
34
-
35
-
36
-
37
-
38
-
39
-
40
-
 41
41 -
 42
42 -
 43
43 -
 44
44 -
 45
45 -
 46
46 -
 47
47 -
 48
48 -
 49
49 -
 50
50 -
 51
51 -
52
-
53
-
54
-
55
-
56
-
57
-
58
-
59
-
60
-
61
-
62
-
63
-
64
-
65
-
66
-
67
-
68
-
69
-
70
-
71
-
72
-
73
-
74
-
75
-
76
-
77
-
78
-
79
-
80
-
81
-
82
-
83
-
84
-
85
-
86
-
87
-
88
-
89
-
90
-
91
-
92
-
93
-
94
-
95
-
96
-
97
-
98
-
99
-
100
-
101
-
102
-
103
-
104
-
105
-
106
-
107
-
108
-
109
-
110
-
111
-
112
-
113
 |
 |