Lexmark OptraImage Color 1200r User's Guide - Page 39
Multi Border, Short Edge
 |
View all Lexmark OptraImage Color 1200r manuals
Add to My Manuals
Save this manual to your list of manuals |
Page 39 highlights
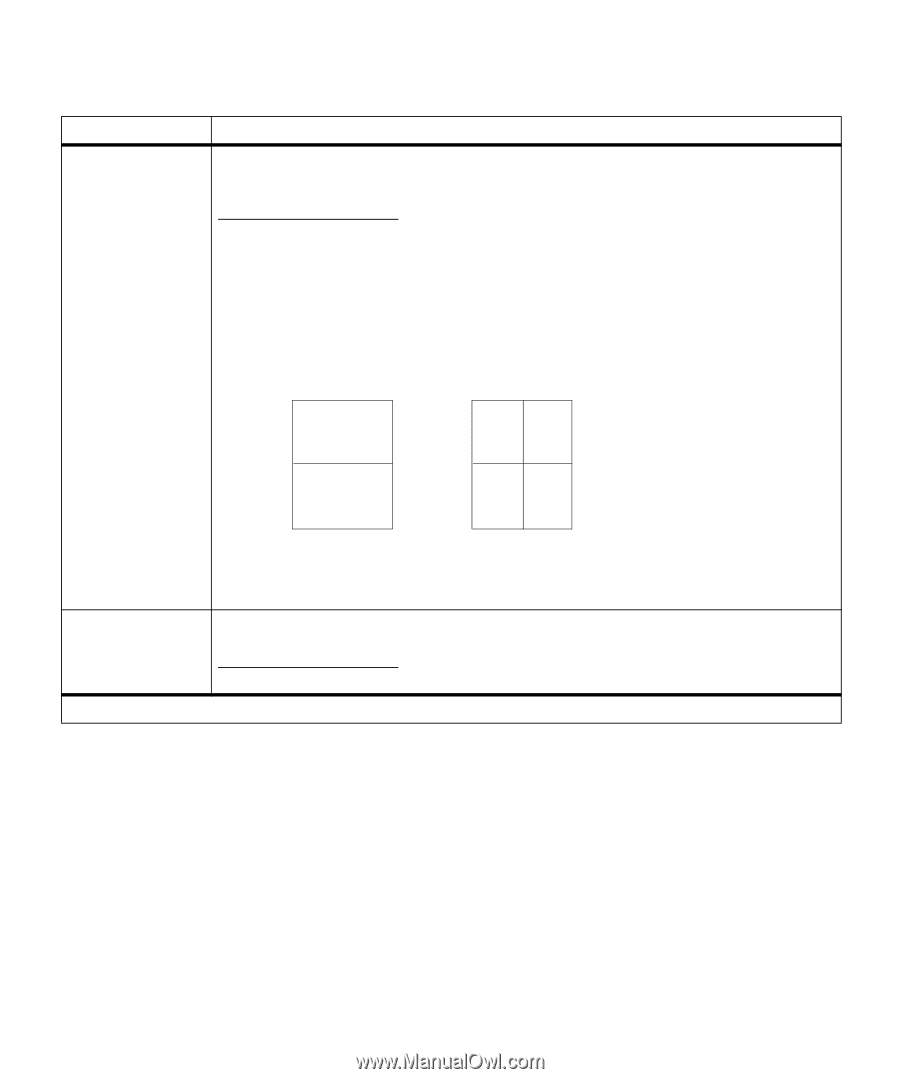
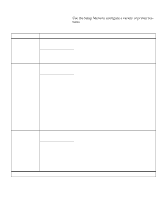
Finishing Menu (continued) Menu item Multipage View Values Auto* Long Edge Short Edge When using multipage printing, the printer by default automatically chooses whether to position the top of each page image along the long edge of the sheet or along the short edge, depending on how it can best fit the selected number of images on the sheet. For example, when printing portrait pages 2-up with Horizontal order selected, the printer positions the top edge of the images along the long edge of the page. When printing the same job 4-up, the printer positions the top edge of the images along the short edge of the page. Auto setting (horizontal order) 2-up 4-up Page 1 Page 2 Page 3 Page 4 Page 1 Page 2 Multipage Border *Factory default If you prefer to have the page images always oriented along the long edge or along the short edge of the sheet, select Long Edge or Short Edge as the user default. None* Solid Select Solid to print a border around each page image when using multipage printing. Menus 25
-
 1
1 -
2
-
3
-
4
-
5
-
6
-
7
-
8
-
9
-
10
-
11
-
12
-
13
-
14
-
15
-
16
-
17
-
18
-
19
-
20
-
21
-
22
-
23
-
24
-
25
-
26
-
27
-
28
-
29
-
30
-
31
-
32
-
33
-
 34
34 -
 35
35 -
 36
36 -
 37
37 -
 38
38 -
 39
39 -
 40
40 -
 41
41 -
 42
42 -
 43
43 -
 44
44 -
45
-
46
-
47
-
48
-
49
-
50
-
51
-
52
-
53
-
54
-
55
-
56
-
57
-
58
-
59
-
60
-
61
-
62
-
63
-
64
-
65
-
66
-
67
-
68
-
69
-
70
-
71
-
72
-
73
-
74
-
75
-
76
-
77
-
78
-
79
-
80
-
81
-
82
-
83
-
84
-
85
-
86
-
87
-
88
-
89
-
90
-
91
-
92
-
93
-
94
-
95
-
96
-
97
-
98
-
99
-
100
-
101
-
102
-
103
-
104
-
105
-
106
-
107
-
108
-
109
-
110
-
111
-
112
-
113
-
114
-
115
-
116
-
117
-
118
-
119
-
120
-
121
-
122
-
123
-
124
-
125
-
126
-
127
-
128
-
129
-
130
-
131
-
132
-
133
-
134
-
135
-
136
-
137
-
138
-
139
-
140
-
141
-
142
-
143
-
144
-
145
-
146
-
147
-
148
-
149
-
150
-
151
-
152
-
153
-
154
-
155
-
156
-
157
-
158
-
159
-
160
-
161
-
162
-
163
-
164
-
165
-
166
-
167
-
168
-
169
-
170
-
171
-
172
-
173
-
174
-
175
-
176
-
177
-
178
-
179
-
180
-
181
-
182
-
183
-
184
-
185
-
186
-
187
-
188
-
189
-
190
-
191
-
192
-
193
-
194
-
195
-
196
-
197
-
198
-
199
-
200
-
201
-
202
-
203
-
204
-
205
-
206
-
207
-
208
 |
 |