Lexmark OptraImage Color 1200r User's Guide - Page 91
Loading transparencies, cardboard with the rectangular cutout that comes with
 |
View all Lexmark OptraImage Color 1200r manuals
Add to My Manuals
Save this manual to your list of manuals |
Page 91 highlights
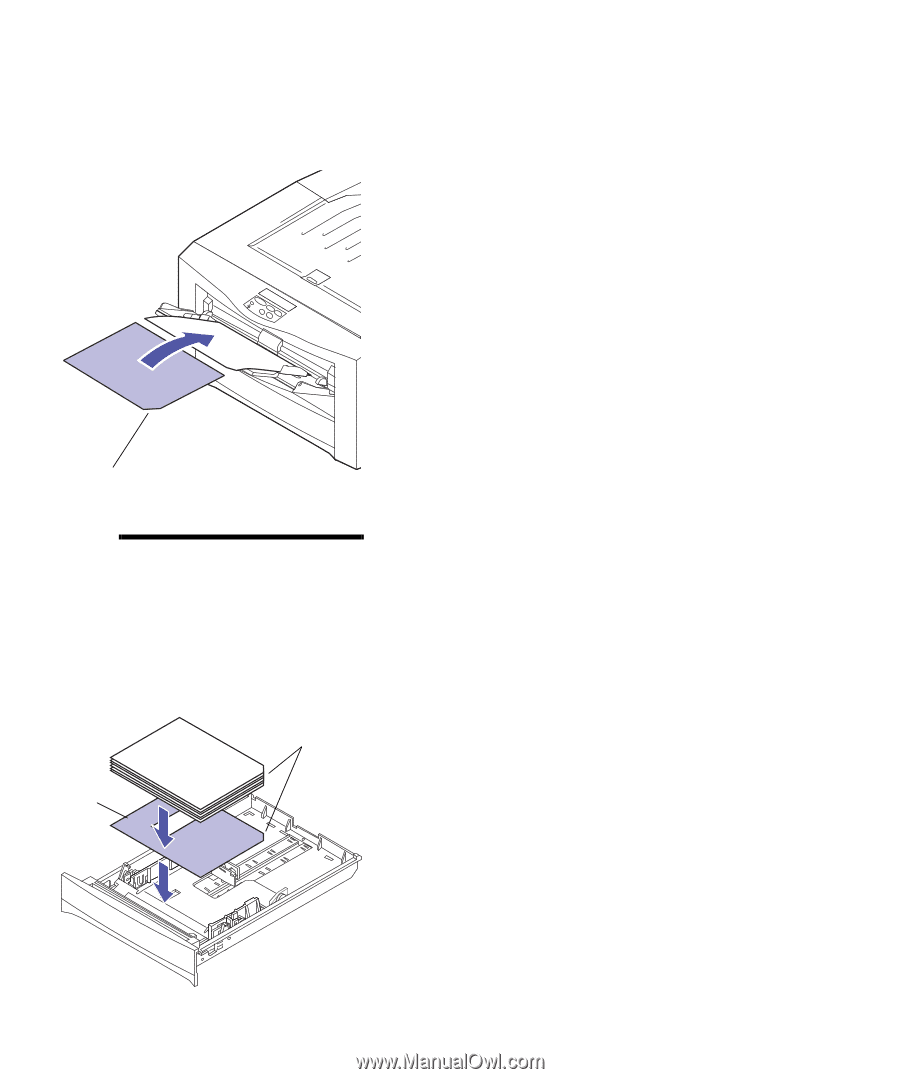
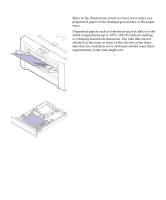
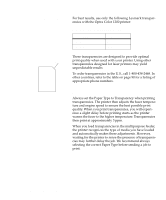
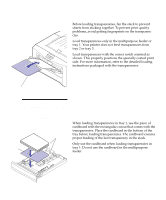
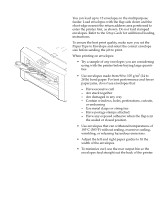
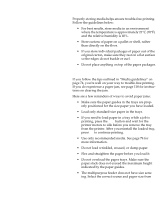
Multipurpose feeder Loading transparencies Before loading transparencies, fan the stack to prevent sheets from sticking together. To prevent print quality problems, avoid getting fingerprints on the transparencies. Load transparencies only in the multipurpose feeder or tray 1. Your printer does not feed transparencies from tray 2 or tray 3. Load transparencies with the corner notch oriented as shown. This properly positions the specially coated print side. For more information, refer to the detailed loading instructions packaged with the transparencies. Notch Note: To create a straight paper path and minimize curling, load transparencies in the multipurpose feeder and stack them in the rear output bin. Tray 1 Notch Cardboard When loading transparencies in tray 1, use the piece of cardboard with the rectangular cutout that comes with the transparencies. Place the cardboard in the bottom of the tray before loading transparencies. The cardboard ensures proper feeding of the last transparency in the stack. Only use the cardboard when loading transparencies in tray 1. Do not use the cardboard in the multipurpose feeder. Media guidelines 77
-
 1
1 -
2
-
3
-
4
-
5
-
6
-
7
-
8
-
9
-
10
-
11
-
12
-
13
-
14
-
15
-
16
-
17
-
18
-
19
-
20
-
21
-
22
-
23
-
24
-
25
-
26
-
27
-
28
-
29
-
30
-
31
-
32
-
33
-
34
-
35
-
36
-
37
-
38
-
39
-
40
-
41
-
42
-
43
-
44
-
45
-
46
-
47
-
48
-
49
-
50
-
51
-
52
-
53
-
54
-
55
-
56
-
57
-
58
-
59
-
60
-
61
-
62
-
63
-
64
-
65
-
66
-
67
-
68
-
69
-
70
-
71
-
72
-
73
-
74
-
75
-
76
-
77
-
78
-
79
-
80
-
81
-
82
-
83
-
84
-
85
-
 86
86 -
 87
87 -
 88
88 -
 89
89 -
 90
90 -
 91
91 -
 92
92 -
 93
93 -
 94
94 -
 95
95 -
 96
96 -
97
-
98
-
99
-
100
-
101
-
102
-
103
-
104
-
105
-
106
-
107
-
108
-
109
-
110
-
111
-
112
-
113
-
114
-
115
-
116
-
117
-
118
-
119
-
120
-
121
-
122
-
123
-
124
-
125
-
126
-
127
-
128
-
129
-
130
-
131
-
132
-
133
-
134
-
135
-
136
-
137
-
138
-
139
-
140
-
141
-
142
-
143
-
144
-
145
-
146
-
147
-
148
-
149
-
150
-
151
-
152
-
153
-
154
-
155
-
156
-
157
-
158
-
159
-
160
-
161
-
162
-
163
-
164
-
165
-
166
-
167
-
168
-
169
-
170
-
171
-
172
-
173
-
174
-
175
-
176
-
177
-
178
-
179
-
180
-
181
-
182
-
183
-
184
-
185
-
186
-
187
-
188
-
189
-
190
-
191
-
192
-
193
-
194
-
195
-
196
-
197
-
198
-
199
-
200
-
201
-
202
-
203
-
204
-
205
-
206
-
207
-
208
 |
 |