Epson AcuLaser CX11NF Basics - Page 55
them as described in steps 1 through 3, or click
 |
View all Epson AcuLaser CX11NF manuals
Add to My Manuals
Save this manual to your list of manuals |
Page 55 highlights
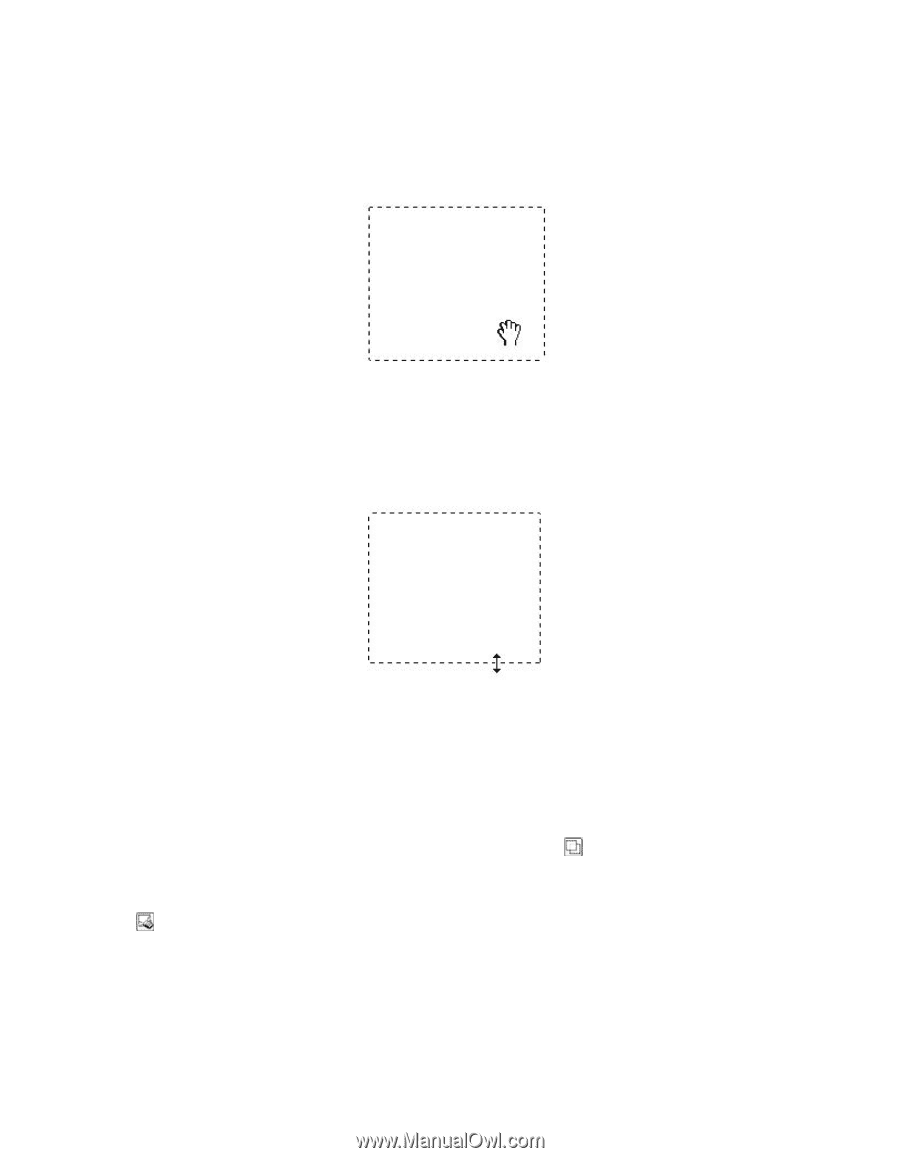
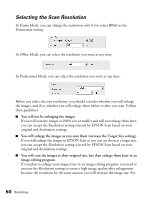
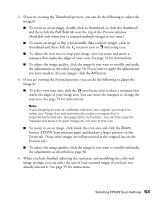
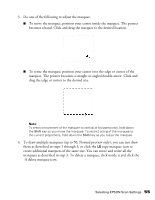
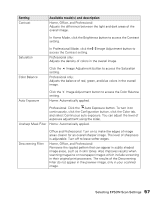
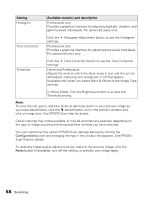
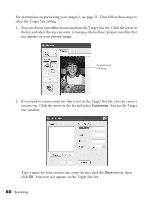
3. Do one of the following to adjust the marquee: ■ To move the marquee, position your cursor inside the marquee. The pointer becomes a hand. Click and drag the marquee to the desired location. ■ To resize the marquee, position your cursor over the edge or corner of the marquee. The pointer becomes a straight or angled double-arrow. Click and drag the edge or corner to the desired size. Note: To restrict movement of the marquee to vertical or horizontal only, hold down the Shift key as you move the marquee. To restrict sizing of the marquee to the current proportions, hold down the Shift key as you resize the marquee. 4. To draw multiple marquees (up to 50; Normal preview only), you can just draw them as described in steps 1 through 3, or click the copy marquee icon to create additional marquees of the same size. You can move and resize all the marquees as described in step 3. To delete a marquee, click inside it and click the delete marquee icon. Selecting EPSON Scan Settings 55
-
 1
1 -
2
-
3
-
4
-
5
-
6
-
7
-
8
-
9
-
10
-
11
-
12
-
13
-
14
-
15
-
16
-
17
-
18
-
19
-
20
-
21
-
22
-
23
-
24
-
25
-
26
-
27
-
28
-
29
-
30
-
31
-
32
-
33
-
34
-
35
-
36
-
37
-
38
-
39
-
40
-
41
-
42
-
43
-
44
-
45
-
46
-
47
-
48
-
49
-
 50
50 -
 51
51 -
 52
52 -
 53
53 -
 54
54 -
 55
55 -
 56
56 -
 57
57 -
 58
58 -
 59
59 -
 60
60 -
61
-
62
-
63
-
64
-
65
-
66
-
67
-
68
-
69
-
70
-
71
-
72
-
73
-
74
-
75
-
76
-
77
-
78
-
79
-
80
-
81
-
82
-
83
-
84
-
85
-
86
-
87
-
88
-
89
-
90
-
91
-
92
-
93
-
94
-
95
-
96
-
97
-
98
-
99
-
100
-
101
-
102
-
103
-
104
-
105
-
106
-
107
-
108
-
109
-
110
-
111
-
112
-
113
-
114
-
115
-
116
-
117
-
118
-
119
-
120
-
121
-
122
-
123
-
124
-
125
-
126
-
127
-
128
-
129
-
130
-
131
-
132
-
133
-
134
-
135
-
136
-
137
-
138
-
139
-
140
-
141
-
142
-
143
-
144
 |
 |