Epson AcuLaser CX11NF Basics - Page 56
Adjusting the Color and Other Image Settings
 |
View all Epson AcuLaser CX11NF manuals
Add to My Manuals
Save this manual to your list of manuals |
Page 56 highlights
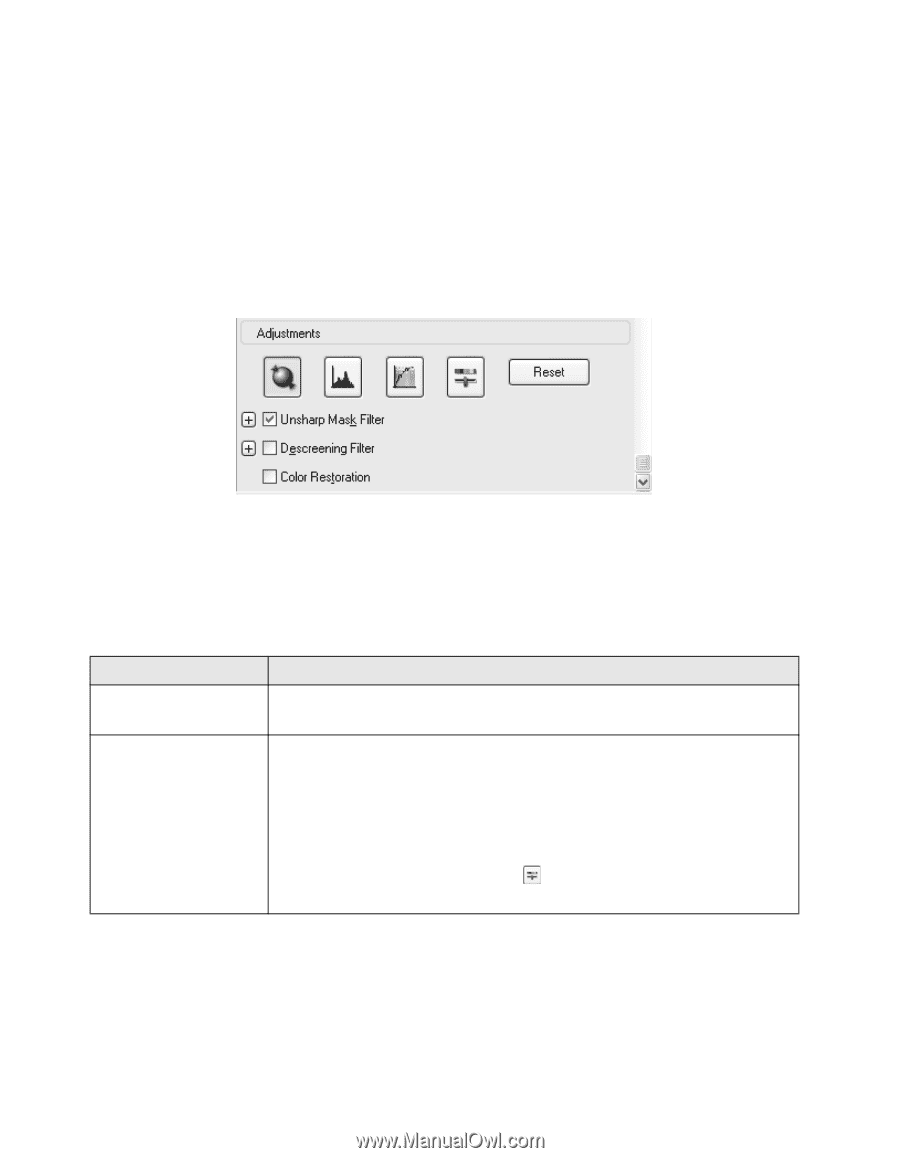
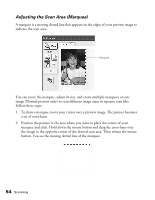
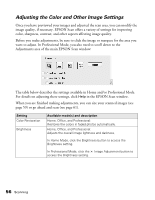
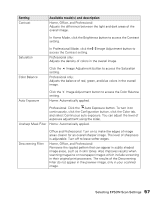
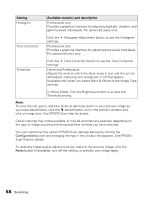
Adjusting the Color and Other Image Settings Once you have previewed your images and adjusted the scan area, you can modify the image quality, if necessary. EPSON Scan offers a variety of settings for improving color, sharpness, contrast, and other aspects affecting image quality. Before you make adjustments, be sure to click the image or marquee for the area you want to adjust. In Professional Mode, you also need to scroll down to the Adjustments area of the main EPSON Scan window: The table below describes the settings available in Home and/or Professional Mode. For details on adjusting these settings, click Help in the EPSON Scan window. When you are finished making adjustments, you can size your scanned images (see page 59) or go ahead and scan (see page 61). Setting Color Restoration Brightness Available mode(s) and description Home, Office, and Professional: Restores the colors in faded photos automatically. Home, Office, and Professional: Adjusts the overall image lightness and darkness. In Home Mode, click the Brightness button to access the Brightness setting. In Professional Mode, click the Image Adjustment button to access the Brightness setting. 56 Scanning
-
 1
1 -
2
-
3
-
4
-
5
-
6
-
7
-
8
-
9
-
10
-
11
-
12
-
13
-
14
-
15
-
16
-
17
-
18
-
19
-
20
-
21
-
22
-
23
-
24
-
25
-
26
-
27
-
28
-
29
-
30
-
31
-
32
-
33
-
34
-
35
-
36
-
37
-
38
-
39
-
40
-
41
-
42
-
43
-
44
-
45
-
46
-
47
-
48
-
49
-
50
-
 51
51 -
 52
52 -
 53
53 -
 54
54 -
 55
55 -
 56
56 -
 57
57 -
 58
58 -
 59
59 -
 60
60 -
 61
61 -
62
-
63
-
64
-
65
-
66
-
67
-
68
-
69
-
70
-
71
-
72
-
73
-
74
-
75
-
76
-
77
-
78
-
79
-
80
-
81
-
82
-
83
-
84
-
85
-
86
-
87
-
88
-
89
-
90
-
91
-
92
-
93
-
94
-
95
-
96
-
97
-
98
-
99
-
100
-
101
-
102
-
103
-
104
-
105
-
106
-
107
-
108
-
109
-
110
-
111
-
112
-
113
-
114
-
115
-
116
-
117
-
118
-
119
-
120
-
121
-
122
-
123
-
124
-
125
-
126
-
127
-
128
-
129
-
130
-
131
-
132
-
133
-
134
-
135
-
136
-
137
-
138
-
139
-
140
-
141
-
142
-
143
-
144
 |
 |