Epson AcuLaser CX11NF Basics - Page 61
Finishing the Scan, EPSON Scan Help for details.
 |
View all Epson AcuLaser CX11NF manuals
Add to My Manuals
Save this manual to your list of manuals |
Page 61 highlights
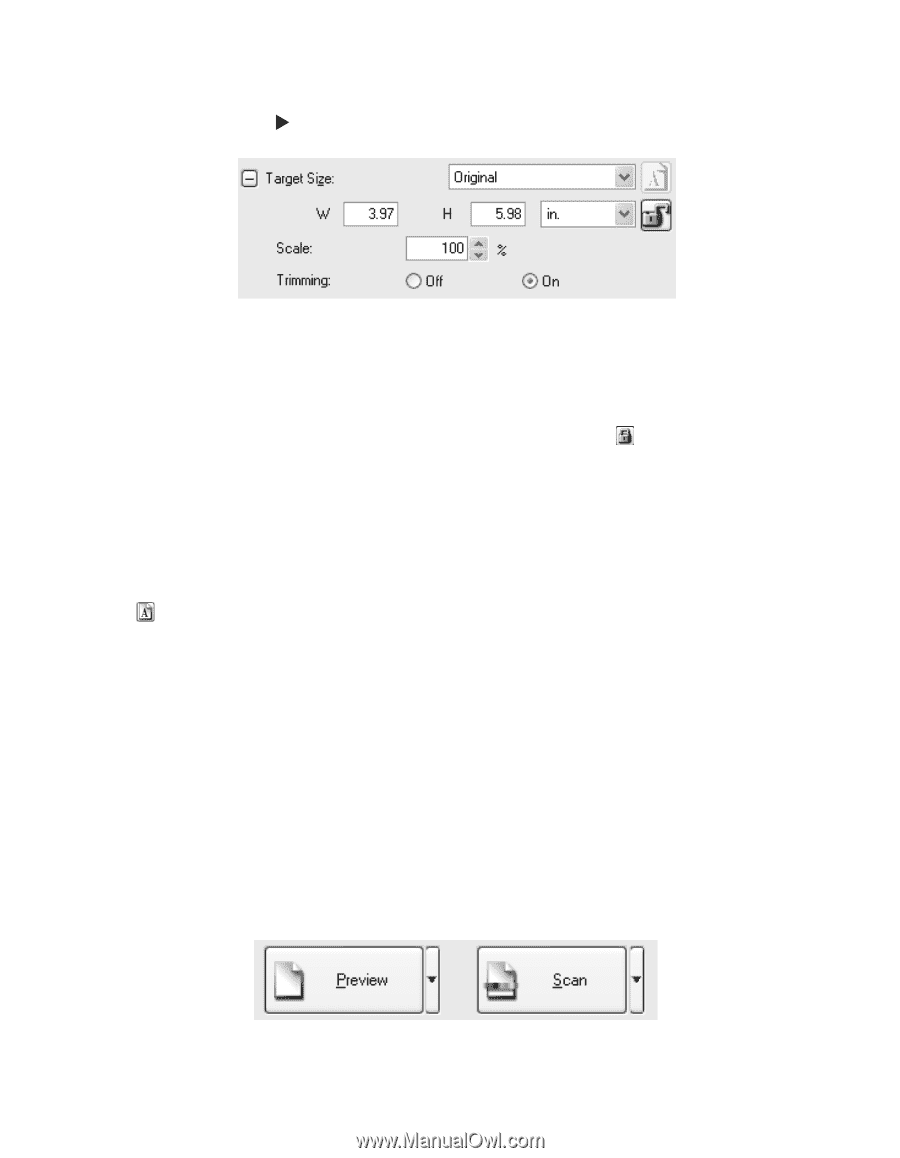
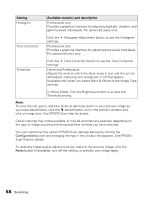
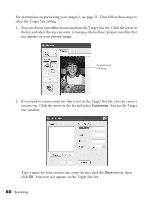
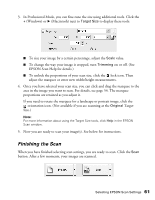
3. In Professional Mode, you can fine-tune the size using additional tools. Click the + (Windows) or (Macintosh) next to Target Size to display these tools: ■ To size your image by a certain percentage, adjust the Scale value. ■ To change the way your image is cropped, turn Trimming on or off. (See EPSON Scan Help for details.) ■ To unlock the proportions of your scan size, click the lock icon. Then adjust the marquee or enter new width/height measurements. 4. Once you have selected your scan size, you can click and drag the marquee to the area in the image you want to scan. For details, see page 54. The marquee proportions are retained as you adjust it. If you need to rotate the marquee for a landscape or portrait image, click the orientation icon. (Not available if you are scanning at the Original Target Size.) Note: For more information about using the Target Size tools, click Help in the EPSON Scan window. 5. Now you are ready to scan your image(s). See below for instructions. Finishing the Scan When you have finished selecting scan settings, you are ready to scan. Click the Scan button. After a few moments, your images are scanned. Selecting EPSON Scan Settings 61
-
 1
1 -
2
-
3
-
4
-
5
-
6
-
7
-
8
-
9
-
10
-
11
-
12
-
13
-
14
-
15
-
16
-
17
-
18
-
19
-
20
-
21
-
22
-
23
-
24
-
25
-
26
-
27
-
28
-
29
-
30
-
31
-
32
-
33
-
34
-
35
-
36
-
37
-
38
-
39
-
40
-
41
-
42
-
43
-
44
-
45
-
46
-
47
-
48
-
49
-
50
-
51
-
52
-
53
-
54
-
55
-
 56
56 -
 57
57 -
 58
58 -
 59
59 -
 60
60 -
 61
61 -
 62
62 -
 63
63 -
 64
64 -
 65
65 -
 66
66 -
67
-
68
-
69
-
70
-
71
-
72
-
73
-
74
-
75
-
76
-
77
-
78
-
79
-
80
-
81
-
82
-
83
-
84
-
85
-
86
-
87
-
88
-
89
-
90
-
91
-
92
-
93
-
94
-
95
-
96
-
97
-
98
-
99
-
100
-
101
-
102
-
103
-
104
-
105
-
106
-
107
-
108
-
109
-
110
-
111
-
112
-
113
-
114
-
115
-
116
-
117
-
118
-
119
-
120
-
121
-
122
-
123
-
124
-
125
-
126
-
127
-
128
-
129
-
130
-
131
-
132
-
133
-
134
-
135
-
136
-
137
-
138
-
139
-
140
-
141
-
142
-
143
-
144
 |
 |