Brother International PE-DESIGN PLUS2 Instruction Manual - Page 15
Basic Operations, Tutorial 1: Making a Quilt Using an Embroidery Pattern
 |
View all Brother International PE-DESIGN PLUS2 manuals
Add to My Manuals
Save this manual to your list of manuals |
Page 15 highlights
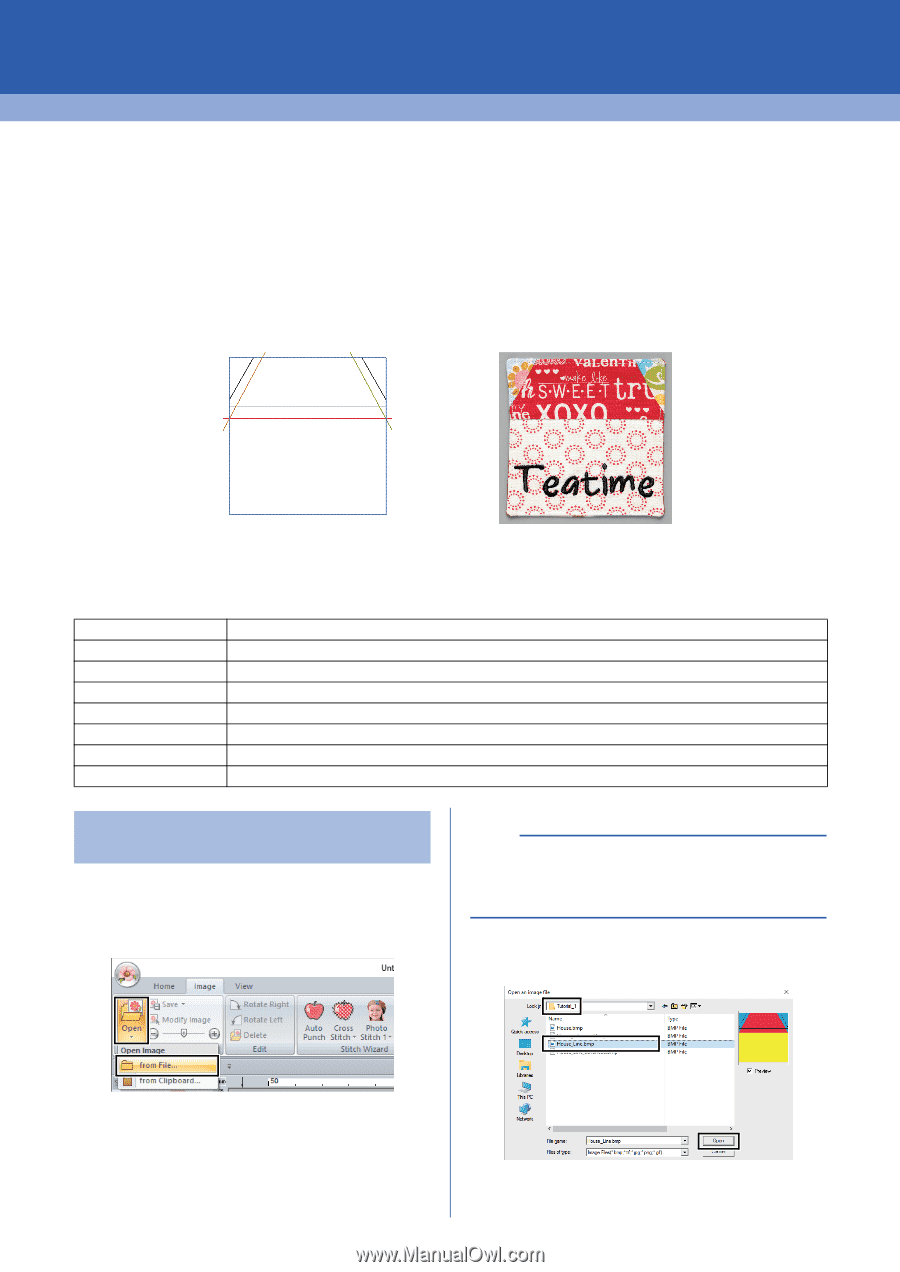
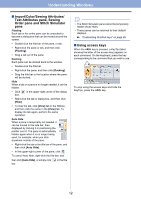
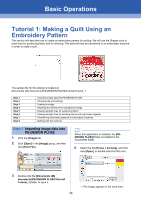
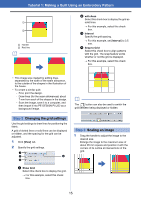
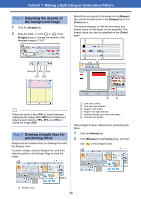
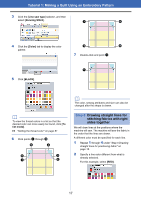
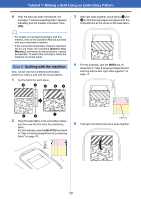
Basic Operations Tutorial 1: Making a Quilt Using an Embroidery Pattern This section will describe how to create an embroidery pattern for quilting. We will use the Shapes tools to draw lines for positioning fabric and for stitching. This data will then be transferred to an embroidery machine in order to make a quilt. The sample file for this tutorial is located at: Documents (My documents)\PE-DESIGN PLUS2\Tutorial\Tutorial_1 Step 1 Step 2 Step 3 Step 4 Step 5 Step 6 Step 7 Step 8 Importing image data into PE-DESIGN PLUS2 Changing the grid settings Scaling an image Adjusting the density of the background image Drawing straight lines for positioning fabric Drawing straight lines for stitching fabrics with right sides together Transferring embroidery patterns to embroidery machines Quilting with the machine Step 1 Importing image data into PE-DESIGN PLUS2 1 Click the [Image] tab. 2 Click [Open] in the [Image] group, and then click [from File]. b When this application is installed, the [PEDESIGN PLUS2] folder is installed in the Documents folder. 4 Select the file [House_Line.bmp], and then click [Open], or double-click the file's icon. 3 Double-click the [Documents (My documents)\PE-DESIGN PLUS2\Tutorial\ Tutorial_1] folder to open it. 14 The image appears in the work area.
-
 1
1 -
2
-
3
-
4
-
5
-
6
-
7
-
8
-
9
-
 10
10 -
 11
11 -
 12
12 -
 13
13 -
 14
14 -
 15
15 -
 16
16 -
 17
17 -
 18
18 -
 19
19 -
 20
20 -
21
-
22
-
23
-
24
-
25
-
26
-
27
-
28
-
29
-
30
-
31
-
32
-
33
-
34
-
35
-
36
-
37
-
38
-
39
-
40
-
41
-
42
-
43
-
44
-
45
-
46
-
47
-
48
-
49
-
50
-
51
-
52
-
53
-
54
-
55
-
56
-
57
-
58
-
59
-
60
-
61
-
62
-
63
-
64
-
65
-
66
-
67
-
68
-
69
-
70
-
71
-
72
-
73
-
74
-
75
-
76
-
77
-
78
-
79
-
80
-
81
-
82
-
83
-
84
-
85
-
86
-
87
-
88
-
89
-
90
-
91
-
92
-
93
-
94
-
95
-
96
-
97
-
98
-
99
-
100
-
101
-
102
-
103
-
104
-
105
-
106
-
107
-
108
-
109
-
110
-
111
-
112
-
113
-
114
-
115
-
116
-
117
-
118
-
119
-
120
 |
 |