Brother International PE-DESIGN PLUS2 Instruction Manual - Page 31
About the Output Pattern settings, Output Pattern
 |
View all Brother International PE-DESIGN PLUS2 manuals
Add to My Manuals
Save this manual to your list of manuals |
Page 31 highlights
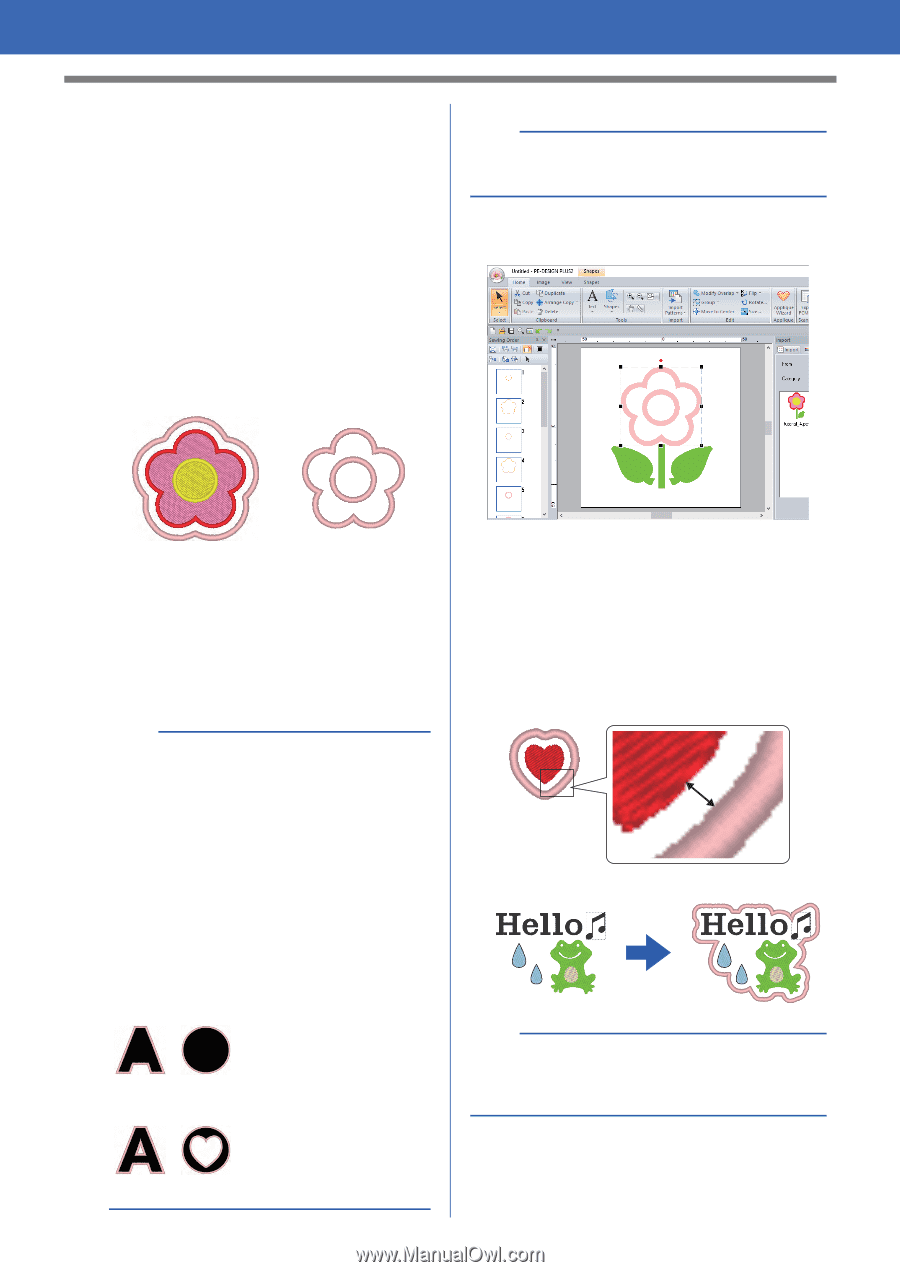
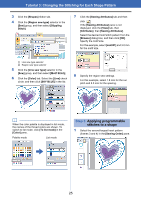
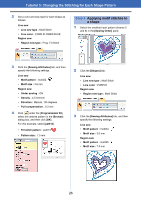
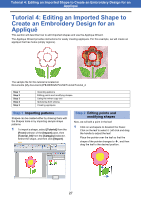
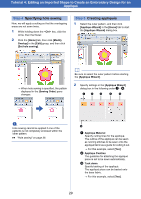
Tutorial 4: Editing an Imported Shape to Create an Embroidery Design for an Appliqué d Covering Stitch Specify the stitching for securing the appliqué. Select the sew type and other attributes ([Width] and [Density]) for finishing the appliqué. For this example, set [Width] to "3.0 mm" and [Density] to "5.0 line/mm". e Output Pattern Select whether covering stitches will be added around the entire pattern ([Add]) or covering stitches will be sewn for shape lines ([Replace]). For this example, select [Replace]. Add Replace b To return all parameters to their default settings, click [Default]. 3 Click [OK] to exit the Applique Wizard dialog box. cc "About the Output Pattern settings" on page 30. f Create an applique with hole sewing Select this check box when creating an appliqué with holes (empty regions). For this example, select this check box. b • The [Create an applique with hole sewing] check box appears when only the outer pattern with hole sewing applied or only a text pattern (with fonts other than built-in fonts 025 and 029, or a Small Text font) is selected, or when [Replace] is selected under [Output Pattern]. * Multiple text patterns can be selected if certain conditions are met. • The shape of the appliqué material appears as shown below, depending on whether the [Create an applique with hole sewing] check box is selected or not. When the [Create an applique with hole sewing] check box is cleared When the [Create an applique with hole sewing] check box is selected ■ About the Output Pattern settings Add • Covering stitches will be created around the original pattern. • Under [Distance from original Pattern], specify the distance of the covering stitches from the original pattern. • This can be used to combine various patterns. a The [Add] setting is not available if the stitch pattern does not exist, for example, when both the line and region sew types are set to [Not Sewn]. 30
-
 1
1 -
2
-
3
-
4
-
5
-
6
-
7
-
8
-
9
-
10
-
11
-
12
-
13
-
14
-
15
-
16
-
17
-
18
-
19
-
20
-
21
-
22
-
23
-
24
-
25
-
 26
26 -
 27
27 -
 28
28 -
 29
29 -
 30
30 -
 31
31 -
 32
32 -
 33
33 -
 34
34 -
 35
35 -
 36
36 -
37
-
38
-
39
-
40
-
41
-
42
-
43
-
44
-
45
-
46
-
47
-
48
-
49
-
50
-
51
-
52
-
53
-
54
-
55
-
56
-
57
-
58
-
59
-
60
-
61
-
62
-
63
-
64
-
65
-
66
-
67
-
68
-
69
-
70
-
71
-
72
-
73
-
74
-
75
-
76
-
77
-
78
-
79
-
80
-
81
-
82
-
83
-
84
-
85
-
86
-
87
-
88
-
89
-
90
-
91
-
92
-
93
-
94
-
95
-
96
-
97
-
98
-
99
-
100
-
101
-
102
-
103
-
104
-
105
-
106
-
107
-
108
-
109
-
110
-
111
-
112
-
113
-
114
-
115
-
116
-
117
-
118
-
119
-
120
 |
 |