Dell 2335dn Dell™ 2335dn MFP User's Guide - Page 218
Adding Job Type Settings, Using the Image Editor
 |
UPC - 884116001898
View all Dell 2335dn manuals
Add to My Manuals
Save this manual to your list of manuals |
Page 218 highlights
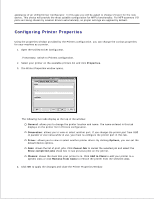
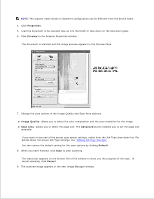
9. If you want to edit the scanned image, use the toolbar. For further details about editing an image, see "Using the Image Editor". 10. When you are finished, click Save on the toolbar. 11. Select the file directory where you want to save the image and enter the file name. 12. Click Save. Adding Job Type Settings You can save your scan option settings to retrieve for a later scanning. To save a new Job Type setting: 1. Change the options from the Scanner Properties window. 2. Click Save As. 3. Enter the name for your setting. 4. Click OK. Your setting is added to the Saved Settings drop-down list. To save a Job Type setting for the next scan job: 1. Select the setting you want to use from the Job Type drop-down list. 2. Click Save.
-
 1
1 -
2
-
3
-
4
-
5
-
6
-
7
-
8
-
9
-
10
-
11
-
12
-
13
-
14
-
15
-
16
-
17
-
18
-
19
-
20
-
21
-
22
-
23
-
24
-
25
-
26
-
27
-
28
-
29
-
30
-
31
-
32
-
33
-
34
-
35
-
36
-
37
-
38
-
39
-
40
-
41
-
42
-
43
-
44
-
45
-
46
-
47
-
48
-
49
-
50
-
51
-
52
-
53
-
54
-
55
-
56
-
57
-
58
-
59
-
60
-
61
-
62
-
63
-
64
-
65
-
66
-
67
-
68
-
69
-
70
-
71
-
72
-
73
-
74
-
75
-
76
-
77
-
78
-
79
-
80
-
81
-
82
-
83
-
84
-
85
-
86
-
87
-
88
-
89
-
90
-
91
-
92
-
93
-
94
-
95
-
96
-
97
-
98
-
99
-
100
-
101
-
102
-
103
-
104
-
105
-
106
-
107
-
108
-
109
-
110
-
111
-
112
-
113
-
114
-
115
-
116
-
117
-
118
-
119
-
120
-
121
-
122
-
123
-
124
-
125
-
126
-
127
-
128
-
129
-
130
-
131
-
132
-
133
-
134
-
135
-
136
-
137
-
138
-
139
-
140
-
141
-
142
-
143
-
144
-
145
-
146
-
147
-
148
-
149
-
150
-
151
-
152
-
153
-
154
-
155
-
156
-
157
-
158
-
159
-
160
-
161
-
162
-
163
-
164
-
165
-
166
-
167
-
168
-
169
-
170
-
171
-
172
-
173
-
174
-
175
-
176
-
177
-
178
-
179
-
180
-
181
-
182
-
183
-
184
-
185
-
186
-
187
-
188
-
189
-
190
-
191
-
192
-
193
-
194
-
195
-
196
-
197
-
198
-
199
-
200
-
201
-
202
-
203
-
204
-
205
-
206
-
207
-
208
-
209
-
210
-
211
-
212
-
 213
213 -
 214
214 -
 215
215 -
 216
216 -
 217
217 -
 218
218 -
 219
219 -
 220
220 -
 221
221 -
 222
222 -
 223
223 -
224
-
225
-
226
-
227
-
228
-
229
-
230
-
231
-
232
-
233
-
234
-
235
-
236
-
237
-
238
-
239
-
240
-
241
-
242
-
243
-
244
-
245
-
246
-
247
-
248
-
249
-
250
-
251
-
252
-
253
-
254
-
255
-
256
-
257
-
258
-
259
-
260
-
261
-
262
-
263
-
264
-
265
-
266
-
267
-
268
-
269
-
270
-
271
-
272
-
273
-
274
-
275
-
276
-
277
-
278
-
279
-
280
-
281
-
282
-
283
-
284
 |
 |
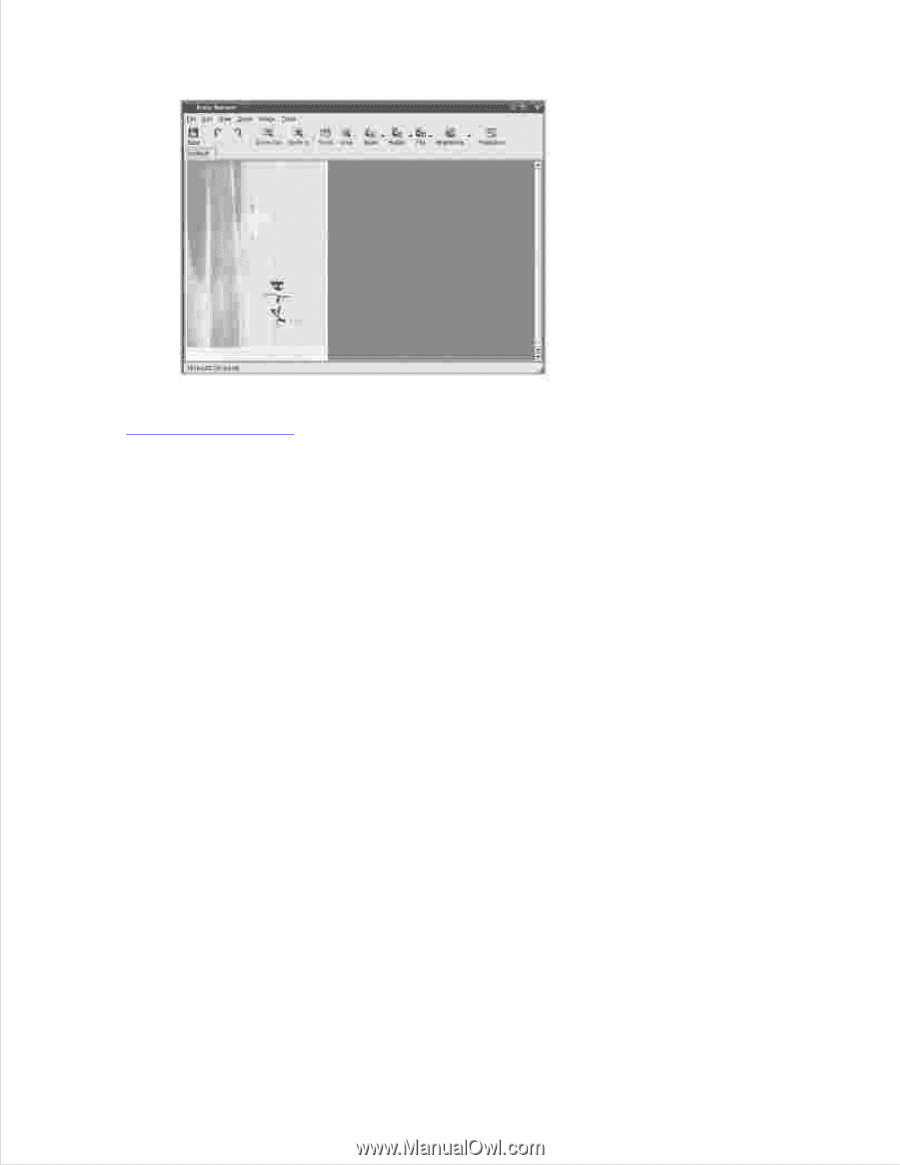
If you want to edit the scanned image,
use the toolbar. For further details about editing an image, see
"Using the Image Editor"
.
When you are finished, click
Save
on the toolbar.
10.
Select the file directory where you want to save the image and enter the file name.
11.
Click
Save
.
12.
Adding Job Type Settings
You can save your scan option settings to retrieve for a later scanning.
To save a new Job Type setting:
Change the options from the Scanner Properties window.
1.
Click
Save As
.
2.
Enter the name for your setting.
3.
Click
OK
.
4.
Your setting is added to the Saved Settings drop-down list.
To save a Job Type setting for the next scan job:
Select the setting you want to use from the Job Type drop-down list.
1.
Click
Save
.
2.