Dell PowerConnect W-IAP92 Dell Instant 6.1.3.4-3.1.0.0 User Guide - Page 94
Configuring a mobility domain, Settings, Show advanced options, L3 Mobility
 |
View all Dell PowerConnect W-IAP92 manuals
Add to My Manuals
Save this manual to your list of manuals |
Page 94 highlights
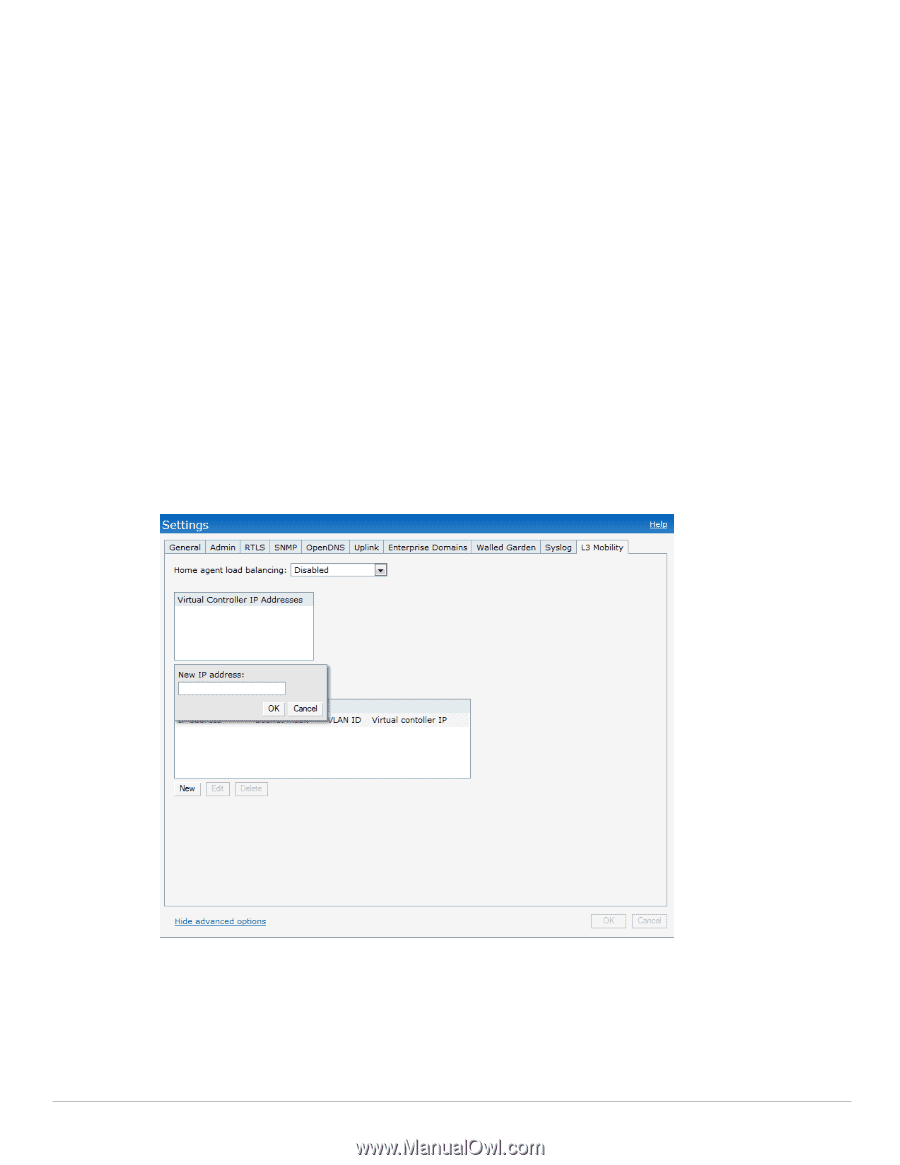
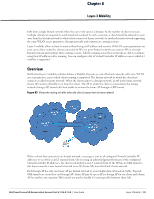
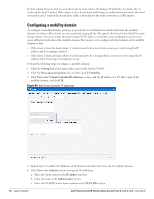
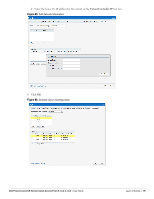
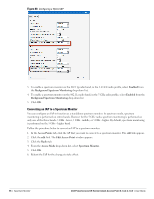
If client subnet discovery fails on association due to some reason, the foreign AP identifies its subnet when it sends out the first L3 packet. If the subnet is not a local subnet and belongs to another Instant network, the client is treated as an L3 roamed client and all its traffic is forwarded to the home network via a GRE tunnel. Configuring a mobility domain To configure a mobility domain, you have to specify the list of all Instant networks that form the mobility domain. In order to allow clients to roam seamlessly among all the APs, specify the Virtual Controller IP for each foreign subnet. You may include the local Instant/ VC IP address, so that the same configuration can be used across all Instant networks in the mobility domain. Best practice is to configure all client subnets in the mobility domain so that: If the client is from the local subnet, it is determined to be a local client as soon as it starts using the IP address and L3 roaming is aborted. If the client is from a foreign subnet, it is determined to be a foreign client as soon as it starts using the IP address and L3 roaming is immediately set up. Perform the following steps to configure a mobility domain: 1. Click the Settings link at the upper right corner of the Instant WebUI. 2. Click the Show advanced options link and then click L3 Mobility. 3. Click New in the Virtual Controller IP Addresses section, add the IP address of a VC that is part of the mobility domain, and click OK. Figure 84 Add Virtual Controller IP addresses 4. Repeat Step 3 to add the IP addresses of all Virtual Controllers that form the L3 mobility domain. 5. Click New in the Subnets section and specify the following: a. Enter the client subnet in the IP address text box. b. Enter the mask in the Subnet mask text box. c. Enter the VLAN ID in the home network in the VLAN ID text box. 94 | Layer-3 Mobility Dell PowerConnect W-Series Instant Access Point 6.1.3.4-3.1.0.0 | User Guide
-
 1
1 -
2
-
3
-
4
-
5
-
6
-
7
-
8
-
9
-
10
-
11
-
12
-
13
-
14
-
15
-
16
-
17
-
18
-
19
-
20
-
21
-
22
-
23
-
24
-
25
-
26
-
27
-
28
-
29
-
30
-
31
-
32
-
33
-
34
-
35
-
36
-
37
-
38
-
39
-
40
-
41
-
42
-
43
-
44
-
45
-
46
-
47
-
48
-
49
-
50
-
51
-
52
-
53
-
54
-
55
-
56
-
57
-
58
-
59
-
60
-
61
-
62
-
63
-
64
-
65
-
66
-
67
-
68
-
69
-
70
-
71
-
72
-
73
-
74
-
75
-
76
-
77
-
78
-
79
-
80
-
81
-
82
-
83
-
84
-
85
-
86
-
87
-
88
-
 89
89 -
 90
90 -
 91
91 -
 92
92 -
 93
93 -
 94
94 -
 95
95 -
 96
96 -
 97
97 -
 98
98 -
 99
99 -
100
-
101
-
102
-
103
-
104
-
105
-
106
-
107
-
108
-
109
-
110
-
111
-
112
-
113
-
114
-
115
-
116
-
117
-
118
-
119
-
120
-
121
-
122
-
123
-
124
-
125
-
126
-
127
-
128
-
129
-
130
-
131
-
132
-
133
-
134
-
135
-
136
-
137
-
138
-
139
-
140
-
141
-
142
-
143
-
144
-
145
-
146
-
147
-
148
-
149
-
150
-
151
-
152
-
153
-
154
-
155
-
156
-
157
-
158
-
159
-
160
-
161
-
162
-
163
-
164
-
165
-
166
-
167
-
168
-
169
-
170
-
171
-
172
-
173
-
174
-
175
-
176
-
177
-
178
-
179
-
180
-
181
-
182
-
183
-
184
-
185
-
186
-
187
-
188
-
189
-
190
-
191
-
192
-
193
-
194
-
195
-
196
-
197
-
198
-
199
-
200
-
201
-
202
-
203
-
204
-
205
-
206
-
207
-
208
-
209
-
210
-
211
-
212
-
213
-
214
-
215
-
216
-
217
-
218
-
219
-
220
-
221
-
222
-
223
-
224
-
225
-
226
-
227
-
228
-
229
-
230
-
231
-
232
-
233
-
234
-
235
-
236
-
237
-
238
-
239
-
240
-
241
-
242
-
243
-
244
-
245
-
246
 |
 |