HP EX475 HP EX470, EX475 MediaSmart Server - User's Guide - Page 23
Shared Folders and Media Sharing, Set up Additional Features - hard drives
 |
UPC - 883585222643
View all HP EX475 manuals
Add to My Manuals
Save this manual to your list of manuals |
Page 23 highlights
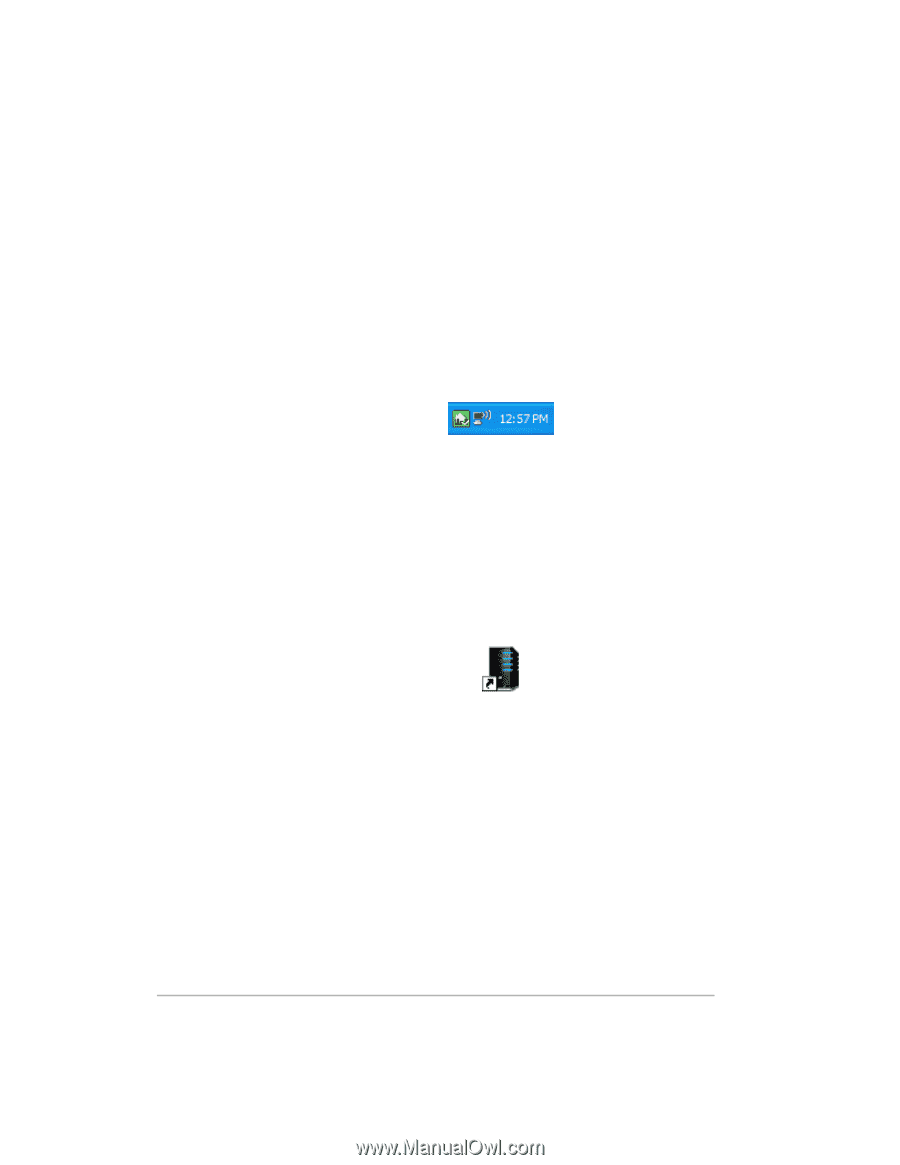
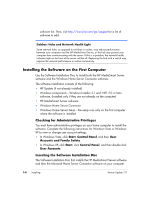
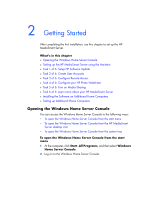
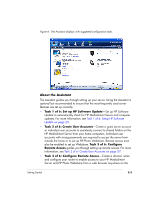
MediaSmart Server each night. Run the Software Installation Disc on additional home computers to enable them to communicate with the server and to add them to nightly backups. To customize the hard-drive volumes to back up, or to exclude folders from the backup 1 At the computer, double-click the Windows Home Server icon in the task tray and log on. Figure 3: Windows Home Server system tray icon 2 Click the Backups & Computers tab. Shared Folders and Media Sharing Start copying digital assets from your computer to shared folders on the HP MediaSmart Server. 1 At the computer, double-click the HP MediaSmart Server desktop icon. Figure 4: HP MediaSmart Server desktop icon 2 Copy Photos, Music, or Videos to the appropriate shared folder or click Server to create shared folders for other digital content. Note: From the Media Sharing page on the Windows Home Server Settings tab, you can turn on digital media streaming for the Photos, Music, or Videos shared folders. Click On for each folder that you want to stream from. Set up Additional Features Features such as HP Software Update, User Accounts, Remote Access, Photo Webshare, and Media Sharing require some setup. The Assistant guides you through setting up your server. Using the Assistant is optional but Installing 1-13
-
 1
1 -
2
-
3
-
4
-
5
-
6
-
7
-
8
-
9
-
10
-
11
-
12
-
13
-
14
-
15
-
16
-
17
-
 18
18 -
 19
19 -
 20
20 -
 21
21 -
 22
22 -
 23
23 -
 24
24 -
 25
25 -
 26
26 -
 27
27 -
 28
28 -
29
-
30
-
31
-
32
-
33
-
34
-
35
-
36
-
37
-
38
-
39
-
40
-
41
-
42
-
43
-
44
-
45
-
46
-
47
-
48
-
49
-
50
-
51
-
52
-
53
-
54
-
55
-
56
-
57
-
58
-
59
-
60
-
61
-
62
-
63
-
64
-
65
-
66
-
67
-
68
-
69
-
70
-
71
-
72
-
73
-
74
-
75
-
76
-
77
-
78
-
79
-
80
-
81
-
82
-
83
-
84
-
85
-
86
-
87
-
88
-
89
-
90
-
91
-
92
-
93
-
94
-
95
-
96
-
97
-
98
-
99
-
100
-
101
-
102
-
103
-
104
-
105
-
106
-
107
-
108
-
109
-
110
-
111
-
112
-
113
-
114
-
115
-
116
-
117
-
118
-
119
-
120
-
121
-
122
-
123
-
124
-
125
-
126
-
127
-
128
-
129
-
130
-
131
-
132
-
133
-
134
-
135
-
136
-
137
-
138
-
139
-
140
-
141
-
142
-
143
-
144
-
145
-
146
-
147
-
148
-
149
-
150
-
151
-
152
-
153
-
154
-
155
-
156
-
157
-
158
-
159
-
160
-
161
-
162
-
163
-
164
-
165
-
166
-
167
-
168
-
169
-
170
-
171
-
172
-
173
-
174
-
175
-
176
-
177
-
178
-
179
-
180
-
181
-
182
-
183
-
184
-
185
-
186
-
187
-
188
-
189
-
190
-
191
-
192
 |
 |