Samsung SGH-ZX20 User Manual (user Manual) (ver.f1) (English) - Page 80
Port/Secure Connection, Linger Time Sec., Advanced Settings, Email Accounts, Messaging, Select,
 |
View all Samsung SGH-ZX20 manuals
Add to My Manuals
Save this manual to your list of manuals |
Page 80 highlights
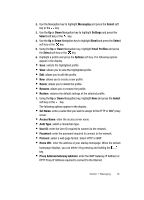
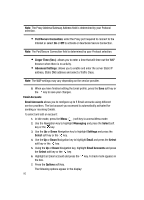
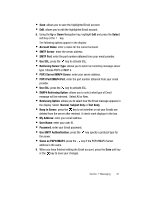
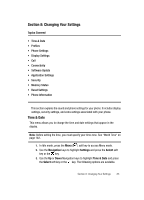
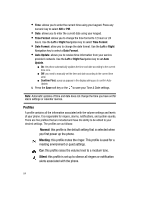
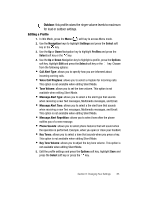
Note: The Proxy Address/Gateway Address field is determined by your Protocol selection. • Port/Secure Connection: enter the Proxy port required to connect to the Internet or select On or Off to activate or deactivate Secure Connection. Note: The Port/Secure Connection field is determined by your Protocol selection. • Linger Time (Sec.): allows you to enter a time that will time-out the WAP browser when there is no activity. • Advanced Settings: allows you to enable and enter the server Static IP address, Static DNS address and select a Traffic Class. Note: The WAP settings may vary depending on the service provider. 8. When you have finished editing the Email profile, press the Save soft key or the key to save your changes. Email Accounts Email Accounts allows you to configure up to 5 Email accounts using different service providers. The last account you accessed is automatically activated for sending or receiving Emails. To select and edit an account: 1. In Idle mode, press the Menu ( ) soft key to access Menu mode. 2. Use the Navigation key to highlight Messaging and press the Select soft key or the key. 3. Use the Up or Down Navigation key to highlight Settings and press the Select soft key or the key. 4. Use the Up or Down Navigation key to highlight Email and press the Select soft key or the key. 5. Using the Up or Down Navigation key, highlight Email Accounts and press the Select soft key or the key. 6. Highlight an Email account and press the key. A check mark appears in the box. 7. Press the Options soft key. The following options appear in the display: 80
-
 1
1 -
2
-
3
-
4
-
5
-
6
-
7
-
8
-
9
-
10
-
11
-
12
-
13
-
14
-
15
-
16
-
17
-
18
-
19
-
20
-
21
-
22
-
23
-
24
-
25
-
26
-
27
-
28
-
29
-
30
-
31
-
32
-
33
-
34
-
35
-
36
-
37
-
38
-
39
-
40
-
41
-
42
-
43
-
44
-
45
-
46
-
47
-
48
-
49
-
50
-
51
-
52
-
53
-
54
-
55
-
56
-
57
-
58
-
59
-
60
-
61
-
62
-
63
-
64
-
65
-
66
-
67
-
68
-
69
-
70
-
71
-
72
-
73
-
74
-
 75
75 -
 76
76 -
 77
77 -
 78
78 -
 79
79 -
 80
80 -
 81
81 -
 82
82 -
 83
83 -
 84
84 -
 85
85 -
86
-
87
-
88
-
89
-
90
-
91
-
92
-
93
-
94
-
95
-
96
-
97
-
98
-
99
-
100
-
101
-
102
-
103
-
104
-
105
-
106
-
107
-
108
-
109
-
110
-
111
-
112
-
113
-
114
-
115
-
116
-
117
-
118
-
119
-
120
-
121
-
122
-
123
-
124
-
125
-
126
-
127
-
128
-
129
-
130
-
131
-
132
-
133
-
134
-
135
-
136
-
137
-
138
-
139
-
140
-
141
-
142
-
143
-
144
-
145
-
146
-
147
-
148
-
149
-
150
-
151
-
152
-
153
-
154
-
155
-
156
-
157
-
158
-
159
-
160
-
161
-
162
-
163
-
164
-
165
-
166
-
167
-
168
-
169
-
170
-
171
-
172
-
173
-
174
-
175
-
176
-
177
-
178
-
179
 |
 |
