Brother International BES-100E BE-100 Workbook - English - Page 14
Moving punchpoints, Deleting punchpoints
 |
View all Brother International BES-100E manuals
Add to My Manuals
Save this manual to your list of manuals |
Page 14 highlights
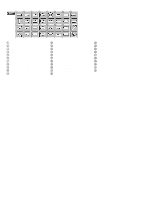
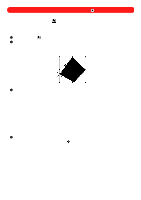
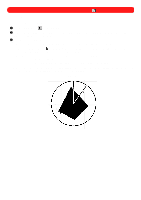
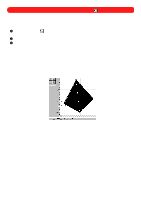
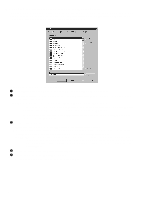
s Moving punchpoints To move the selected punchpoints: 1 Select the punchpoint to be moved, as explained above. 2 Move the pointer over the selected (light blue) punchpoints. The pointer changes to small crosshairs ( ). 3 Drag the selected punchpoints to the desired location in the design area. Figure 16 To move punchpoints with greater precision, select the punchpoint(s) using the Reshape tool ( follow the instructions in the table below. ), and then Purpose To move selected punchpoints horizontally or vertically To move selected punchpoints in grid increments Action Click the punchpoint(s), and then, while holding down the Shift key, drag the point(s). Click the punchpoint that is to be the reference point, and then, while holding down the Ctrl key, drag the point. NOTE: If Num Lock is turned on, the number keys 2, 4, 6 and 8 of the numeric keypad allow you to "nudge" (move in small amounts) punchpoints down, left, right and up, respectively. s Deleting punchpoints To delete the selected punchpoints: x Press the Delete key. The selected punchpoints are removed. NOTE: To delete the individual punchpoints in the outline of a character, the text shape must first be con- verted to its various paths and regions. For more information, see chapter 18. 11
-
 1
1 -
2
-
3
-
4
-
5
-
6
-
7
-
8
-
 9
9 -
 10
10 -
 11
11 -
 12
12 -
 13
13 -
 14
14 -
 15
15 -
 16
16 -
 17
17 -
 18
18 -
 19
19 -
20
-
21
-
22
-
23
-
24
-
25
-
26
-
27
-
28
-
29
-
30
-
31
-
32
-
33
-
34
-
35
-
36
-
37
-
38
-
39
-
40
-
41
-
42
-
43
-
44
-
45
-
46
-
47
-
48
-
49
-
50
-
51
-
52
-
53
-
54
-
55
-
56
-
57
-
58
-
59
-
60
-
61
-
62
-
63
-
64
-
65
-
66
-
67
-
68
-
69
-
70
-
71
-
72
-
73
-
74
-
75
-
76
-
77
-
78
-
79
-
80
-
81
-
82
-
83
-
84
-
85
-
86
-
87
-
88
-
89
-
90
-
91
-
92
-
93
-
94
-
95
-
96
-
97
-
98
-
99
-
100
-
101
-
102
-
103
-
104
-
105
-
106
-
107
-
108
-
109
-
110
-
111
-
112
-
113
-
114
-
115
-
116
-
117
-
118
-
119
 |
 |