Epson 7850p User Manual - Page 135
Controlling Multiple Projectors, Setting the Projector ID
 |
UPC - 010343845992
View all Epson 7850p manuals
Add to My Manuals
Save this manual to your list of manuals |
Page 135 highlights
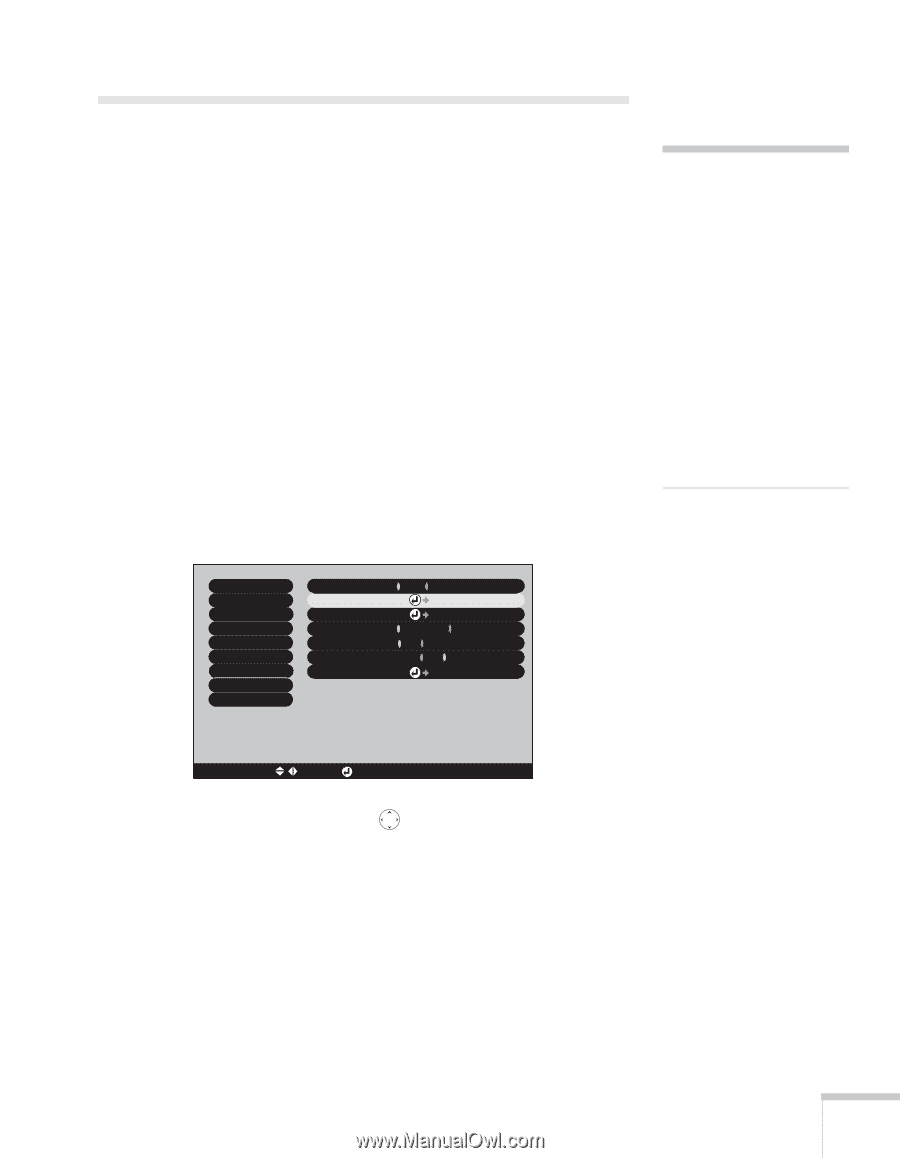
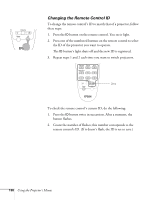
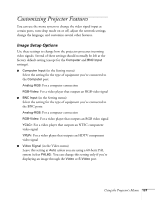
Controlling Multiple Projectors If you're using more than one projector for your presentation, you can use the projector's ID system to switch between them using a single remote control. To do this, you need to set a different ID for each projector. During the presentation, it's easy to change the remote control's ID to match that of the projector you want to use. When you want to switch, simply change the remote control's ID to match that of your second projector. Setting the Projector ID The projector's default ID is 1. Follow these steps to change it: 1. Press the Menu button on the remote control. You see the projector's menu screen. 2. Select the Advanced2 menu and press Enter. Then highlight Projector ID and press Enter. note By default, the remote control's ID is set to zero, which allows it to control any projector. If you want to control multiple projectors simultaneously, and you don't want to switch between them (each projector would need its own screen), you can leave the remote control's ID set to zero. In this situation, you would not need to change the projector's ID. Video Audio Effect Setting User's Logo Advanced1 Advanced2 About Reset All Brightness Control : High Low Projector ID : 1 Set Network Set COM Port : RS-232C USB Auto setup : ON OFF BNC Sync Termination : ON OFF Reset Execute [ ESC ]: Return [ / ]: Select [ ]: Set [Menu]: Exit 3. Press the right or left side of the pointer button to increase or decrease the ID value. 4. Press Enter to set the value. 5. When done, press ESC to exit the menu system. Using the Projector's Menus 135
-
 1
1 -
2
-
3
-
4
-
5
-
6
-
7
-
8
-
9
-
10
-
11
-
12
-
13
-
14
-
15
-
16
-
17
-
18
-
19
-
20
-
21
-
22
-
23
-
24
-
25
-
26
-
27
-
28
-
29
-
30
-
31
-
32
-
33
-
34
-
35
-
36
-
37
-
38
-
39
-
40
-
41
-
42
-
43
-
44
-
45
-
46
-
47
-
48
-
49
-
50
-
51
-
52
-
53
-
54
-
55
-
56
-
57
-
58
-
59
-
60
-
61
-
62
-
63
-
64
-
65
-
66
-
67
-
68
-
69
-
70
-
71
-
72
-
73
-
74
-
75
-
76
-
77
-
78
-
79
-
80
-
81
-
82
-
83
-
84
-
85
-
86
-
87
-
88
-
89
-
90
-
91
-
92
-
93
-
94
-
95
-
96
-
97
-
98
-
99
-
100
-
101
-
102
-
103
-
104
-
105
-
106
-
107
-
108
-
109
-
110
-
111
-
112
-
113
-
114
-
115
-
116
-
117
-
118
-
119
-
120
-
121
-
122
-
123
-
124
-
125
-
126
-
127
-
128
-
129
-
 130
130 -
 131
131 -
 132
132 -
 133
133 -
 134
134 -
 135
135 -
 136
136 -
 137
137 -
 138
138 -
 139
139 -
 140
140 -
141
-
142
-
143
-
144
-
145
-
146
-
147
-
148
-
149
-
150
-
151
-
152
-
153
-
154
-
155
-
156
-
157
-
158
-
159
-
160
-
161
-
162
-
163
-
164
-
165
-
166
-
167
-
168
-
169
-
170
-
171
-
172
-
173
-
174
-
175
-
176
-
177
-
178
-
179
-
180
-
181
-
182
-
183
-
184
-
185
-
186
-
187
-
188
-
189
-
190
-
191
-
192
-
193
-
194
-
195
-
196
-
197
-
198
-
199
-
200
-
201
-
202
-
203
-
204
-
205
-
206
-
207
-
208
-
209
-
210
-
211
-
212
-
213
-
214
-
215
-
216
-
217
-
218
-
219
-
220
-
221
-
222
-
223
-
224
 |
 |