Epson 7850p User Manual - Page 44
Adjusting Color Corrections for a New Surface, Operating Your Computer with the Remote Control
 |
UPC - 010343845992
View all Epson 7850p manuals
Add to My Manuals
Save this manual to your list of manuals |
Page 44 highlights
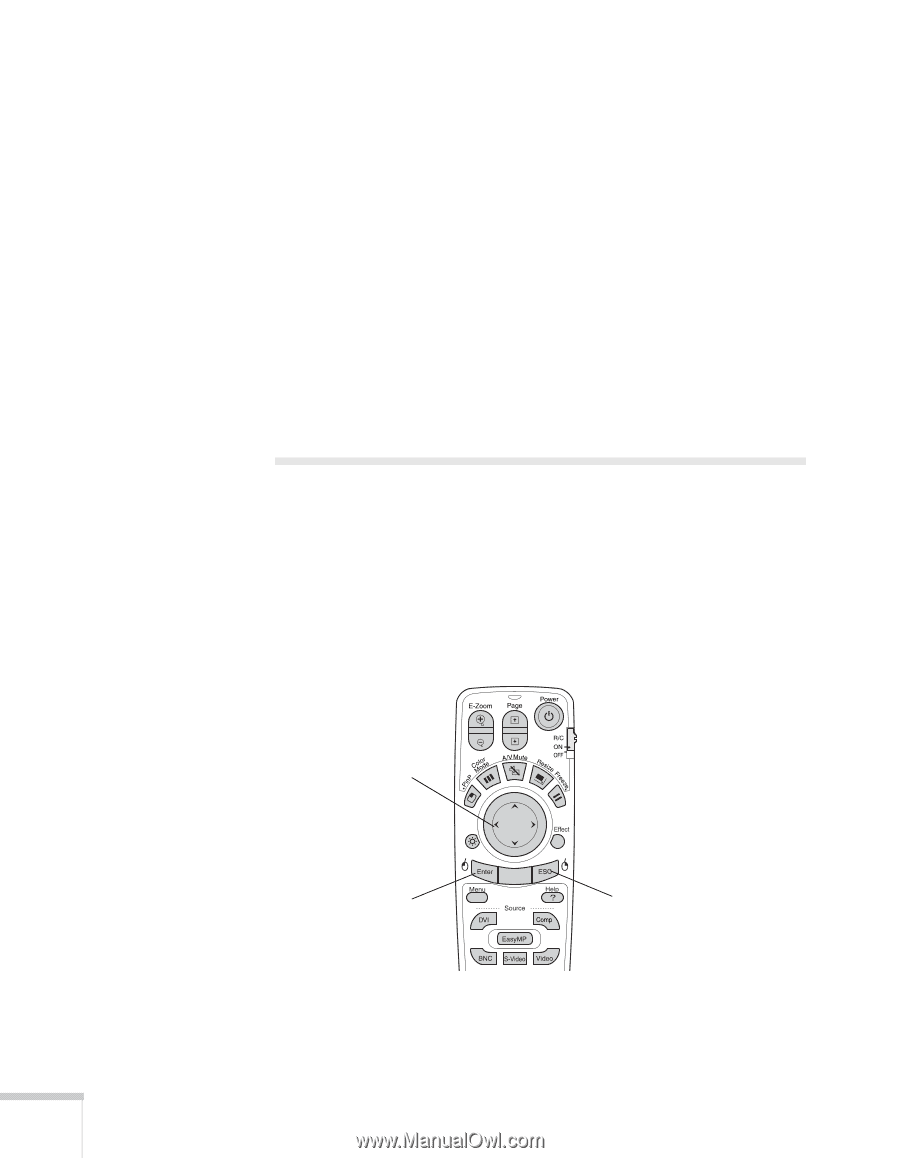
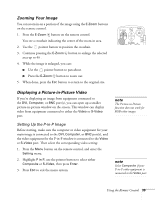
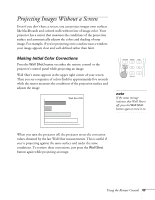
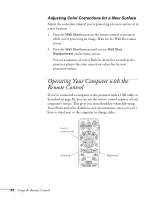
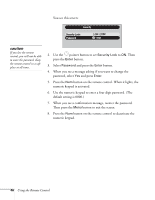
Adjusting Color Corrections for a New Surface Adjust the correction values if you're projecting on a new surface or in a new location. 1. Press the Wall Shot button on the remote control or projector while you're projecting an image. Wait for the Wall Shot status screen. 2. Press the Wall Shot button until you see Wall Shot Readjustment on the status screen. You see a sequence of colors flash for about five seconds as the projector adjusts the color correction values for the new projection surface. Operating Your Computer with the Remote Control If you've connected a computer to the projector with a USB cable, as described on page 56, you can use the remote control in place of your computer's mouse. This gives you more flexibility when delivering PowerPoint and other slideshow-style presentations, since you won't have to stand next to the computer to change slides. Use to move cursor Left-click Right-click 44 Using the Remote Control
-
 1
1 -
2
-
3
-
4
-
5
-
6
-
7
-
8
-
9
-
10
-
11
-
12
-
13
-
14
-
15
-
16
-
17
-
18
-
19
-
20
-
21
-
22
-
23
-
24
-
25
-
26
-
27
-
28
-
29
-
30
-
31
-
32
-
33
-
34
-
35
-
36
-
37
-
38
-
 39
39 -
 40
40 -
 41
41 -
 42
42 -
 43
43 -
 44
44 -
 45
45 -
 46
46 -
 47
47 -
 48
48 -
 49
49 -
50
-
51
-
52
-
53
-
54
-
55
-
56
-
57
-
58
-
59
-
60
-
61
-
62
-
63
-
64
-
65
-
66
-
67
-
68
-
69
-
70
-
71
-
72
-
73
-
74
-
75
-
76
-
77
-
78
-
79
-
80
-
81
-
82
-
83
-
84
-
85
-
86
-
87
-
88
-
89
-
90
-
91
-
92
-
93
-
94
-
95
-
96
-
97
-
98
-
99
-
100
-
101
-
102
-
103
-
104
-
105
-
106
-
107
-
108
-
109
-
110
-
111
-
112
-
113
-
114
-
115
-
116
-
117
-
118
-
119
-
120
-
121
-
122
-
123
-
124
-
125
-
126
-
127
-
128
-
129
-
130
-
131
-
132
-
133
-
134
-
135
-
136
-
137
-
138
-
139
-
140
-
141
-
142
-
143
-
144
-
145
-
146
-
147
-
148
-
149
-
150
-
151
-
152
-
153
-
154
-
155
-
156
-
157
-
158
-
159
-
160
-
161
-
162
-
163
-
164
-
165
-
166
-
167
-
168
-
169
-
170
-
171
-
172
-
173
-
174
-
175
-
176
-
177
-
178
-
179
-
180
-
181
-
182
-
183
-
184
-
185
-
186
-
187
-
188
-
189
-
190
-
191
-
192
-
193
-
194
-
195
-
196
-
197
-
198
-
199
-
200
-
201
-
202
-
203
-
204
-
205
-
206
-
207
-
208
-
209
-
210
-
211
-
212
-
213
-
214
-
215
-
216
-
217
-
218
-
219
-
220
-
221
-
222
-
223
-
224
 |
 |