HP Photosmart 2570 User Guide - Page 62
Print selected photos and videos, Print a cropped photo, Print photos using a proof sheet, Photo Menu - setting date time
 |
View all HP Photosmart 2570 manuals
Add to My Manuals
Save this manual to your list of manuals |
Page 62 highlights
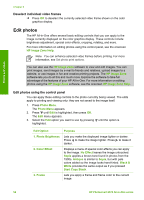
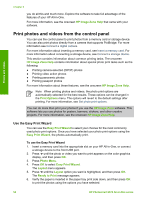
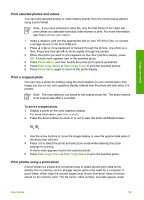
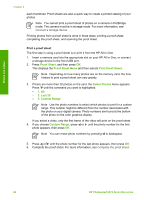
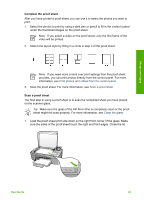
Photos and videos Print selected photos and videos You can print selected photos or video frames directly from the control panel without using a proof sheet. Note If you have selected a video file, only the first frame of the video will print unless you selected individual video frames to print. For more information, see Select photos and videos. 1. Insert a memory card into the appropriate slot on your HP All-in-One, or connect a storage device to the front USB port. 2. Press or to move backward or forward through the photos, one photo at a time. Press and hold or to move rapidly through the photos. 3. When the photo you want to print appears on the color graphics display, press OK. A check mark appears next to the selected photo. 4. Press Photo Menu, and then modify the photo print options as desired. 5. Press Start Copy Black or Start Copy Color to print the selected photos. 6. Press Photo Menu again to return to the photo display. Print a cropped photo You can crop a photo for printing using the zoom feature on your control panel. The image you see on the color graphics display reflects how the photo will look when it is printed. Note The crop setting is not saved to the original photo file. The photo returns to its original size after it is printed. To print a cropped photo 1. Display a photo on the color graphics display. For more information, see View a photo. 2. Press the Zoom buttons to zoom in or out to view the photo at different sizes: 3. Use the arrow buttons to move the image display to view the approximate area of the photo that will print. 4. Press OK to select the photo and exit zoom mode while retaining the zoom settings for printing. A check mark appears next to the selected photo. 5. Press Start Copy Color or Start Copy Black to print the selected photo. Print photos using a proof sheet A proof sheet is a simple and convenient way to select photos and make prints directly from a memory card or storage device without the need for a computer. A proof sheet, which might be several pages long, shows thumbnail views of photos stored on the memory card. The file name, index number, and date appear under User Guide 59
-
 1
1 -
2
-
3
-
4
-
5
-
6
-
7
-
8
-
9
-
10
-
11
-
12
-
13
-
14
-
15
-
16
-
17
-
18
-
19
-
20
-
21
-
22
-
23
-
24
-
25
-
26
-
27
-
28
-
29
-
30
-
31
-
32
-
33
-
34
-
35
-
36
-
37
-
38
-
39
-
40
-
41
-
42
-
43
-
44
-
45
-
46
-
47
-
48
-
49
-
50
-
51
-
52
-
53
-
54
-
55
-
56
-
 57
57 -
 58
58 -
 59
59 -
 60
60 -
 61
61 -
 62
62 -
 63
63 -
 64
64 -
 65
65 -
 66
66 -
 67
67 -
68
-
69
-
70
-
71
-
72
-
73
-
74
-
75
-
76
-
77
-
78
-
79
-
80
-
81
-
82
-
83
-
84
-
85
-
86
-
87
-
88
-
89
-
90
-
91
-
92
-
93
-
94
-
95
-
96
-
97
-
98
-
99
-
100
-
101
-
102
-
103
-
104
-
105
-
106
-
107
-
108
-
109
-
110
-
111
-
112
-
113
-
114
-
115
-
116
-
117
-
118
-
119
-
120
-
121
-
122
-
123
-
124
-
125
-
126
-
127
-
128
-
129
-
130
-
131
-
132
-
133
-
134
-
135
-
136
-
137
-
138
-
139
-
140
-
141
-
142
 |
 |