Lexmark 5470 User's Guide - Page 94
Scanning text for editing, Productivity Studio, Start, Document
 |
UPC - 734646010801
View all Lexmark 5470 manuals
Add to My Manuals
Save this manual to your list of manuals |
Page 94 highlights
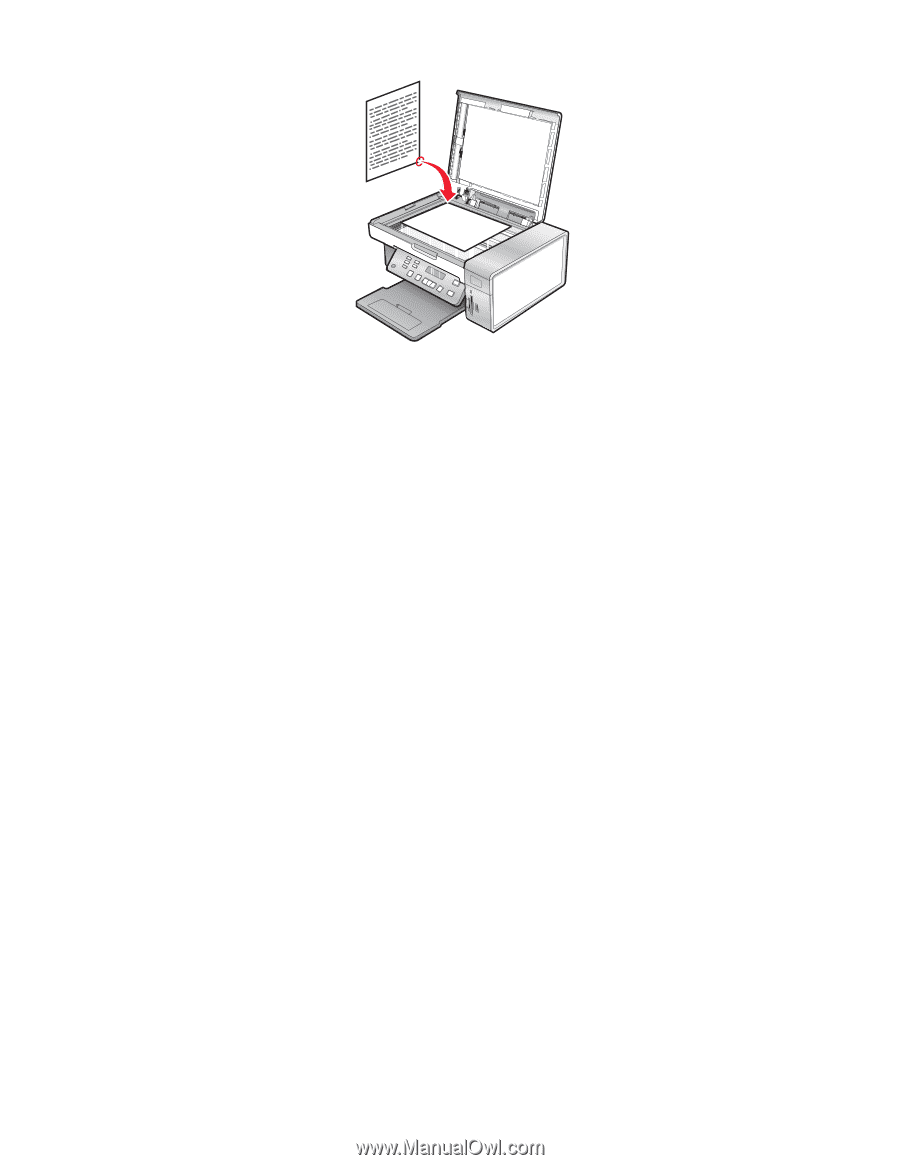
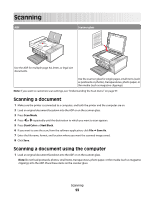
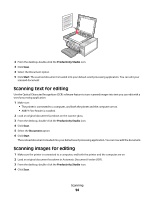
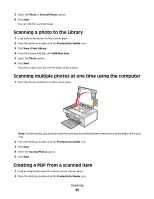
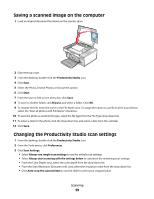
2 From the desktop, double-click the Productivity Studio icon. 3 Click Scan. 4 Select the Document option. 5 Click Start. The scanned document is loaded into your default word processing application. You can edit your scanned document. Scanning text for editing Use the Optical Character Recognition (OCR) software feature to turn scanned images into text you can edit with a word-processing application. 1 Make sure: • The printer is connected to a computer, and both the printer and the computer are on. • ABBYY Fine Reader is installed. 2 Load an original document facedown on the scanner glass. 3 From the desktop, double-click the Productivity Studio icon. 4 Click Scan. 5 Select the Document option. 6 Click Start. The scanned document is loaded into your default word processing application. You can now edit the document. Scanning images for editing 1 Make sure the printer is connected to a computer, and both the printer and the computer are on. 2 Load an original document facedown in Automatic Document Feeder (ADF). 3 From the desktop, double-click the Productivity Studio icon. 4 Click Scan. Scanning 94
-
 1
1 -
2
-
3
-
4
-
5
-
6
-
7
-
8
-
9
-
10
-
11
-
12
-
13
-
14
-
15
-
16
-
17
-
18
-
19
-
20
-
21
-
22
-
23
-
24
-
25
-
26
-
27
-
28
-
29
-
30
-
31
-
32
-
33
-
34
-
35
-
36
-
37
-
38
-
39
-
40
-
41
-
42
-
43
-
44
-
45
-
46
-
47
-
48
-
49
-
50
-
51
-
52
-
53
-
54
-
55
-
56
-
57
-
58
-
59
-
60
-
61
-
62
-
63
-
64
-
65
-
66
-
67
-
68
-
69
-
70
-
71
-
72
-
73
-
74
-
75
-
76
-
77
-
78
-
79
-
80
-
81
-
82
-
83
-
84
-
85
-
86
-
87
-
88
-
 89
89 -
 90
90 -
 91
91 -
 92
92 -
 93
93 -
 94
94 -
 95
95 -
 96
96 -
 97
97 -
 98
98 -
 99
99 -
100
-
101
-
102
-
103
-
104
-
105
-
106
-
107
-
108
-
109
-
110
-
111
-
112
-
113
-
114
-
115
-
116
-
117
-
118
-
119
-
120
-
121
-
122
-
123
-
124
-
125
-
126
-
127
-
128
-
129
-
130
-
131
-
132
-
133
-
134
-
135
-
136
-
137
-
138
-
139
-
140
-
141
-
142
-
143
-
144
-
145
-
146
-
147
-
148
-
149
-
150
-
151
-
152
-
153
-
154
-
155
-
156
-
157
-
158
-
159
-
160
-
161
-
162
-
163
-
164
-
165
-
166
-
167
-
168
-
169
-
170
-
171
-
172
-
173
-
174
-
175
-
176
-
177
-
178
-
179
-
180
-
181
-
182
-
183
-
184
-
185
-
186
-
187
-
188
-
189
-
190
-
191
-
192
-
193
-
194
-
195
-
196
-
197
-
198
-
199
-
200
-
201
-
202
 |
 |