Yamaha MO6 Owner's Manual - Page 210
Utility Job mode, Supplementary, UTILITY]
 |
UPC - 086792837703
View all Yamaha MO6 manuals
Add to My Manuals
Save this manual to your list of manuals |
Page 210 highlights
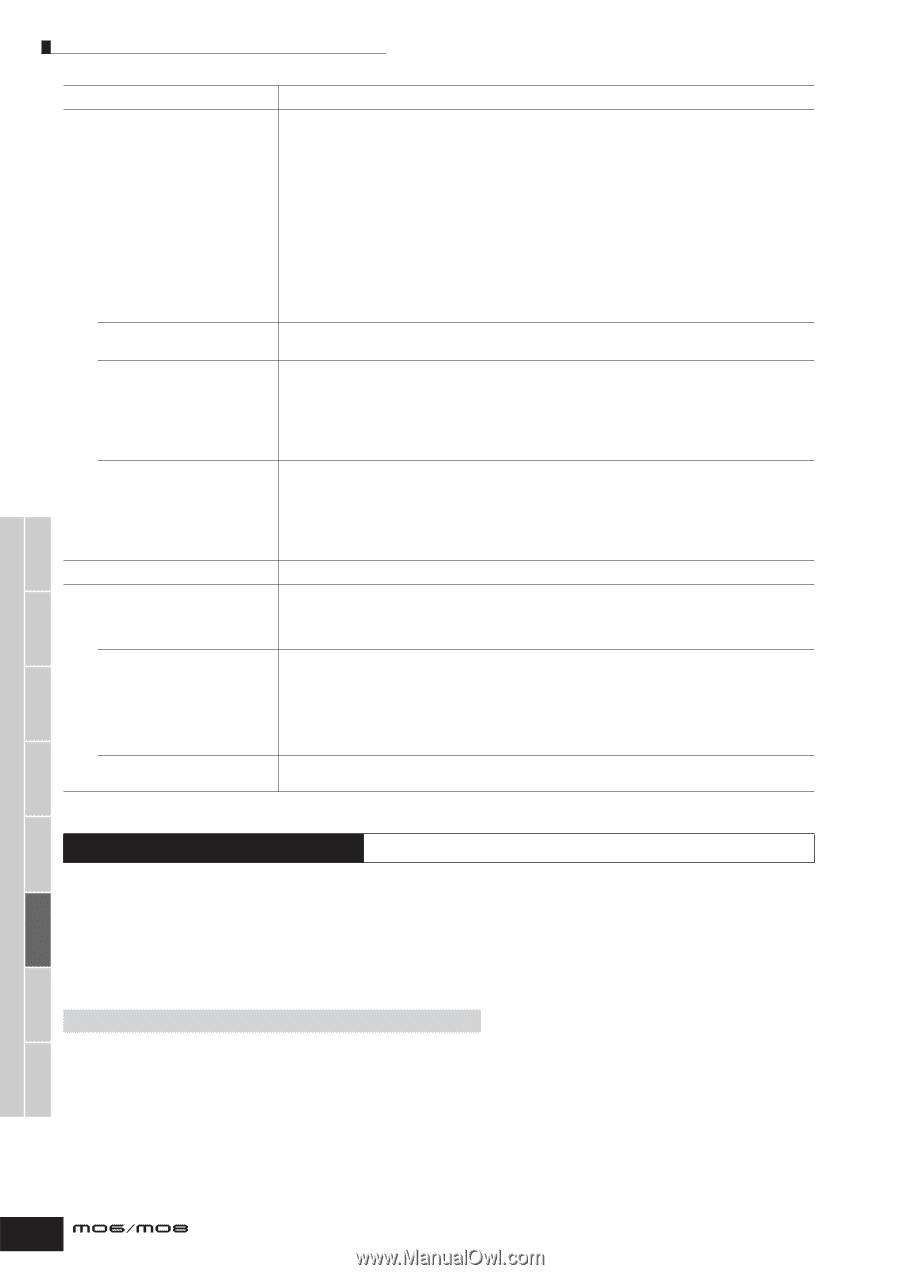
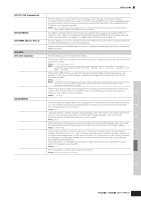
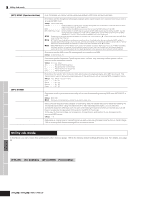
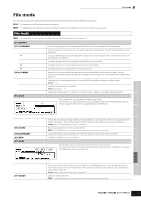
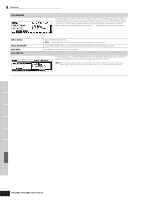
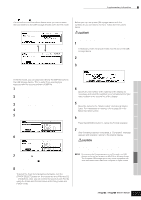
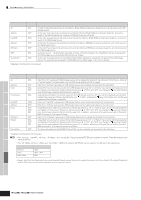
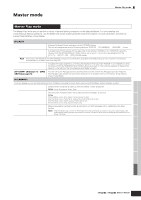
Utility Job mode [SF3] SYNC (Synchronization) MIDI Sync ClockOut SeqCtrl (Sequencer Control) MTC StartOffset [SF4] OTHER MIDI IN/OUT ThruPort (Through Port) BulkInterval (Bulk Interval) From this display you can set various parameters related to MIDI clock and synchronization. Determines whether Song/Pattern/Arpeggio playback will be synchronized to the instrument's internal clock or an external MIDI clock. Settings: internal, MIDI, MTC internal Synchronization to internal clock. Use this setting when this synthesizer is to be used alone or as the master clock source for other equipment. MIDI Synchronization to a MIDI clock received from an external MIDI instrument via MIDI. MTC (MIDI Time Code).....Synchronization to an MTC signal received via MIDI. MMC signals are transmitted via MIDI. Use this setting when this synthesizer is to be used as a MIDI slave, such as when synchronized to an MTCcapable MTR. The MTC Sync function is available only in the Song mode. n Please keep in mind that the song or pattern will not start even if you press the [F] (Play) button when the MIDI Sync is set to other than "internal." n MTC (MIDI Time Code) allows simultaneous synchronization of multiple audio devices via standard MIDI cables. It includes data corresponding to hours, minutes, seconds, and frames. This synthesizer does not transmit MTC. A device such as the Yamaha AW2400 is necessary in order to use this synthesizer as an MTC master. n MMC (MIDI Machine Control) allows remote control of multitrack recorders, MIDI sequencers, etc. A MMC-compatible multitrack recorder, for example, will automatically respond to start, stop, fast forward, and fast reverse operations performed on the controlling sequencer, thus keeping playback of the sequencer and multitrack recorder aligned. Determines whether MIDI clock (F8) messages will be transmitted via MIDI. Settings: on (transmitted), off Determines whether Sequencer Control signals-start, continue, stop, and song position pointer-will be received and/or transmitted via MIDI. Settings: off, in, out, in/out off Not transmitted/recognized. in Recognized but not transmitted. out Transmitted but not recognized. in/out Transmitted/recognized. Determines the specific time code point from which sequence playback starts, when MTC is received. This feature can be used to accurately align playback of this synthesizer with an external MTC-compatible device. Settings: Hour : Minute : Second : Frame Hour 00 - 23 Minute 00 - 59 Second 00 - 59 Frame 00 - 29 Determines which physical output terminal(s) will be used for transmitting/receiving MIDI data: MIDI IN/OUT or USB. Settings: MIDI, USB n Two types of terminals above cannot be used at the same time. Many computer sequencers are capable of transmitting data over several MIDI ports, effectively breaking the 16-channel barrier. When using the USB terminal for MIDI transmission/reception, you can have this synthesizer respond to MIDI data over one port, while relaying the data for another port number (you can set here) to a separate tone generator (connected to the MIDI OUT terminal). In this way, 16 channels of data can be played on this synthesizer and another 16 can be played on the connected MIDI device. Settings: 1 - 8 Determines an interval time for transmitting the bulk data, when using the Bulk Dump function on the MO (page 148) or receiving Bulk Request messages from an external device. Voice mode Performance mode Song mode Pattern mode Mixing Voice mode Reference Utility Job mode [UTILITY] ➞ [JOB] In this Mode, you can restore this synthesizer's User memory (page 149) to the factory default settings (Factory Set). For details, see page 26. Utility mode File mode Master mode ■ Supplementary Setting the default display when turning the power on [UTILITY] ➞ [F1] GENERAL ➞ [SF4] OTHER ➞ PowerOnMode 1 Enter the desired mode and the program number you wish to call up first when turning the power on. 2 Press the [ENTER] button while holding the [STORE] button to register the mode and program number set in step 1. 3 Set the PowerOnMode parameter to "last" in the [UTILITY] → [F1] GENERAL → [SF4] OTHER display. 4 Press the [STORE] button to store the Utility setting made in step 3 above. 5 Turn the power off and turn the power on again to call up the mode/program number set in step 2 to the display. 210 Owner's Manual
-
 1
1 -
2
-
3
-
4
-
5
-
6
-
7
-
8
-
9
-
10
-
11
-
12
-
13
-
14
-
15
-
16
-
17
-
18
-
19
-
20
-
21
-
22
-
23
-
24
-
25
-
26
-
27
-
28
-
29
-
30
-
31
-
32
-
33
-
34
-
35
-
36
-
37
-
38
-
39
-
40
-
41
-
42
-
43
-
44
-
45
-
46
-
47
-
48
-
49
-
50
-
51
-
52
-
53
-
54
-
55
-
56
-
57
-
58
-
59
-
60
-
61
-
62
-
63
-
64
-
65
-
66
-
67
-
68
-
69
-
70
-
71
-
72
-
73
-
74
-
75
-
76
-
77
-
78
-
79
-
80
-
81
-
82
-
83
-
84
-
85
-
86
-
87
-
88
-
89
-
90
-
91
-
92
-
93
-
94
-
95
-
96
-
97
-
98
-
99
-
100
-
101
-
102
-
103
-
104
-
105
-
106
-
107
-
108
-
109
-
110
-
111
-
112
-
113
-
114
-
115
-
116
-
117
-
118
-
119
-
120
-
121
-
122
-
123
-
124
-
125
-
126
-
127
-
128
-
129
-
130
-
131
-
132
-
133
-
134
-
135
-
136
-
137
-
138
-
139
-
140
-
141
-
142
-
143
-
144
-
145
-
146
-
147
-
148
-
149
-
150
-
151
-
152
-
153
-
154
-
155
-
156
-
157
-
158
-
159
-
160
-
161
-
162
-
163
-
164
-
165
-
166
-
167
-
168
-
169
-
170
-
171
-
172
-
173
-
174
-
175
-
176
-
177
-
178
-
179
-
180
-
181
-
182
-
183
-
184
-
185
-
186
-
187
-
188
-
189
-
190
-
191
-
192
-
193
-
194
-
195
-
196
-
197
-
198
-
199
-
200
-
201
-
202
-
203
-
204
-
 205
205 -
 206
206 -
 207
207 -
 208
208 -
 209
209 -
 210
210 -
 211
211 -
 212
212 -
 213
213 -
 214
214 -
 215
215 -
216
-
217
-
218
-
219
-
220
-
221
-
222
-
223
-
224
-
225
-
226
-
227
-
228
-
229
-
230
-
231
-
232
-
233
-
234
-
235
-
236
-
237
-
238
-
239
-
240
 |
 |