Samsung SPH-M920 User Manual (user Manual) (ver.f6) (English) - Page 107
Sending Contacts, Assigning a Picture to an Entry
 |
View all Samsung SPH-M920 manuals
Add to My Manuals
Save this manual to your list of manuals |
Page 107 highlights
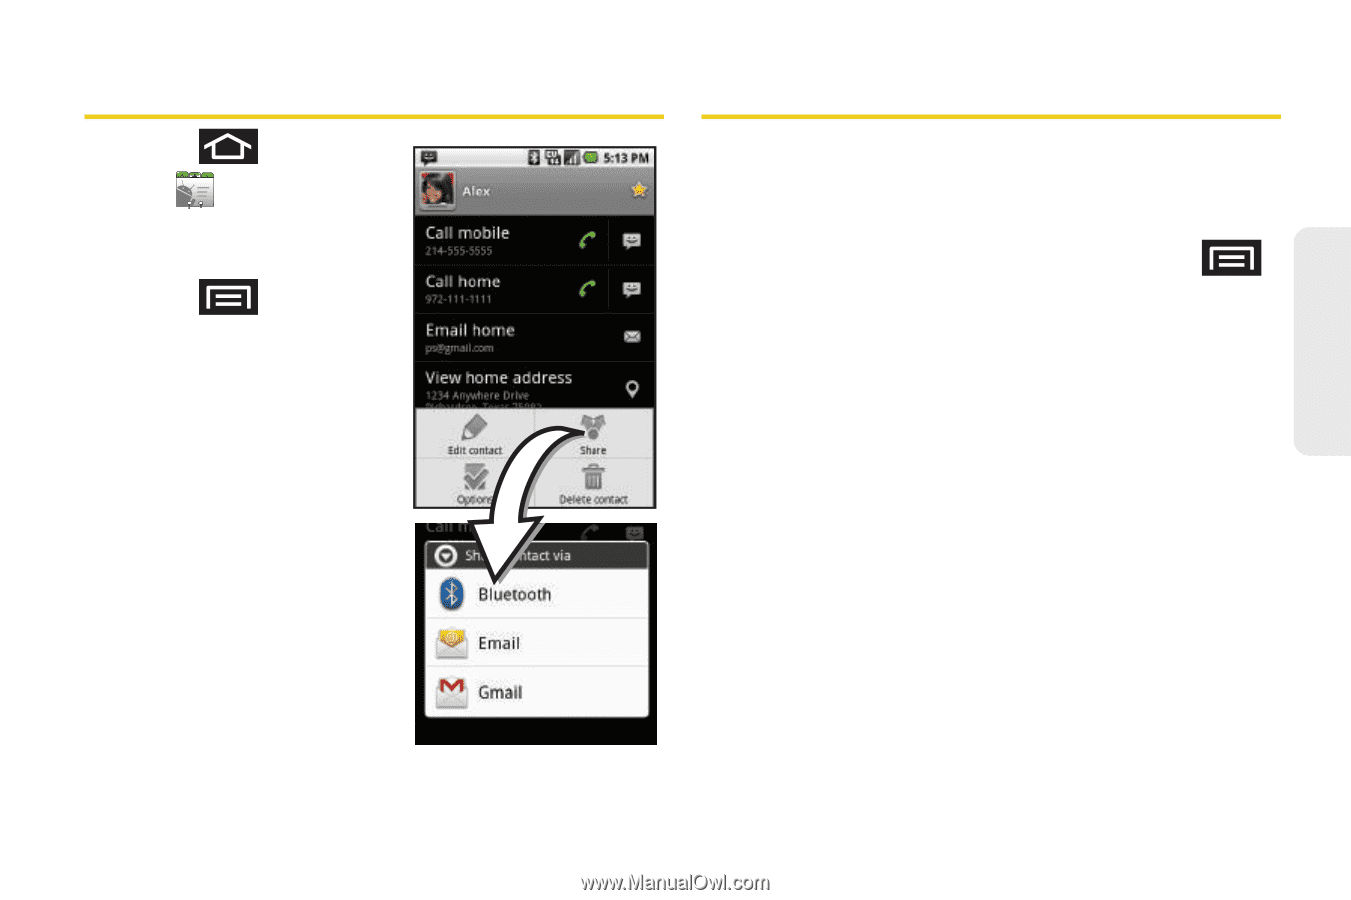
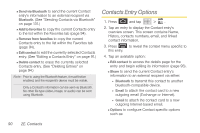
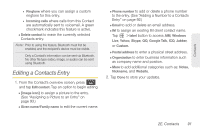
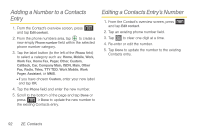
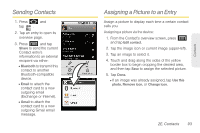
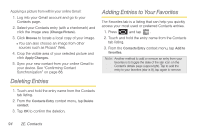
Sending Contacts 1. Press and tap . 2. Tap an entry to open its overview page. 3. Press and tap Share to send the current Contact entry's information to an external recipient via either: Ⅲ Bluetooth to transmit this contact to another Bluetooth-compatible device. Ⅲ Email to attach the contact card to a new outgoing email (Exchange or Internet). Ⅲ Gmail to attach the contact card to a new outgoing Gmail email message. Assigning a Picture to an Entry Assign a picture to display each time a certain contact calls you. Assigning a picture via the device: 1. From the Contact's overview screen, press and tap Edit contact. 2. Tap the image icon or current image (upper-left). 3. Tap an image to select it. 4. Touch and drag along the sides of the yellow border box to begin cropping the desired area, and then tap Save to assign the selected picture. 5. Tap Done. Ⅲ If an image was already assigned, tap Use this photo, Remove icon, or Change icon. 2E. Contacts 93 Contacts
-
 1
1 -
2
-
3
-
4
-
5
-
6
-
7
-
8
-
9
-
10
-
11
-
12
-
13
-
14
-
15
-
16
-
17
-
18
-
19
-
20
-
21
-
22
-
23
-
24
-
25
-
26
-
27
-
28
-
29
-
30
-
31
-
32
-
33
-
34
-
35
-
36
-
37
-
38
-
39
-
40
-
41
-
42
-
43
-
44
-
45
-
46
-
47
-
48
-
49
-
50
-
51
-
52
-
53
-
54
-
55
-
56
-
57
-
58
-
59
-
60
-
61
-
62
-
63
-
64
-
65
-
66
-
67
-
68
-
69
-
70
-
71
-
72
-
73
-
74
-
75
-
76
-
77
-
78
-
79
-
80
-
81
-
82
-
83
-
84
-
85
-
86
-
87
-
88
-
89
-
90
-
91
-
92
-
93
-
94
-
95
-
96
-
97
-
98
-
99
-
100
-
101
-
 102
102 -
 103
103 -
 104
104 -
 105
105 -
 106
106 -
 107
107 -
 108
108 -
 109
109 -
 110
110 -
 111
111 -
 112
112 -
113
-
114
-
115
-
116
-
117
-
118
-
119
-
120
-
121
-
122
-
123
-
124
-
125
-
126
-
127
-
128
-
129
-
130
-
131
-
132
-
133
-
134
-
135
-
136
-
137
-
138
-
139
-
140
-
141
-
142
-
143
-
144
-
145
-
146
-
147
-
148
-
149
-
150
-
151
-
152
-
153
-
154
-
155
-
156
-
157
-
158
-
159
-
160
-
161
-
162
-
163
-
164
-
165
-
166
-
167
-
168
-
169
-
170
-
171
-
172
-
173
-
174
-
175
-
176
-
177
-
178
-
179
-
180
-
181
-
182
-
183
-
184
-
185
-
186
-
187
-
188
-
189
-
190
-
191
-
192
-
193
-
194
-
195
-
196
-
197
-
198
-
199
-
200
-
201
-
202
-
203
-
204
-
205
-
206
-
207
-
208
-
209
-
210
-
211
-
212
-
213
-
214
-
215
-
216
-
217
-
218
-
219
-
220
-
221
-
222
-
223
-
224
-
225
-
226
-
227
-
228
-
229
-
230
-
231
-
232
-
233
-
234
-
235
-
236
-
237
-
238
 |
 |