Asus SCSI 320-0 Global Array Manager Transition Tool - Page 104
Installing and Registering Power Console Plus Components in a NetWare Server 4.x
 |
View all Asus SCSI 320-0 manuals
Add to My Manuals
Save this manual to your list of manuals |
Page 104 highlights
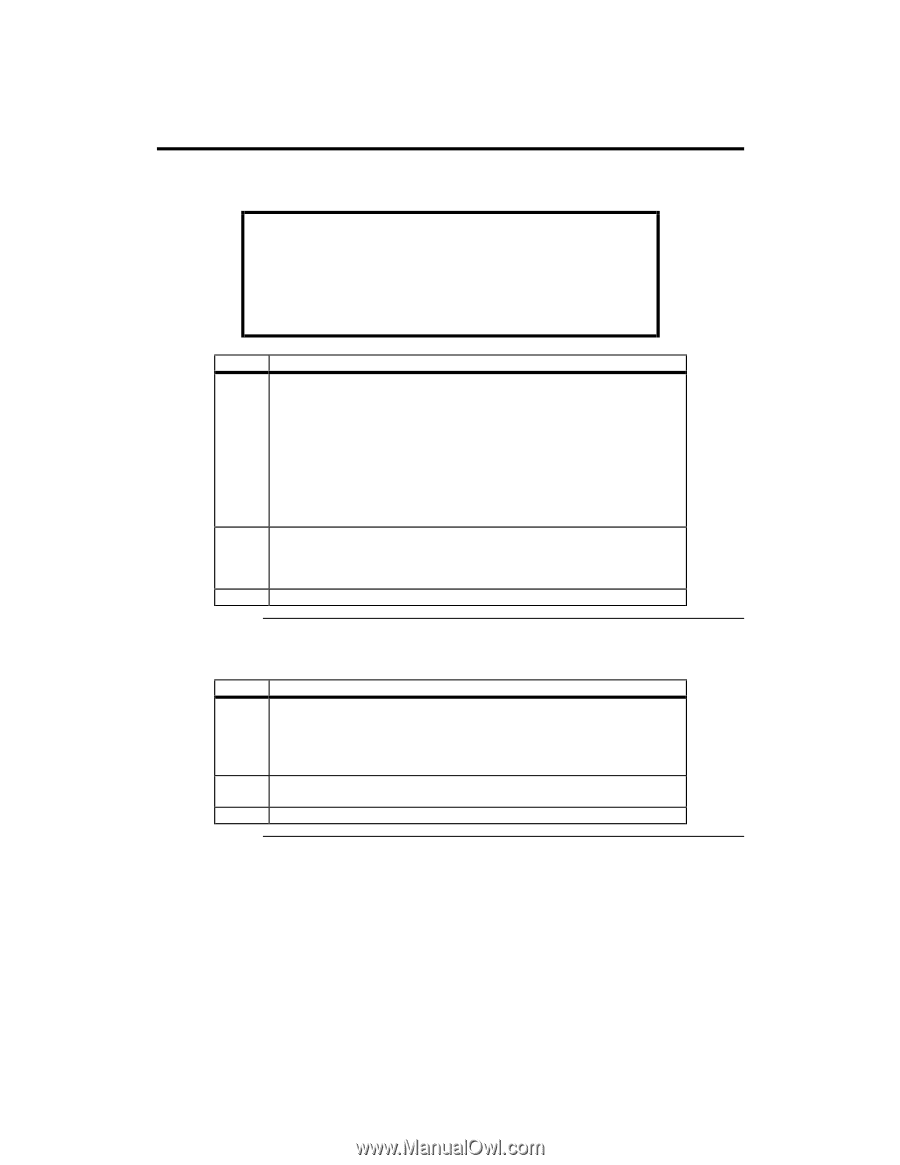
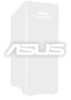
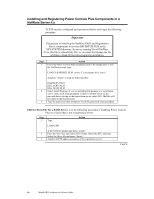
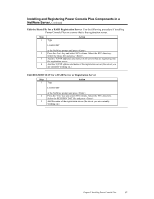
Installing and Registering Power Console Plus Components in a NetWare Server 4.x TCP/IP must be configured and operational before you begin the following procedure. Important The process of installing the NetWare RAID and Registration Server components overwrites RPCBSTUB.NLM in the SYS:SYSTEM directory. In servers running Novell NetWare 4.1xs, this file is a Read-Only file, so you must first change the file attribute to Read-Write before beginning installation. Step Action 1 Insert the Power Console Plus installation disk in the floppy drive. From the NetWare prompt, type: LOAD X:RAIDINST.NLM (where X is the floppy drive letter) and press to load the following files: RAIDSERV.NLM REG_SERV.NLM REG_MAIN.NLM 2 Select Install Package. If you are installing this package to a registration server, select YES when prompted. If there is another server on the network that is serving as the registration server, select NO. The files will be copied to the Novell server. 3 Type the password when prompted. Verify the password when prompted. Edit the Hosts File for a RAID Server Use the following procedure if installing Power Console Plus on a server that is not a registration server. Step 1 Type Action LOAD EDIT at the NetWare prompt and press . 2 Press the key and select SYS volume. Select the ETC directory. Select the Hosts file and press . 3 Add the TCP/IP address and name of the registration server. Cont'd 96 MegaRAID Configuration Software Guide
-
 1
1 -
2
-
3
-
4
-
5
-
6
-
7
-
8
-
9
-
10
-
11
-
12
-
13
-
14
-
15
-
16
-
17
-
18
-
19
-
20
-
21
-
22
-
23
-
24
-
25
-
26
-
27
-
28
-
29
-
30
-
31
-
32
-
33
-
34
-
35
-
36
-
37
-
38
-
39
-
40
-
41
-
42
-
43
-
44
-
45
-
46
-
47
-
48
-
49
-
50
-
51
-
52
-
53
-
54
-
55
-
56
-
57
-
58
-
59
-
60
-
61
-
62
-
63
-
64
-
65
-
66
-
67
-
68
-
69
-
70
-
71
-
72
-
73
-
74
-
75
-
76
-
77
-
78
-
79
-
80
-
81
-
82
-
83
-
84
-
85
-
86
-
87
-
88
-
89
-
90
-
91
-
92
-
93
-
94
-
95
-
96
-
97
-
98
-
 99
99 -
 100
100 -
 101
101 -
 102
102 -
 103
103 -
 104
104 -
 105
105 -
 106
106 -
 107
107 -
 108
108 -
 109
109 -
110
-
111
-
112
-
113
-
114
-
115
-
116
-
117
-
118
-
119
-
120
-
121
-
122
-
123
-
124
-
125
-
126
-
127
-
128
-
129
-
130
-
131
-
132
-
133
-
134
-
135
-
136
-
137
-
138
-
139
-
140
-
141
-
142
-
143
-
144
-
145
-
146
-
147
-
148
-
149
-
150
-
151
-
152
-
153
-
154
 |
 |