HP Xw5000 hp workstation xw5000 Technical Reference (309233-001 10/02) - Page 59
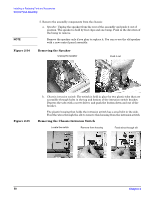
Removing the Control Panel Assembly
 |
UPC - 613326803318
View all HP Xw5000 manuals
Add to My Manuals
Save this manual to your list of manuals |
Page 59 highlights
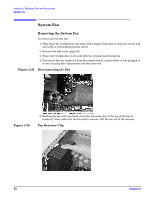
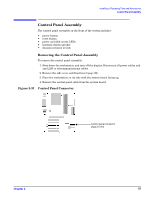
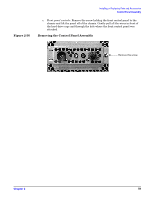
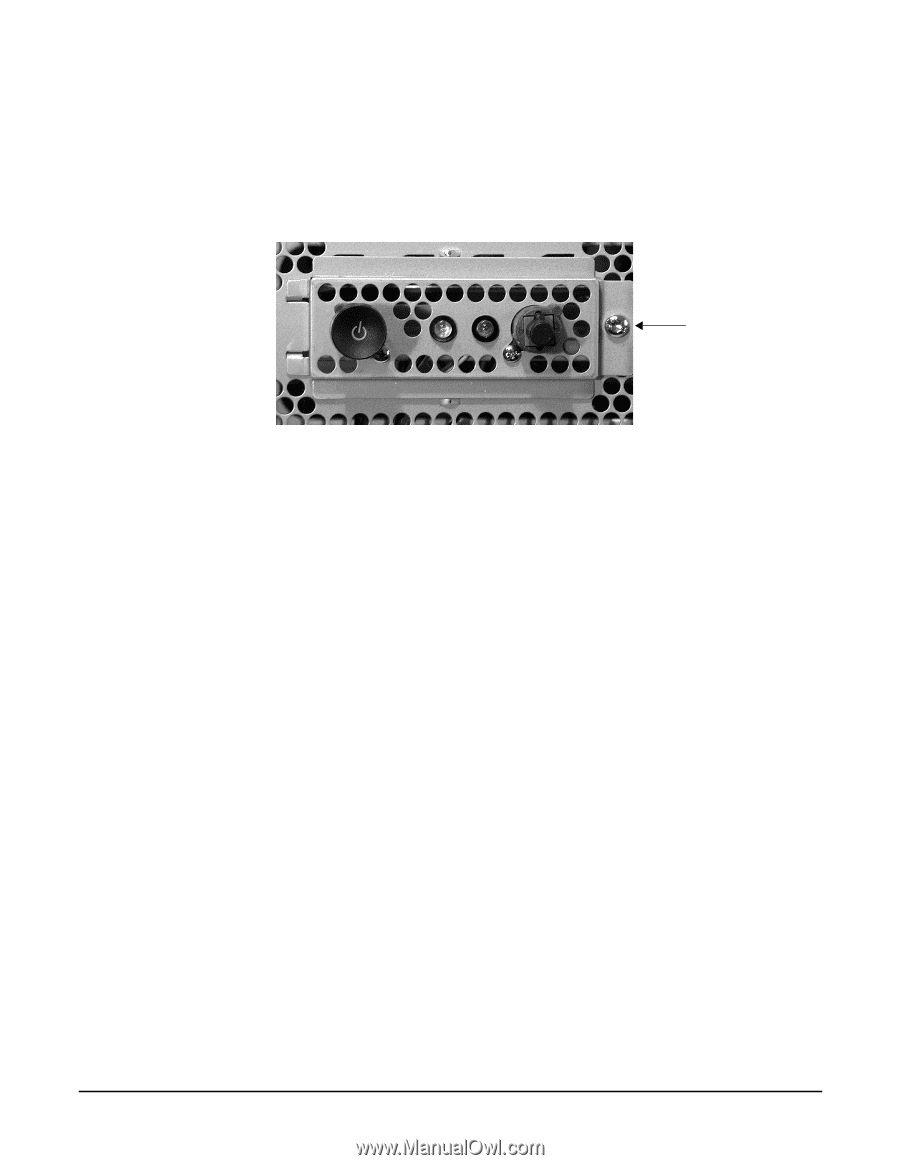
Figure 2-36 c. Front panel controls: Remove the screw holding the front control panel to the chassis and lift the panel off of the chassis. Gently pull all the wires in front of the hard drive cage and through the hole where the front control panel was attached. Removing the Control Panel Assembly
-
 1
1 -
2
-
3
-
4
-
5
-
6
-
7
-
8
-
9
-
10
-
11
-
12
-
13
-
14
-
15
-
16
-
17
-
18
-
19
-
20
-
21
-
22
-
23
-
24
-
25
-
26
-
27
-
28
-
29
-
30
-
31
-
32
-
33
-
34
-
35
-
36
-
37
-
38
-
39
-
40
-
41
-
42
-
43
-
44
-
45
-
46
-
47
-
48
-
49
-
50
-
51
-
52
-
53
-
 54
54 -
 55
55 -
 56
56 -
 57
57 -
 58
58 -
 59
59 -
 60
60 -
 61
61 -
 62
62 -
 63
63 -
 64
64 -
65
-
66
-
67
-
68
-
69
-
70
-
71
-
72
-
73
-
74
-
75
-
76
-
77
-
78
-
79
-
80
-
81
-
82
-
83
-
84
-
85
-
86
-
87
-
88
-
89
-
90
-
91
-
92
-
93
-
94
-
95
-
96
-
97
-
98
-
99
-
100
-
101
-
102
-
103
-
104
-
105
-
106
-
107
-
108
-
109
-
110
-
111
-
112
-
113
-
114
-
115
-
116
-
117
-
118
 |
 |
¹º¿·½ÀÀ¾ºÁ¸³²¸ÂÃÄÀ½¶¾ºÁ¸±½²·¿¸½º´ Ŷ¶Ã¿¿³²¾Ã¿
»²¹¶³²Ãº¿·¹¾ÃºÔµµ¾¼×ÃÄ
ÂÆÇÈÉÊ˲±
µ¹
c.
Front panel controls:
Remove the screw holding the front control panel to the
chassis and lift the panel off of the chassis. Gently pull all the wires in front of
the hard drive cage and through the hole where the front control panel was
attached.
Figure 2-36
Removing the Control Panel Assembly
¼¶Ü´Æ¶²ºÀ¾½²½¿·¶µ