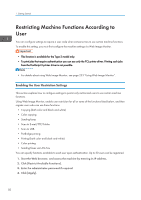
Ricoh SP C252SF Operating Instructions - Page 50
Ad Hoc mode, only Open System or WEP encryption is supported. WPA2-PSK and Mix Mode
 |
View all Ricoh SP C252SF manuals
Add to My Manuals
Save this manual to your list of manuals |
Page 50 highlights
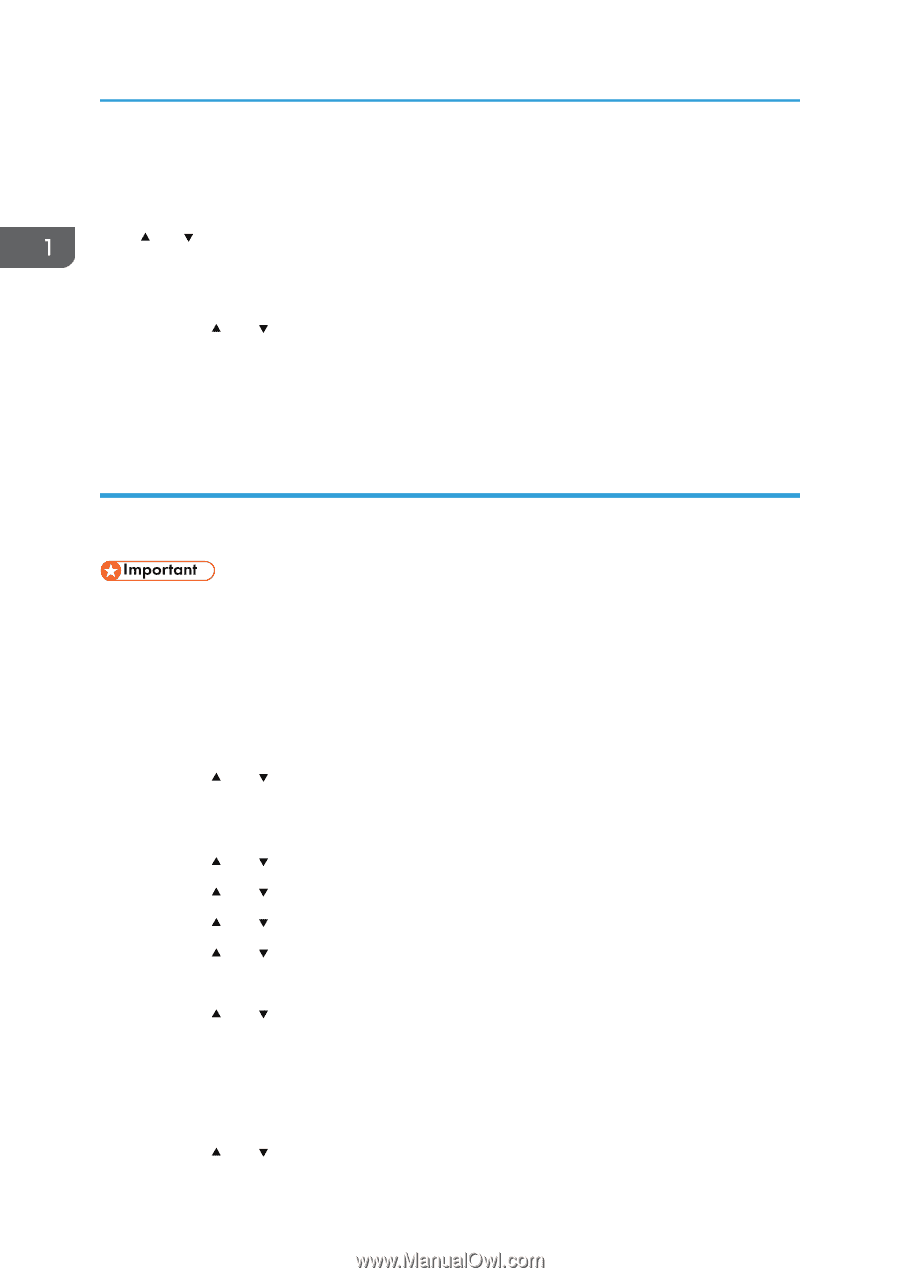
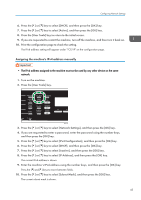
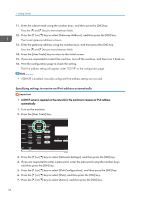
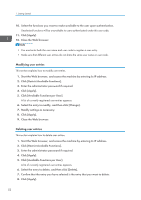
1. Getting Started 11. Enter the encryption key using the number keys, and then press [Connect]. If you selected [Shared Key] or [Open System] in Step 9, it is necessary to enter the ID. The ID is used for identifying the encryption key. You can register four encryption keys (ID 1 to 4). Use the [ ] or [ ] key to switch between the encryption key and ID settings. 12. Press [Yes]. After connecting to the network, the Wi-Fi screen is displayed. 13. Press the [ ] or [ ] key to select [Wi-Fi Status], and then press the [OK] key. When "Connected" is displayed, the connection has been established. When "Disconnected" is displayed, the connection has not been established. Start again from the beginning. Ad Hoc mode This section explains how to connect directly to devices equipped with a wireless LAN, such as computers on a peer-to-peer network. • In Ad Hoc network, every device must be manually assigned an IP address for TCP/IP if there is no DHCP server. • In Ad Hoc mode, only Open System or WEP encryption is supported. WPA2-PSK and Mix Mode WPA2/WPA authentication methods are not supported. 1. Turn on the machine. 2. Press the [User Tools] key. 3. Press the [ ] or [ ] key to select [Network Settings], and then press the [OK] key. 4. If you are requested to enter a password, enter the password using the number keys, and then press the [OK] key. 5. Press the [ ] or [ ] key to select [Wi-Fi Configuration], and then press the [OK] key. 6. Press the [ ] or [ ] key to select [Setup Wizard], and then press the [OK] key. 7. Press the [ ] or [ ] key to select [Ad-Hoc], and then press [Next]. 8. Press the [ ] or [ ] key to select a communication channel, and then press [Next]. Select a channel that corresponds to the device that you are going to connect with. 9. Press the [ ] or [ ] key to select the destination device name (IBSS), and then press [Next]. If you cannot find the destination, check that the device is turned on. When entering the device name, select [Input SSID], and then press [Next]. The SSID entry screen appears. Enter the device name using the number keys, and then press [Next]. 10. Press the [ ] or [ ] key to select the authentication method, and then press [Next]. 48
-
 1
1 -
2
-
3
-
4
-
5
-
6
-
7
-
8
-
9
-
10
-
11
-
12
-
13
-
14
-
15
-
16
-
17
-
18
-
19
-
20
-
21
-
22
-
23
-
24
-
25
-
26
-
27
-
28
-
29
-
30
-
31
-
32
-
33
-
34
-
35
-
36
-
37
-
38
-
39
-
40
-
41
-
42
-
43
-
44
-
 45
45 -
 46
46 -
 47
47 -
 48
48 -
 49
49 -
 50
50 -
 51
51 -
 52
52 -
 53
53 -
 54
54 -
 55
55 -
56
-
57
-
58
-
59
-
60
-
61
-
62
-
63
-
64
-
65
-
66
-
67
-
68
-
69
-
70
-
71
-
72
-
73
-
74
-
75
-
76
-
77
-
78
-
79
-
80
-
81
-
82
-
83
-
84
-
85
-
86
-
87
-
88
-
89
-
90
-
91
-
92
-
93
-
94
-
95
-
96
-
97
-
98
-
99
-
100
-
101
-
102
-
103
-
104
-
105
-
106
-
107
-
108
-
109
-
110
-
111
-
112
-
113
-
114
-
115
-
116
-
117
-
118
-
119
-
120
-
121
-
122
-
123
-
124
-
125
-
126
-
127
-
128
-
129
-
130
-
131
-
132
-
133
-
134
-
135
-
136
-
137
-
138
-
139
-
140
-
141
-
142
-
143
-
144
-
145
-
146
-
147
-
148
-
149
-
150
-
151
-
152
-
153
-
154
-
155
-
156
-
157
-
158
-
159
-
160
-
161
-
162
-
163
-
164
-
165
-
166
-
167
-
168
-
169
-
170
-
171
-
172
-
173
-
174
-
175
-
176
-
177
-
178
-
179
-
180
-
181
-
182
-
183
-
184
-
185
-
186
-
187
-
188
-
189
-
190
-
191
-
192
-
193
-
194
-
195
-
196
-
197
-
198
-
199
-
200
-
201
-
202
-
203
-
204
-
205
-
206
-
207
-
208
-
209
-
210
-
211
-
212
-
213
-
214
-
215
-
216
-
217
-
218
-
219
-
220
-
221
-
222
-
223
-
224
-
225
-
226
-
227
-
228
-
229
-
230
-
231
-
232
-
233
-
234
-
235
-
236
-
237
-
238
-
239
-
240
-
241
-
242
-
243
-
244
-
245
-
246
-
247
-
248
-
249
-
250
-
251
-
252
-
253
-
254
-
255
-
256
-
257
-
258
-
259
-
260
-
261
-
262
-
263
-
264
-
265
-
266
-
267
-
268
-
269
-
270
-
271
-
272
-
273
-
274
-
275
-
276
-
277
-
278
-
279
-
280
-
281
-
282
-
283
-
284
-
285
-
286
-
287
-
288
-
289
-
290
-
291
-
292
-
293
-
294
-
295
-
296
-
297
-
298
-
299
-
300
-
301
-
302
-
303
-
304
-
305
-
306
-
307
-
308
-
309
-
310
-
311
-
312
-
313
-
314
-
315
-
316
-
317
-
318
-
319
-
320
-
321
-
322
-
323
-
324
-
325
-
326
-
327
-
328
-
329
-
330
-
331
-
332
-
333
-
334
-
335
-
336
-
337
-
338
-
339
-
340
-
341
-
342
-
343
-
344
-
345
-
346
-
347
-
348
-
349
-
350
-
351
-
352
-
353
-
354
-
355
-
356
-
357
-
358
-
359
-
360
-
361
-
362
-
363
-
364
-
365
-
366
-
367
-
368
-
369
-
370
-
371
-
372
-
373
-
374
-
375
-
376
-
377
-
378
-
379
-
380
 |
 |