Samsung Galaxy Victory User Manual - Page 59
Save a Phone Number, Add to Contacts
 |
View all Samsung Galaxy Victory manuals
Add to My Manuals
Save this manual to your list of manuals |
Page 59 highlights
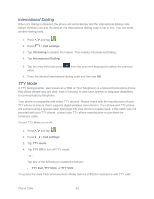
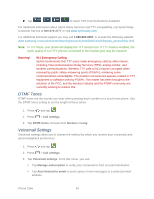
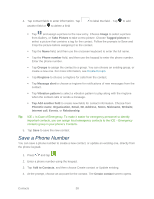
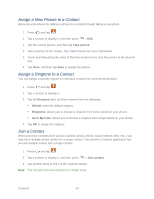
4. Tap contact fields to enter information. Tap another field or to delete a field to label the field. . Tap to add Tap and assign a picture to the new entry. Choose Image to select a picture from Gallery, or Take Picture to take a new picture. Choose Tagged picture to select a picture that contains a tag for the contact. Follow the prompts to Save and Crop the picture before assigning it to the contact. Tap the Name field, and then use the onscreen keyboard to enter the full name. Tap the Phone number field, and then use the keypad to enter the phone number. Enter the phone number. Tap Groups to assign the contact to a group. You can choose an existing group, or create a new one. For more information, see Create Groups. Tap Ringtone to choose a ringtone for calls from the contact. Tap Message alert to choose a ringtone for notifications of new messages from the contact. Tap Vibration pattern to select a vibration pattern to play along with the ringtone when the contact calls or sends a message. Tap Add another field to create new fields for contact information. Choose from Phonetic name, Organization, Email, IM, Address, Notes, Nickname, Website, Internet call, Events, or Relationship. Tip: ICE = In Case of Emergency. To make it easier for emergency personnel to identify important contacts, you can assign local emergency contacts to the ICE - Emergency contacts group in your phone's Contacts. 5. Tap Save to save the new contact. Save a Phone Number You can save a phone number to create a new contact, or update an existing one, directly from the phone keypad. 1. Press and tap . 2. Enter a phone number using the keypad. 3. Tap Add to Contacts, and then choose Create contact or Update existing. 4. At the prompt, choose an account for the contact. The Create contact screen opens. Contacts 58
-
 1
1 -
2
-
3
-
4
-
5
-
6
-
7
-
8
-
9
-
10
-
11
-
12
-
13
-
14
-
15
-
16
-
17
-
18
-
19
-
20
-
21
-
22
-
23
-
24
-
25
-
26
-
27
-
28
-
29
-
30
-
31
-
32
-
33
-
34
-
35
-
36
-
37
-
38
-
39
-
40
-
41
-
42
-
43
-
44
-
45
-
46
-
47
-
48
-
49
-
50
-
51
-
52
-
53
-
 54
54 -
 55
55 -
 56
56 -
 57
57 -
 58
58 -
 59
59 -
 60
60 -
 61
61 -
 62
62 -
 63
63 -
 64
64 -
65
-
66
-
67
-
68
-
69
-
70
-
71
-
72
-
73
-
74
-
75
-
76
-
77
-
78
-
79
-
80
-
81
-
82
-
83
-
84
-
85
-
86
-
87
-
88
-
89
-
90
-
91
-
92
-
93
-
94
-
95
-
96
-
97
-
98
-
99
-
100
-
101
-
102
-
103
-
104
-
105
-
106
-
107
-
108
-
109
-
110
-
111
-
112
-
113
-
114
-
115
-
116
-
117
-
118
-
119
-
120
-
121
-
122
-
123
-
124
-
125
-
126
-
127
-
128
-
129
-
130
-
131
-
132
-
133
-
134
-
135
-
136
-
137
-
138
-
139
-
140
-
141
-
142
-
143
-
144
-
145
-
146
-
147
-
148
-
149
-
150
-
151
-
152
-
153
-
154
-
155
-
156
-
157
-
158
-
159
-
160
-
161
-
162
-
163
-
164
 |
 |
