Epson Stylus Scan 2000 User Manual - Page 92
Chap 4-Scanning on a Macintosh, Starting Your Scan - fax upgrade
 |
View all Epson Stylus Scan 2000 manuals
Add to My Manuals
Save this manual to your list of manuals |
Page 92 highlights
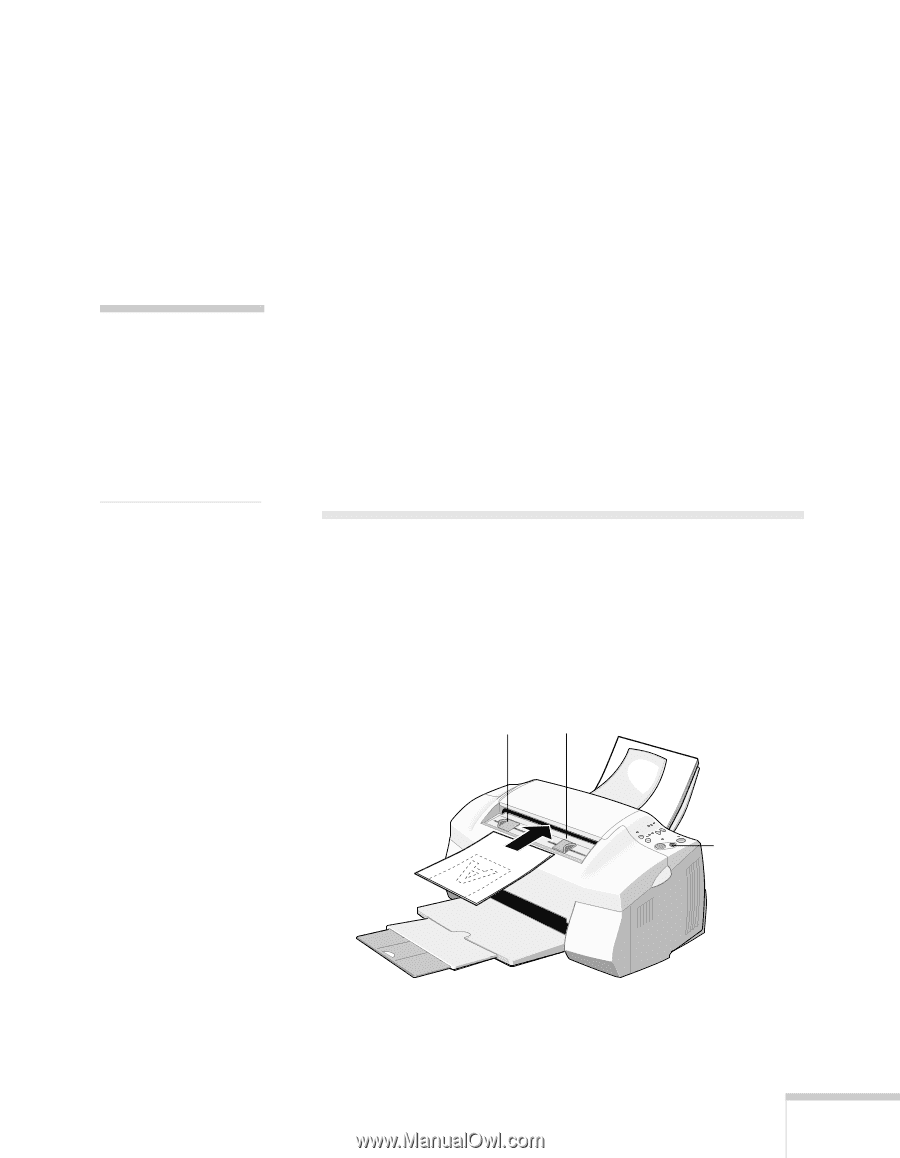
4Scanning on a Macintosh When you scan, you turn pictures and text into digital files on your computer. Then you can fax, print, or e-mail the files, or continue working with them in another application, such as PhotoDeluxe. If you scan text, you can perform OCR (Optical Character Recognition) to create a file that you can edit in a note word processing application. Be sure to send in your This chapter explains how to scan from Presto! PageManager, coupon to receive a free upgrade to Smart Panel for Macintosh. The coupon is also available on the EPSON website at then how to use the Presto! PageManager desktop to continue working on your files. You can use many of the same steps to scan from other TWAIN-compliant applications, such as PhotoDeluxe or Photoshop. www.epson.com. Starting Your Scan Before you begin, make sure the software is installed and your EPSON Stylus Scan 2000 is set up, connected to your computer, and turned on. 1. Adjust the edge guides to fit the width of your page or photo. Feed it into the scanner until you feel a tug. edge guides Insert your photo face down, with the bottom edge going in first. Press this button to eject your photo after scanning. Scanning on a Macintosh 85
-
 1
1 -
2
-
3
-
4
-
5
-
6
-
7
-
8
-
9
-
10
-
11
-
12
-
13
-
14
-
15
-
16
-
17
-
18
-
19
-
20
-
21
-
22
-
23
-
24
-
25
-
26
-
27
-
28
-
29
-
30
-
31
-
32
-
33
-
34
-
35
-
36
-
37
-
38
-
39
-
40
-
41
-
42
-
43
-
44
-
45
-
46
-
47
-
48
-
49
-
50
-
51
-
52
-
53
-
54
-
55
-
56
-
57
-
58
-
59
-
60
-
61
-
62
-
63
-
64
-
65
-
66
-
67
-
68
-
69
-
70
-
71
-
72
-
73
-
74
-
75
-
76
-
77
-
78
-
79
-
80
-
81
-
82
-
83
-
84
-
85
-
86
-
 87
87 -
 88
88 -
 89
89 -
 90
90 -
 91
91 -
 92
92 -
 93
93 -
 94
94 -
 95
95 -
 96
96 -
 97
97 -
98
-
99
-
100
-
101
-
102
-
103
-
104
-
105
-
106
-
107
-
108
-
109
-
110
-
111
-
112
-
113
-
114
-
115
-
116
-
117
-
118
-
119
-
120
-
121
-
122
-
123
-
124
-
125
-
126
-
127
-
128
-
129
-
130
-
131
-
132
-
133
-
134
-
135
-
136
-
137
-
138
-
139
-
140
-
141
-
142
-
143
-
144
-
145
-
146
-
147
-
148
-
149
-
150
-
151
-
152
-
153
-
154
-
155
-
156
-
157
-
158
-
159
-
160
 |
 |