HP Designjet 4000 HP Designjet 4000 Printer Series - Quick Reference Guide - Page 63
Configuration menu, Auto. printhead alignment, Color calibration - ink cartridge
 |
View all HP Designjet 4000 manuals
Add to My Manuals
Save this manual to your list of manuals |
Page 63 highlights
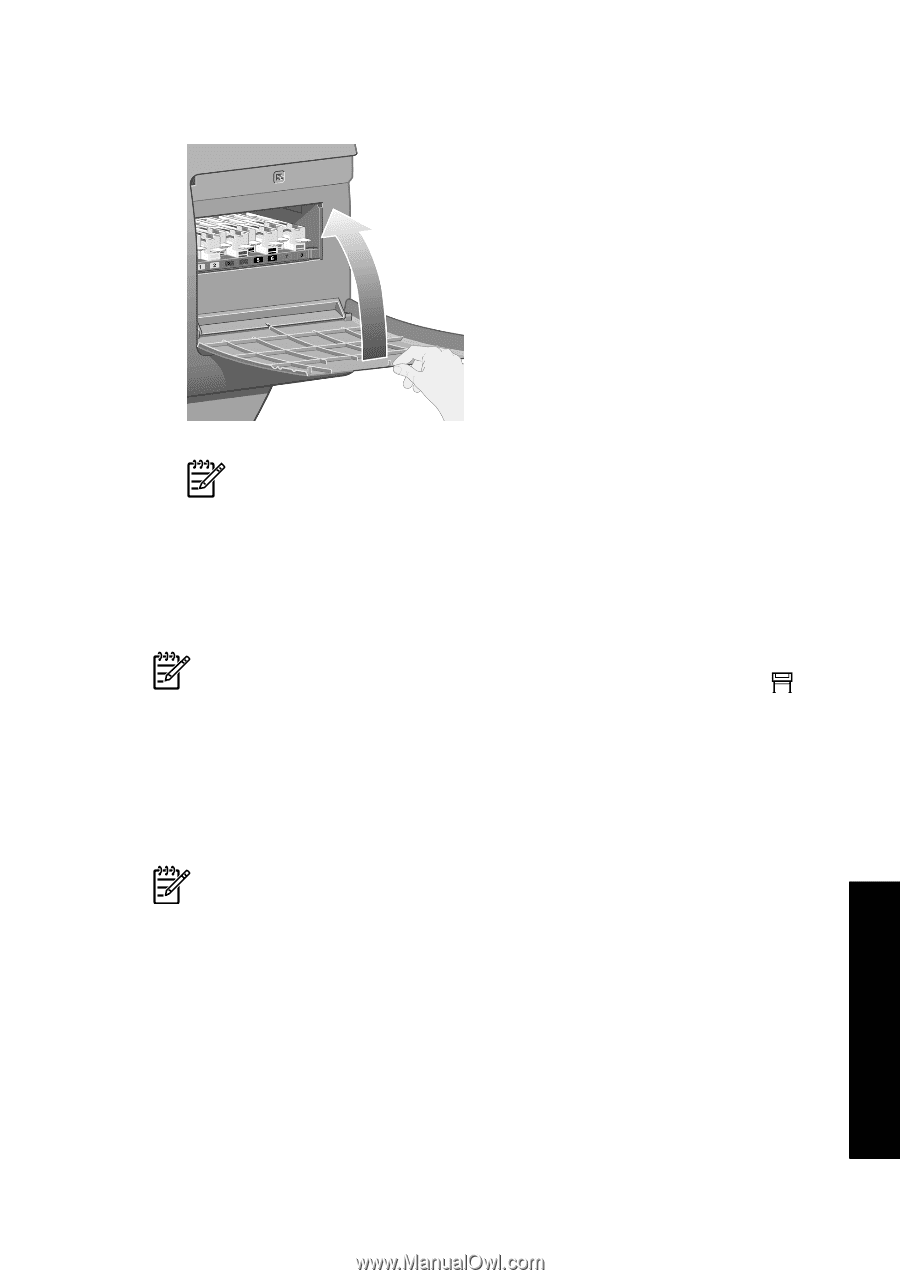
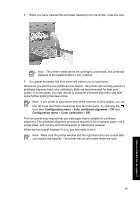
3. When you have inserted the printhead cleaner(s) into the printer, close the door. Note The printer needs all the ink cartridges, printheads, and printhead cleaners to be installed before it can continue. 4. If no paper is loaded, the front panel will instruct you to load some. Whenever you insert a new printhead and cleaner, the printer will normally perform a printhead alignment and color calibration. Both are recommended for best print quality. In some cases, you may decide to postpone printhead alignment until after some further printing has been done. Note If you prefer to save some time at the expense of print quality, you can turn off these automatic procedures from the front panel, by selecting the icon, then Configuration menu > Auto. printhead alignment > Off and Configuration menu > Color calibration > Off. The front panel may request that you load paper that is suitable for printhead alignment. The printhead alignment procedure requires a roll of opaque paper: not a single sheet, and not any kind of transparent or translucent material. When the front panel displays Ready, you are ready to print. Note Make sure the printer window and the right-hand door are closed after you replace the supplies. The printer will not print while these are open. 61 How do I handle the ink system?
-
 1
1 -
2
-
3
-
4
-
5
-
6
-
7
-
8
-
9
-
10
-
11
-
12
-
13
-
14
-
15
-
16
-
17
-
18
-
19
-
20
-
21
-
22
-
23
-
24
-
25
-
26
-
27
-
28
-
29
-
30
-
31
-
32
-
33
-
34
-
35
-
36
-
37
-
38
-
39
-
40
-
41
-
42
-
43
-
44
-
45
-
46
-
47
-
48
-
49
-
50
-
51
-
52
-
53
-
54
-
55
-
56
-
57
-
 58
58 -
 59
59 -
 60
60 -
 61
61 -
 62
62 -
 63
63 -
 64
64 -
 65
65 -
 66
66 -
 67
67 -
 68
68 -
69
-
70
-
71
-
72
-
73
-
74
-
75
-
76
-
77
-
78
-
79
-
80
-
81
-
82
-
83
-
84
-
85
-
86
-
87
-
88
-
89
-
90
-
91
-
92
-
93
-
94
-
95
-
96
-
97
-
98
-
99
-
100
-
101
-
102
-
103
-
104
-
105
-
106
-
107
-
108
-
109
-
110
-
111
-
112
-
113
-
114
-
115
-
116
-
117
-
118
-
119
-
120
-
121
-
122
-
123
-
124
-
125
-
126
-
127
-
128
-
129
-
130
-
131
-
132
-
133
-
134
-
135
-
136
-
137
-
138
-
139
-
140
-
141
-
142
-
143
-
144
-
145
-
146
-
147
-
148
-
149
-
150
-
151
-
152
-
153
-
154
-
155
-
156
-
157
-
158
-
159
-
160
-
161
-
162
-
163
-
164
-
165
-
166
-
167
-
168
-
169
-
170
-
171
-
172
-
173
-
174
-
175
-
176
-
177
-
178
 |
 |