Kyocera FS-9100DN FS-9100/9500 Operation Guide Rev-1.3 - Page 32
ENTER, Printing a List of VMB, Changing e-MPS Configuration - fs driver
 |
UPC - 632983001066
View all Kyocera FS-9100DN manuals
Add to My Manuals
Save this manual to your list of manuals |
Page 32 highlights
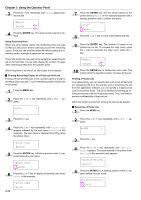
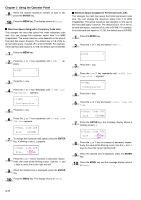
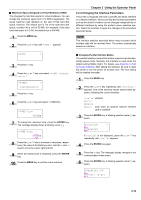
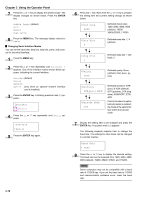
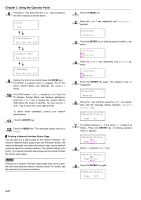
If you have named the virtual mailbox with an alias on the printer driver, the alias (Richard, in this example) will follow the number: >Print VMB Data Tray001:Richard 5 Press the ENTER key. A blinking question mark (?) appears. >Print VMB Data Tray001? 6 Press the ENTER key. The document in the mailbox is printed and automatically deleted from the mailbox. Q Printing a List of VMB A Virtual Mailbox list includes the jobs currently stored in the mailboxes. 1 Press the MENU key. 2 Press the 3 or 4 key repeatedly until e-MPS > appears. e-MPS > 3 Press the 2 key. 4 Press the 3 or 4 key repeatedly until >List of VMB appears. >List of VMB 5 Press the ENTER key. A question mark (?) appears. >List of VMB ? 6 Press the ENTER key again. The printer prints a list of jobs currently posted in the virtual mailboxes as shown below. FS-9500DN Page Printer VIRTUAL MAIL BOX LIST Chapter 3 Using the Operator Panel Changing e-MPS Configuration You can change the following parameters for e-MPS operation: • Maximum number of Quick Copy/Proof-and-Hold jobs • Maximum space assigned to temporary code jobs • Maximum space assigned to permanent code jobs • Maximum space assigned to virtual mailboxes NOTE The total amount of storage area specified must not exceed the total size of the hard disk. Otherwise, you may only be able to accommodate a smaller number of print jobs than specified. Q Changing the Maximum Number of Quick Copy/Proofand-Hold Jobs This changes maximum number of Quick Copy/Proof-and-Hold jobs from 0 to 50. The default is 32. 1 Press the MENU key. 2 Press the 3 or 4 key repeatedly until e-MPS > appears. e-MPS > 3 Press the 2 key. 4 Press the 3 or 4 key repeatedly until >e-MPS Configuration > appears. >e-MPS > Configuration 5 Press the 2 key. 6 Press the 3 or 4 key repeatedly until >>Quick Copy appears. >>Quick Copy 32 7 Press the ENTER key. A blinking cursor (_) appears. >>Quick Copy 32 8 Press the 3 or 4 key to increase or decrease the value at the blinking cursor. The value can be set between 0 and 50. Use the 2 and 1 keys to move the cursor right and left. 3-16
-
 1
1 -
2
-
3
-
4
-
5
-
6
-
7
-
8
-
9
-
10
-
11
-
12
-
13
-
14
-
15
-
16
-
17
-
18
-
19
-
20
-
21
-
22
-
23
-
24
-
25
-
26
-
 27
27 -
 28
28 -
 29
29 -
 30
30 -
 31
31 -
 32
32 -
 33
33 -
 34
34 -
 35
35 -
 36
36 -
 37
37 -
38
-
39
-
40
-
41
-
42
-
43
-
44
-
45
-
46
-
47
-
48
-
49
-
50
-
51
-
52
-
53
-
54
-
55
-
56
-
57
-
58
-
59
-
60
-
61
-
62
-
63
-
64
-
65
-
66
-
67
-
68
-
69
-
70
-
71
-
72
-
73
-
74
-
75
-
76
-
77
-
78
-
79
-
80
-
81
-
82
-
83
-
84
-
85
-
86
-
87
-
88
-
89
-
90
-
91
-
92
-
93
-
94
-
95
-
96
-
97
-
98
-
99
-
100
-
101
-
102
-
103
-
104
-
105
-
106
-
107
-
108
-
109
-
110
-
111
-
112
-
113
-
114
-
115
-
116
-
117
-
118
-
119
-
120
-
121
-
122
-
123
-
124
-
125
-
126
-
127
-
128
-
129
-
130
-
131
-
132
-
133
-
134
-
135
-
136
-
137
-
138
-
139
-
140
-
141
-
142
-
143
 |
 |