Kyocera FS-9100DN FS-9100/9500 Operation Guide Rev-1.3 - Page 35
Interface, Parallel, Serial, >Baud Rate, >Data Bits, >Stop Bits, >Parity, >Protocol
 |
UPC - 632983001066
View all Kyocera FS-9100DN manuals
Add to My Manuals
Save this manual to your list of manuals |
Page 35 highlights
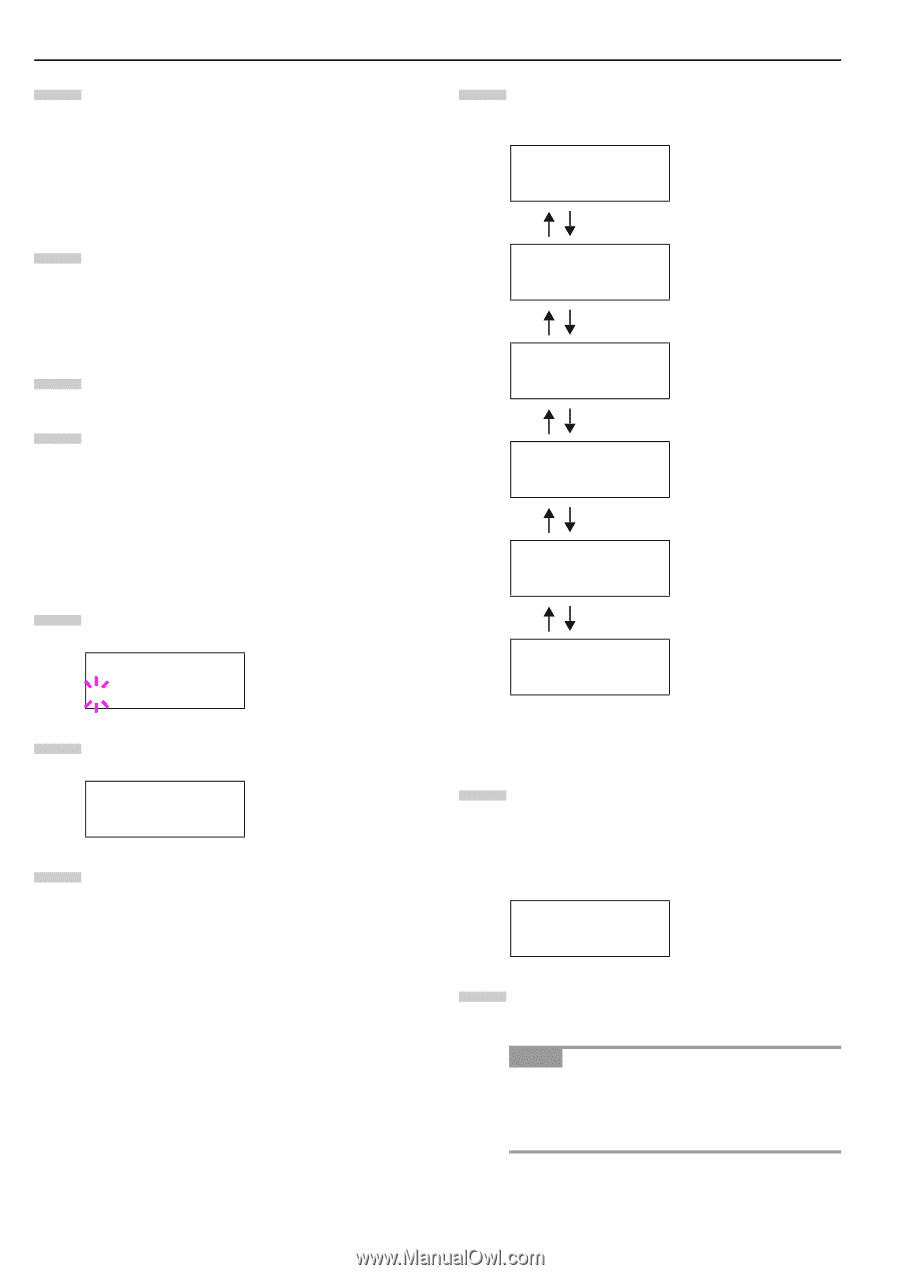
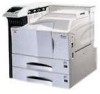
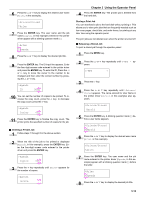
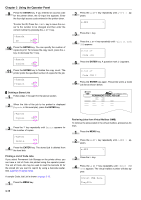
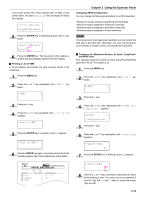
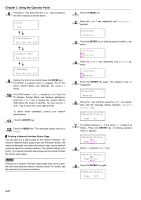
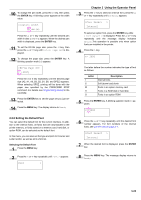
Chapter 3 Using the Operator Panel 7 Press the 3 or 4 key to display the desired mode. The display changes as shown below. Press the ENTER key. Nibble (high) (default) AUTO Normal High speed 8 Press the MENU key. The message display returns to Ready. Q Changing Serial Interface Modes You can set the baud rate, data bits, stop bits, parity, and protocol for the serial interface. 1 Press the MENU key. 2 Press the 3 or 4 key repeatedly until Interface > appears. One of the interface names shown below appears, indicating the current interface. Parallel (default) Serial Network Option (only when an optional network interface card is installed) 3 Press the ENTER key. A blinking question mark (?) appears. Interface ?Parallel 4 Press the 3 or 4 key repeatedly until Serial appears. Interface ?Serial 5 Press the ENTER key again. 6 Press the 2 key. Each time the 3 or 4 key is pressed, the setting item and current setting change as shown below. >Baud Rate 9600 Definable baud rates: 1200, 2400, 4800, 9600 (default), 19200, 38400,57600, 115200 >Data Bits 8 Definable stop bits: 7, 8 (default) >Stop Bits 1 Definable data bits: 1 (default), 2 >Parity None Definable parity: None (default), Odd, Even, Ignore >Protocol DTR(pos.)&XON >Barcode Mode Off Definable protocol: DTR (pos.) & XON (default), DTP (positive), DTR (negative), XON/XOFF, ETX/ ACK If set to On when the option barcode reader is installed, the mode of the serial interface will be the barcode mode. 7 Display the setting item to be changed and press the ENTER key. A question mark (?) appears. The following example explains how to change the baud rate. The settings for other items can be changed in a similar manner. >Baud Rate ? 9600 8 Press the 3 or 4 key to display the desired setting. The baud rate can be selected from 1200, 2400, 4800, 9600 (default), 19200, 38400, 57600, and 115200. NOTE Some computers may not be compatible with a baud rate of 115200 bps. If you set the baud rate to 115200 and communication problems occur, lower the baud rate. 3-19
-
 1
1 -
2
-
3
-
4
-
5
-
6
-
7
-
8
-
9
-
10
-
11
-
12
-
13
-
14
-
15
-
16
-
17
-
18
-
19
-
20
-
21
-
22
-
23
-
24
-
25
-
26
-
27
-
28
-
29
-
 30
30 -
 31
31 -
 32
32 -
 33
33 -
 34
34 -
 35
35 -
 36
36 -
 37
37 -
 38
38 -
 39
39 -
 40
40 -
41
-
42
-
43
-
44
-
45
-
46
-
47
-
48
-
49
-
50
-
51
-
52
-
53
-
54
-
55
-
56
-
57
-
58
-
59
-
60
-
61
-
62
-
63
-
64
-
65
-
66
-
67
-
68
-
69
-
70
-
71
-
72
-
73
-
74
-
75
-
76
-
77
-
78
-
79
-
80
-
81
-
82
-
83
-
84
-
85
-
86
-
87
-
88
-
89
-
90
-
91
-
92
-
93
-
94
-
95
-
96
-
97
-
98
-
99
-
100
-
101
-
102
-
103
-
104
-
105
-
106
-
107
-
108
-
109
-
110
-
111
-
112
-
113
-
114
-
115
-
116
-
117
-
118
-
119
-
120
-
121
-
122
-
123
-
124
-
125
-
126
-
127
-
128
-
129
-
130
-
131
-
132
-
133
-
134
-
135
-
136
-
137
-
138
-
139
-
140
-
141
-
142
-
143
 |
 |