Kyocera KM-C3232E Fax System (N) Operation Guide Rev-1.2 - Page 210
Making the Initial Settings on the Fax Machine, Registering the Network FAX Reception Settings
 |
View all Kyocera KM-C3232E manuals
Add to My Manuals
Save this manual to your list of manuals |
Page 210 highlights
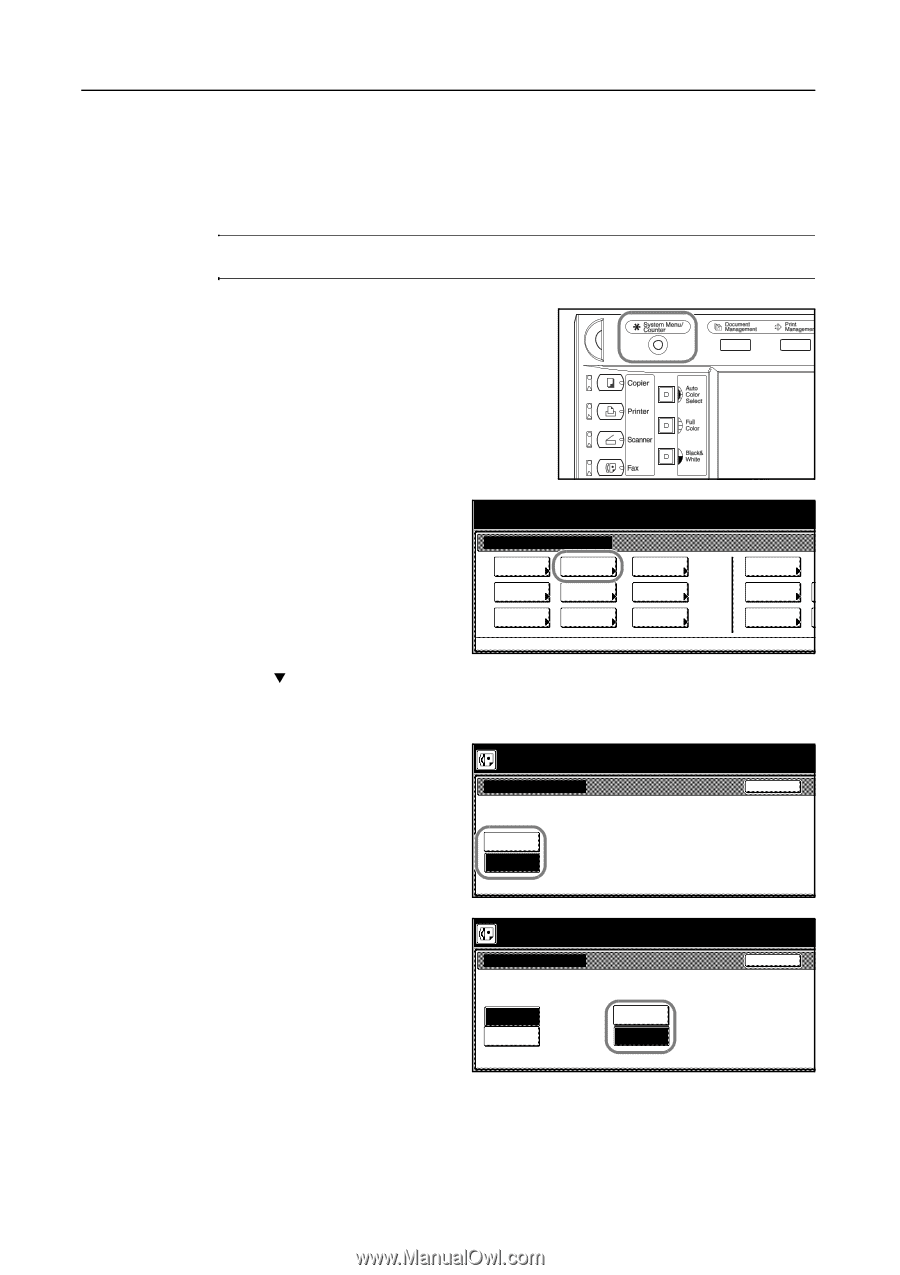
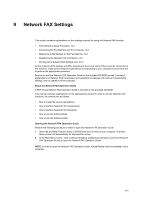
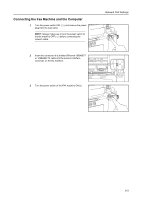
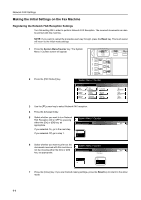
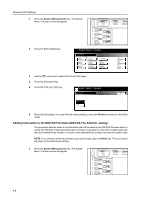
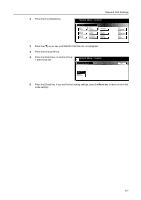
Network FAX Settings Making the Initial Settings on the Fax Machine Registering the Network FAX Reception Settings Turn this setting ON in order to perform Network FAX Reception. The received documents can also be printed with this machine. NOTE: If you want to cancel the procedure part way through, press the Reset key. The touch panel will return to the initial mode settings. 1 Press the System Menu/Counter key. The System Menu / Counter screen will appear. 2 Press the [FAX Default] key. System Menu / Counter System Menu Copy Default Scanner Default Machine Default FAX Default Printer Default Document Management Language MP tray Setting Register Orig. Size 3 Use the [T] cursor key to select Network FAX reception. 4 Press the [Change #] key. 5 Select whether you want to turn Network FAX Reception ON or OFF by pressing either the [On] or [Off] key, as appropriate. If you selected On, go to the next step. If you selected Off, go to step 7. System Menu / Counter Network FAX reception On Off Job Accounting BOX Management Print Report Back 6 Select whether you want to print out the documents received with this machine or System Menu / Counter not by pressing either the [On] or [Off] Network FAX reception Back key, as appropriate. Print Here On On Off Off 7 Press the [Close] key. If you are finished making settings, press the Reset key to return to the initial mode. 9-4
-
 1
1 -
2
-
3
-
4
-
5
-
6
-
7
-
8
-
9
-
10
-
11
-
12
-
13
-
14
-
15
-
16
-
17
-
18
-
19
-
20
-
21
-
22
-
23
-
24
-
25
-
26
-
27
-
28
-
29
-
30
-
31
-
32
-
33
-
34
-
35
-
36
-
37
-
38
-
39
-
40
-
41
-
42
-
43
-
44
-
45
-
46
-
47
-
48
-
49
-
50
-
51
-
52
-
53
-
54
-
55
-
56
-
57
-
58
-
59
-
60
-
61
-
62
-
63
-
64
-
65
-
66
-
67
-
68
-
69
-
70
-
71
-
72
-
73
-
74
-
75
-
76
-
77
-
78
-
79
-
80
-
81
-
82
-
83
-
84
-
85
-
86
-
87
-
88
-
89
-
90
-
91
-
92
-
93
-
94
-
95
-
96
-
97
-
98
-
99
-
100
-
101
-
102
-
103
-
104
-
105
-
106
-
107
-
108
-
109
-
110
-
111
-
112
-
113
-
114
-
115
-
116
-
117
-
118
-
119
-
120
-
121
-
122
-
123
-
124
-
125
-
126
-
127
-
128
-
129
-
130
-
131
-
132
-
133
-
134
-
135
-
136
-
137
-
138
-
139
-
140
-
141
-
142
-
143
-
144
-
145
-
146
-
147
-
148
-
149
-
150
-
151
-
152
-
153
-
154
-
155
-
156
-
157
-
158
-
159
-
160
-
161
-
162
-
163
-
164
-
165
-
166
-
167
-
168
-
169
-
170
-
171
-
172
-
173
-
174
-
175
-
176
-
177
-
178
-
179
-
180
-
181
-
182
-
183
-
184
-
185
-
186
-
187
-
188
-
189
-
190
-
191
-
192
-
193
-
194
-
195
-
196
-
197
-
198
-
199
-
200
-
201
-
202
-
203
-
204
-
 205
205 -
 206
206 -
 207
207 -
 208
208 -
 209
209 -
 210
210 -
 211
211 -
 212
212 -
 213
213 -
 214
214 -
 215
215 -
216
-
217
-
218
-
219
-
220
-
221
-
222
-
223
-
224
-
225
-
226
-
227
-
228
-
229
-
230
-
231
-
232
-
233
-
234
-
235
-
236
-
237
-
238
-
239
-
240
-
241
-
242
 |
 |