Sanyo VCC-HD5400 VCC-HD5400 Manual - Page 38
Set [AUDIO PC TO CAMERA] to ON, select the [DEFAULT ON] check box, and click
 |
UPC - 086483075698
View all Sanyo VCC-HD5400 manuals
Add to My Manuals
Save this manual to your list of manuals |
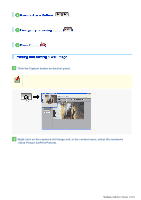
Page 38 highlights
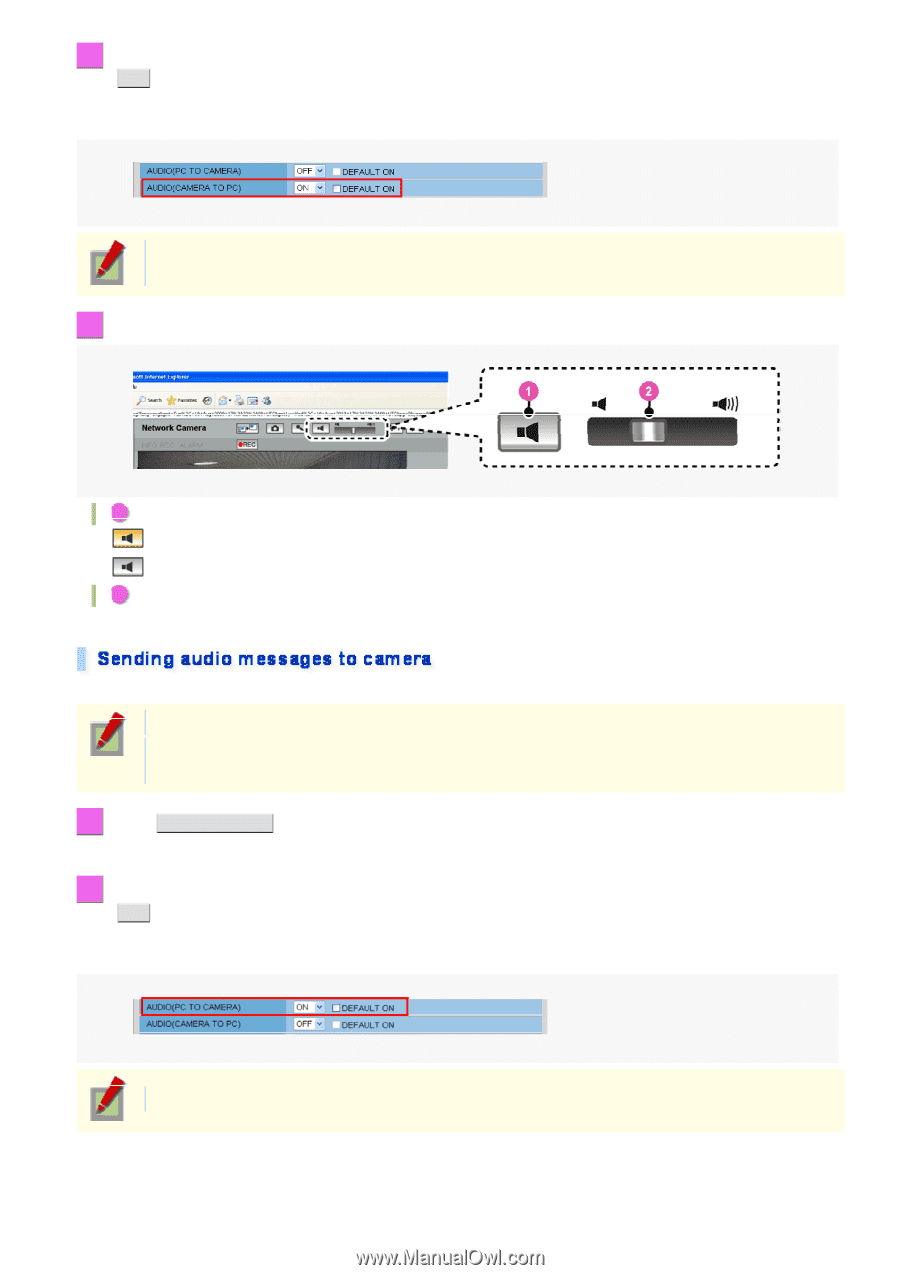
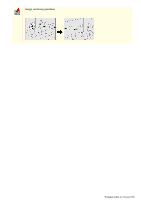
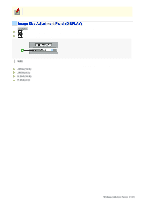
2 In [AUDIO (CAMERA TO PC)], select "ON", select the [DEFAULT ON] check box, and click SET . This causes the client PC to start up with the audio output capability enabled when connected to the camera, so that the user can hear sounds from the camera. Setting [AUDIO (CAMERA to PC)] to "OFF" causes the Receive Audio button and the volume control to disappear from the tool panel. 3 Use the tool panel controls. 1 Receive Audio button : Reception of audio enabled : Reception of audio disabled 2 Volume control Use this slider knob to control the audio output volume. From your PC, you can send audio alerts to suspicious people or communicate with people at the camera. Required operation privilege: admin, operator1, operator2 Only a single user per camera may send audio messages at a time. If two or more users send audio simultaneously, the user who sends last will take precedence. 1 Click CLIENT SETTINGS on the control panel. The CLIENT SETTINGS screen appears. 2 Set [AUDIO (PC TO CAMERA)] to "ON", select the [DEFAULT ON] check box, and click SET . This sets the client PC to always enable the audio transmission capability when connected to the camera so that the user can send audio messages to the camera. Setting [PC to CAMERA] to "OFF" causes the Send Audio button to disappear from the tool panel. Working with Live Screen 10/18
-
 1
1 -
2
-
3
-
4
-
5
-
6
-
7
-
8
-
9
-
10
-
11
-
12
-
13
-
14
-
15
-
16
-
17
-
18
-
19
-
20
-
21
-
22
-
23
-
24
-
25
-
26
-
27
-
28
-
29
-
30
-
31
-
32
-
 33
33 -
 34
34 -
 35
35 -
 36
36 -
 37
37 -
 38
38 -
 39
39 -
 40
40 -
 41
41 -
 42
42 -
 43
43 -
44
-
45
-
46
-
47
-
48
-
49
-
50
-
51
-
52
-
53
-
54
-
55
-
56
-
57
-
58
-
59
-
60
-
61
-
62
-
63
-
64
-
65
-
66
-
67
-
68
-
69
-
70
-
71
-
72
-
73
-
74
-
75
-
76
-
77
-
78
-
79
-
80
-
81
-
82
-
83
-
84
-
85
-
86
-
87
-
88
-
89
-
90
-
91
-
92
-
93
-
94
-
95
-
96
-
97
-
98
-
99
-
100
-
101
-
102
-
103
-
104
-
105
-
106
-
107
-
108
-
109
-
110
-
111
-
112
-
113
-
114
-
115
-
116
-
117
-
118
-
119
-
120
-
121
-
122
-
123
-
124
-
125
-
126
-
127
-
128
-
129
-
130
-
131
-
132
-
133
-
134
-
135
-
136
-
137
-
138
-
139
-
140
-
141
-
142
-
143
-
144
-
145
 |
 |