Epson Stylus Pro 9000 User Manual - Page 100
B-3 Macintosh or C-2 Windows., EpsonNet, Internal Print Server Administrator's Manual
 |
View all Epson Stylus Pro 9000 manuals
Add to My Manuals
Save this manual to your list of manuals |
Page 100 highlights
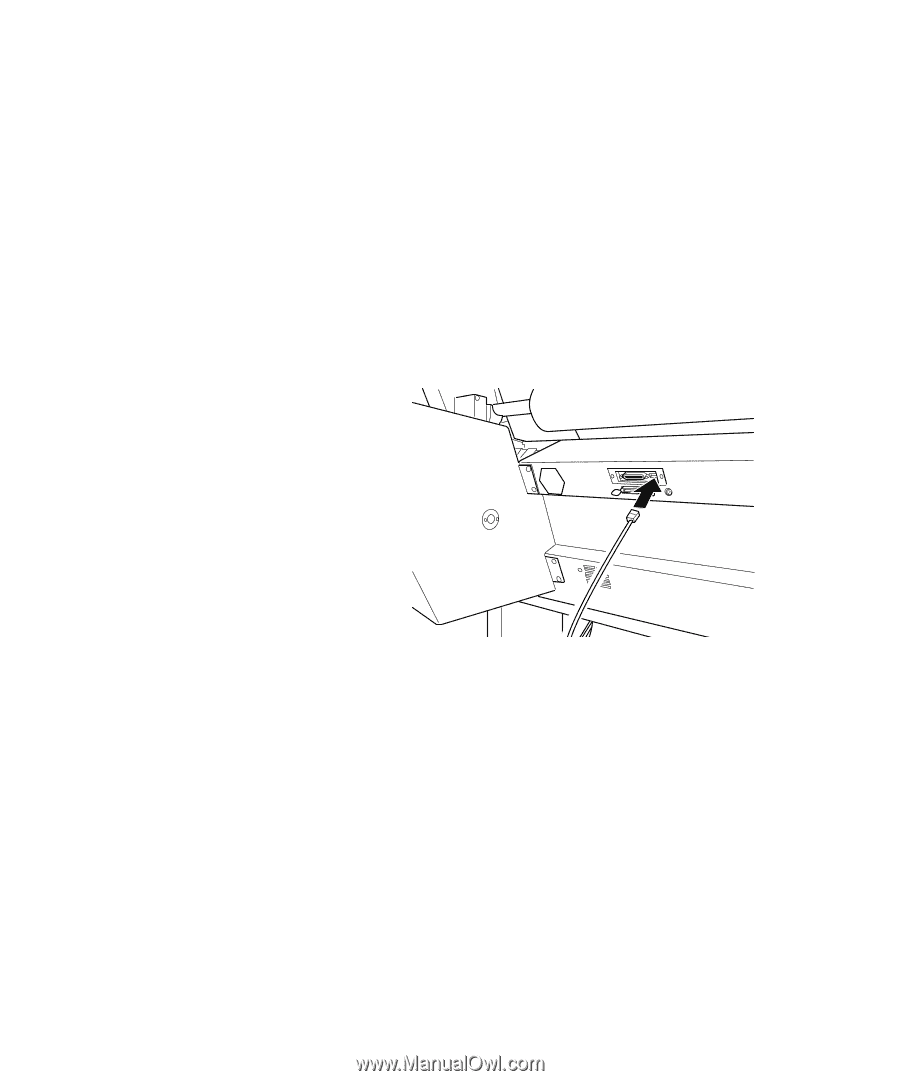
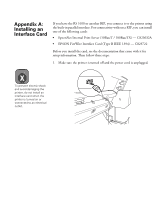
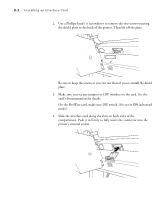
Installing an Interface Card | A-3 5. Secure the interface card in the slot with the two screws included with the card. 6. Make sure the printer has been turned off using the Power button. Then plug in the power cord. 7. To initialize the EpsonNet Internal Print Server, turn on the printer while holding down the status sheet button on the card for about 5 seconds. 8. Connect the appropriate cable to the card and to your network hub or computer. To remove an interface card, turn off the printer, unplug the power cord, and follow the above steps in reverse order. Before you can use the EpsonNet Internal Print Server, you must configure it for your network protocols and operating system. See the EpsonNet Internal Print Server Administrator's Manual for instructions. Before you can print, you must install the printer software, as described on page B-3 (Macintosh) or page C-2 (Windows). A-3
-
 1
1 -
2
-
3
-
4
-
5
-
6
-
7
-
8
-
9
-
10
-
11
-
12
-
13
-
14
-
15
-
16
-
17
-
18
-
19
-
20
-
21
-
22
-
23
-
24
-
25
-
26
-
27
-
28
-
29
-
30
-
31
-
32
-
33
-
34
-
35
-
36
-
37
-
38
-
39
-
40
-
41
-
42
-
43
-
44
-
45
-
46
-
47
-
48
-
49
-
50
-
51
-
52
-
53
-
54
-
55
-
56
-
57
-
58
-
59
-
60
-
61
-
62
-
63
-
64
-
65
-
66
-
67
-
68
-
69
-
70
-
71
-
72
-
73
-
74
-
75
-
76
-
77
-
78
-
79
-
80
-
81
-
82
-
83
-
84
-
85
-
86
-
87
-
88
-
89
-
90
-
91
-
92
-
93
-
94
-
 95
95 -
 96
96 -
 97
97 -
 98
98 -
 99
99 -
 100
100 -
 101
101 -
 102
102 -
 103
103 -
 104
104 -
 105
105 -
106
-
107
-
108
-
109
-
110
-
111
-
112
-
113
-
114
-
115
-
116
-
117
-
118
-
119
-
120
-
121
-
122
-
123
-
124
-
125
-
126
-
127
-
128
-
129
-
130
-
131
-
132
-
133
-
134
-
135
-
136
-
137
-
138
-
139
-
140
-
141
-
142
-
143
-
144
-
145
-
146
-
147
-
148
-
149
-
150
-
151
-
152
-
153
-
154
-
155
-
156
-
157
-
158
-
159
-
160
-
161
-
162
-
163
-
164
-
165
 |
 |