Insignia NS-FSDVDR User Manual (English) - Page 15
Scanning for channels, Adding or deleting channels
 |
View all Insignia NS-FSDVDR manuals
Add to My Manuals
Save this manual to your list of manuals |
Page 15 highlights
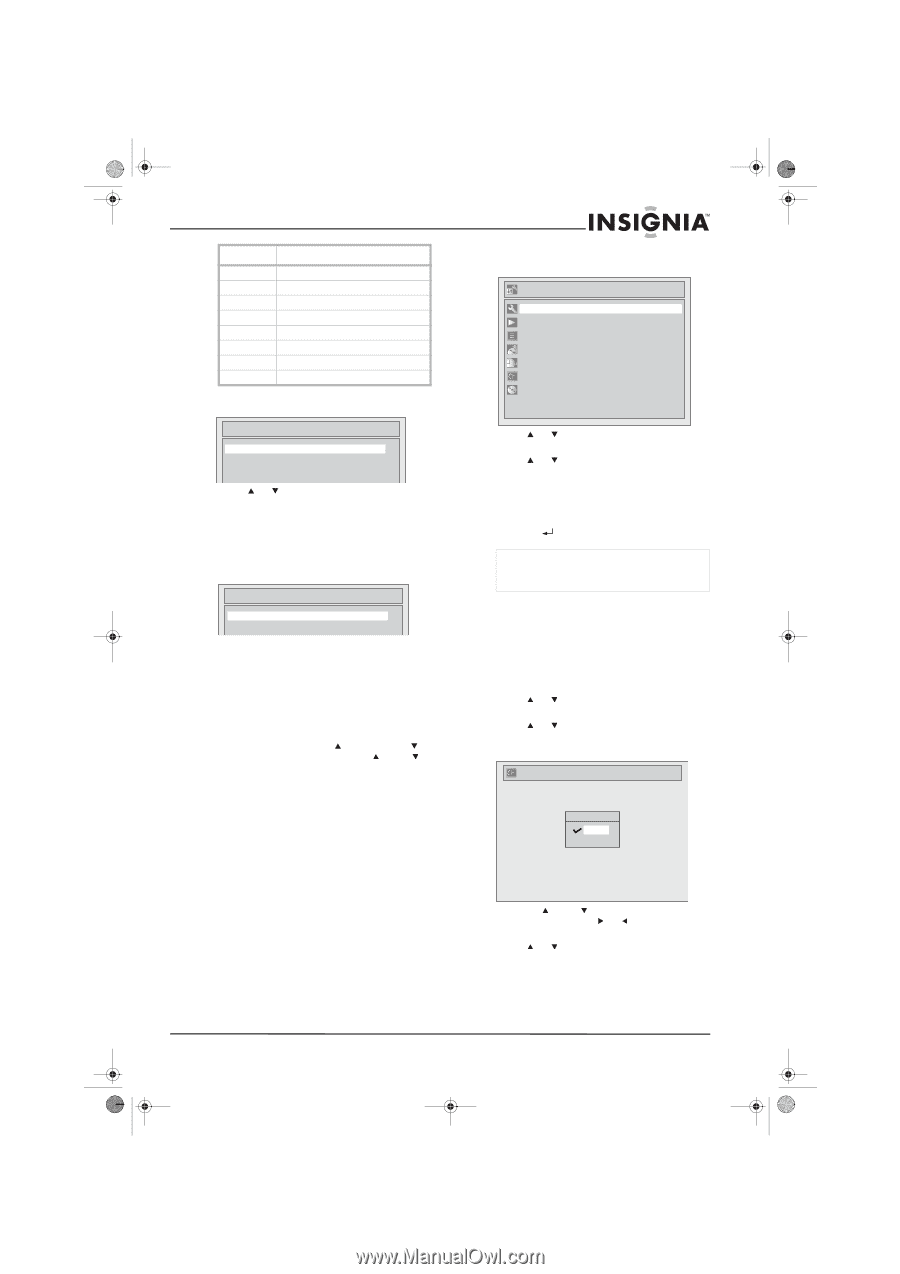
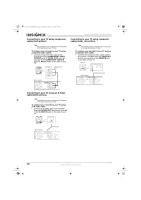
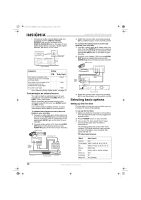
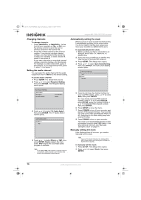
08-1031_NS-FSDVDR.fm Page 13 Wednesday, March 12, 2008 2:53 PM Insignia NS-FSDVDR DVD recorder Brand Input source Panasonic RCA Samsung Sanyo Sharp Sony Toshiba Zenith TV/VIDEO INPUT, TV/VCR, 00, 90, 91, 92, 93 TV/VIDEO VIDEO 00 VIDEO1, VIDEO2, VIDEO3 TV/GAME 00 When you have selected the correct input source, the Initial Setting screen opens. To scan for channels: 1 Press SETUP. The Setup menu opens. Setup Required Setting Playback Display Recording Clock Channel Disc Initial Setting English Français Español 4 Press or to select the on-screen menu language, then press ENTER. You can select English, Français, or Español. 5 Press ENTER. Your recorder starts searching for channels available in your area. Your recorder stores the channel information in the channel list. When the search is complete, the Clock Setting screen opens. Initial Setting Clock Setting 6 Press ENTER, then go to Step 3 in "Manually setting the clock" on page 14 and complete the rest of the task to set the clock. Scanning for channels When you turn on your recorder for the first time, it automatically scans for channels available in your area. Your recorder stores the channel information in the channel list. When you press CHANNEL or CHANNEL (on the front of your recorder) or CH or CH (on the remote control), your recorder goes to the next higher or lower channel in the channel list. Your recorder skips channels that do not have a signal. You do not need to scan for channels unless: • You change the type of TV connection. For example, you change from an outside antenna to cable TV. • More channels become available. • You move your recorder to a new viewing area. 2 Press or to select Channel, then press ENTER. The Channel menu opens. 3 Press or to select Auto Preset, then press ENTER. Your recorder starts scanning for channels in your area. 4 When the scan is complete, press SETUP to close the menu. To stop the scan before it is complete, press RETURN or SETUP. Note If you stop the scan before it is complete, channels that have not been scanned are not stored in the channel list. Adding or deleting channels You can add channels that were skipped because of a weak signals to the channel list, or you can delete channels you do not want from the channel list. To add or delete channels: 1 Press SETUP. The Setup menu opens. 2 Press or to select Channel, then press ENTER. The Channel menu opens. 3 Press or to select Manual Preset, then press ENTER. The Manual Preset screen opens. Manual Preset CH 2 Add Delete 4 Press CH or CH to select a channel in the channel list, or press or to select a channel that is not in the channel list. 5 Press or to select Add or Delete, then press ENTER. 6 Press SETUP to close the menu. www.insignia-products.com 13
-
 1
1 -
2
-
3
-
4
-
5
-
6
-
7
-
8
-
9
-
 10
10 -
 11
11 -
 12
12 -
 13
13 -
 14
14 -
 15
15 -
 16
16 -
 17
17 -
 18
18 -
 19
19 -
 20
20 -
21
-
22
-
23
-
24
-
25
-
26
-
27
-
28
-
29
-
30
-
31
-
32
-
33
-
34
-
35
-
36
-
37
-
38
-
39
-
40
-
41
-
42
-
43
-
44
-
45
-
46
-
47
-
48
-
49
-
50
-
51
-
52
-
53
-
54
-
55
-
56
-
57
-
58
-
59
-
60
-
61
-
62
-
63
-
64
-
65
-
66
-
67
-
68
-
69
-
70
-
71
-
72
-
73
-
74
-
75
-
76
-
77
-
78
-
79
-
80
-
81
-
82
-
83
-
84
-
85
-
86
-
87
-
88
-
89
-
90
-
91
-
92
-
93
-
94
-
95
-
96
-
97
-
98
-
99
-
100
-
101
-
102
-
103
-
104
-
105
-
106
-
107
-
108
-
109
-
110
-
111
-
112
-
113
-
114
-
115
-
116
 |
 |