Lexmark M410 User's Guide - Page 65
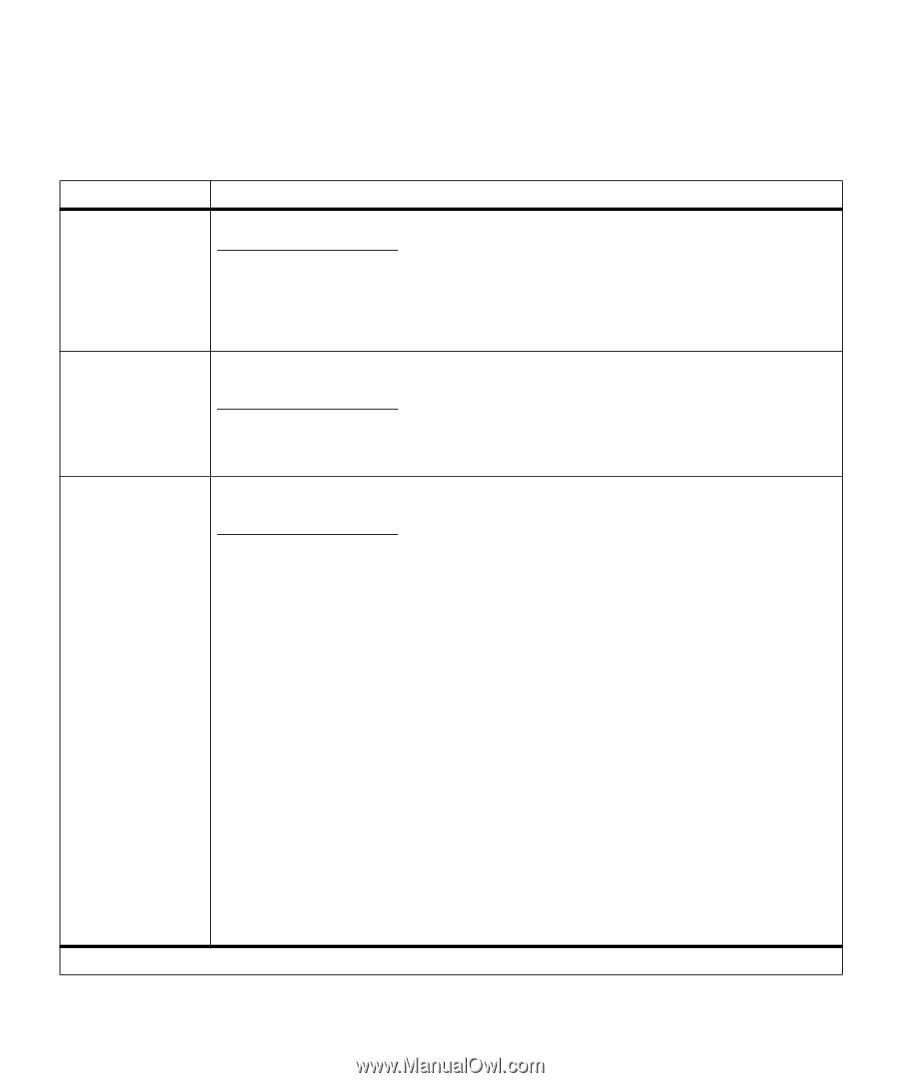
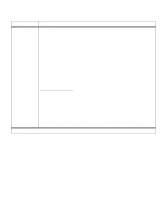
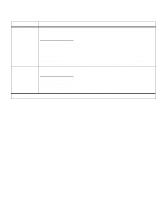
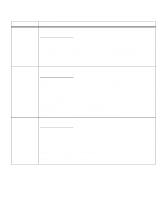
Finishing Menu, Use the FINISHING MENU to define all settings relating, to printer output.
 |
UPC - 734646261005
View all Lexmark M410 manuals
Add to My Manuals
Save this manual to your list of manuals |
Page 65 highlights
Finishing Menu Use the FINISHING MENU to define all settings relating to printer output. Finishing Menu Menu Item Copies Values 1*...999 Blank Pages The Copies setting determines the number of copies printed for each page. The printer does not automatically collate the copies. For example, if you send three pages to print and set Copies to 2, the printer prints page 1, page 1, page 2, page 2, page 3, page 3. For information about how to use the Copies setting with the Collation setting, see Collation as follows. Do Not Print* Print Collation Select Print to include application-generated blank pages with your print job. Select Do Not Print if you do not want the printer to print any application-generated blank pages that appear in your document. Off* On *Factory default When Collation is set to Off, the printer prints each page of a job the number of times as specified by the Copies setting. For example, if you send three pages to print and set Copies to 2, the printer prints page 1, page 1, page 2, page 2, page 3, page 3. When Collation is set to On, the printer prints the entire job the number of times as specified by the Copies setting. For example, if you send three pages to print and set Copies to 2, the printer prints page 1, page 2, page 3, page 1, page 2, page 3. Many applications collate documents by repeatedly sending the file to the printer. As a result, the printer must process each print job until the correct number of copies has printed. This requires additional time since the printer must process the same pages over again. By using Collation, the printer processes the file only once, saves the file in printer memory, and prints the multiple copies. This saves processing time for the printer and for the application, and overall printing time may be reduced. For Collation to work effectively, your software application must recognize this printer feature and not send the job to the printer multiple times. Your application must also let you specify the number of copies needed or let you use the printer default setting for Copies. Select Collation from the operator panel or from the printer driver. For best results, select Collated in the printer driver and set the number of copies to one. In your application, select Uncollated (if the option is available) and then select the number of copies you want. If the job is complex or exceeds the memory capacity of your printer, you may receive a 37 Insufficient Collation Area message. Press Go to clear the message. The printer collates the remaining pages in memory. If you reset the printer, the printer discards the job. See 37 Insufficient Collation Area on page 160 for more information. Operator Panel Menus 53
-
 1
1 -
2
-
3
-
4
-
5
-
6
-
7
-
8
-
9
-
10
-
11
-
12
-
13
-
14
-
15
-
16
-
17
-
18
-
19
-
20
-
21
-
22
-
23
-
24
-
25
-
26
-
27
-
28
-
29
-
30
-
31
-
32
-
33
-
34
-
35
-
36
-
37
-
38
-
39
-
40
-
41
-
42
-
43
-
44
-
45
-
46
-
47
-
48
-
49
-
50
-
51
-
52
-
53
-
54
-
55
-
56
-
57
-
58
-
59
-
 60
60 -
 61
61 -
 62
62 -
 63
63 -
 64
64 -
 65
65 -
 66
66 -
 67
67 -
 68
68 -
 69
69 -
 70
70 -
71
-
72
-
73
-
74
-
75
-
76
-
77
-
78
-
79
-
80
-
81
-
82
-
83
-
84
-
85
-
86
-
87
-
88
-
89
-
90
-
91
-
92
-
93
-
94
-
95
-
96
-
97
-
98
-
99
-
100
-
101
-
102
-
103
-
104
-
105
-
106
-
107
-
108
-
109
-
110
-
111
-
112
-
113
-
114
-
115
-
116
-
117
-
118
-
119
-
120
-
121
-
122
-
123
-
124
-
125
-
126
-
127
-
128
-
129
-
130
-
131
-
132
-
133
-
134
-
135
-
136
-
137
-
138
-
139
-
140
-
141
-
142
-
143
-
144
-
145
-
146
-
147
-
148
-
149
-
150
-
151
-
152
-
153
-
154
-
155
-
156
-
157
-
158
-
159
-
160
-
161
-
162
-
163
-
164
-
165
-
166
-
167
-
168
-
169
-
170
-
171
-
172
-
173
-
174
-
175
-
176
-
177
-
178
-
179
-
180
-
181
-
182
-
183
-
184
-
185
-
186
-
187
-
188
-
189
-
190
-
191
-
192
-
193
-
194
-
195
-
196
-
197
-
198
-
199
-
200
-
201
-
202
-
203
-
204
-
205
-
206
-
207
-
208
-
209
-
210
-
211
-
212
-
213
-
214
-
215
-
216
-
217
-
218
-
219
-
220
-
221
-
222
-
223
-
224
-
225
-
226
-
227
-
228
-
229
-
230
-
231
-
232
-
233
-
234
-
235
-
236
-
237
-
238
-
239
-
240
-
241
-
242
-
243
-
244
-
245
-
246
-
247
-
248
-
249
-
250
-
251
-
252
-
253
-
254
-
255
-
256
-
257
-
258
-
259
-
260
-
261
-
262
-
263
-
264
-
265
-
266
-
267
-
268
-
269
-
270
-
271
-
272
-
273
-
274
-
275
-
276
-
277
-
278
-
279
-
280
-
281
-
282
-
283
-
284
-
285
-
286
-
287
-
288
-
289
-
290
-
291
-
292
-
293
-
294
-
295
-
296
-
297
-
298
-
299
-
300
-
301
-
302
-
303
-
304
-
305
-
306
-
307
-
308
-
309
-
310
-
311
-
312
 |
 |