Lexmark M410 User's Guide - Page 76
PRINT COPIES, Select, Menu>, <Menu, Saved, DELETE A JOB, Return, Queuing Jobs
 |
UPC - 734646261005
View all Lexmark M410 manuals
Add to My Manuals
Save this manual to your list of manuals |
Page 76 highlights
Job Menu (continued) Menu Item CONFIDENTIAL JOB (continued) Values PRINT COPIES If you press Select to choose this value, a list of jobs held in printer memory is displayed as shown. The first job is displayed on the second line. PRINT COPIES All Confidential Jobs associated with your assigned PIN are listed. Use Menu> or or or
-
 1
1 -
2
-
3
-
4
-
5
-
6
-
7
-
8
-
9
-
10
-
11
-
12
-
13
-
14
-
15
-
16
-
17
-
18
-
19
-
20
-
21
-
22
-
23
-
24
-
25
-
26
-
27
-
28
-
29
-
30
-
31
-
32
-
33
-
34
-
35
-
36
-
37
-
38
-
39
-
40
-
41
-
42
-
43
-
44
-
45
-
46
-
47
-
48
-
49
-
50
-
51
-
52
-
53
-
54
-
55
-
56
-
57
-
58
-
59
-
60
-
61
-
62
-
63
-
64
-
65
-
66
-
67
-
68
-
69
-
70
-
 71
71 -
 72
72 -
 73
73 -
 74
74 -
 75
75 -
 76
76 -
 77
77 -
 78
78 -
 79
79 -
 80
80 -
 81
81 -
82
-
83
-
84
-
85
-
86
-
87
-
88
-
89
-
90
-
91
-
92
-
93
-
94
-
95
-
96
-
97
-
98
-
99
-
100
-
101
-
102
-
103
-
104
-
105
-
106
-
107
-
108
-
109
-
110
-
111
-
112
-
113
-
114
-
115
-
116
-
117
-
118
-
119
-
120
-
121
-
122
-
123
-
124
-
125
-
126
-
127
-
128
-
129
-
130
-
131
-
132
-
133
-
134
-
135
-
136
-
137
-
138
-
139
-
140
-
141
-
142
-
143
-
144
-
145
-
146
-
147
-
148
-
149
-
150
-
151
-
152
-
153
-
154
-
155
-
156
-
157
-
158
-
159
-
160
-
161
-
162
-
163
-
164
-
165
-
166
-
167
-
168
-
169
-
170
-
171
-
172
-
173
-
174
-
175
-
176
-
177
-
178
-
179
-
180
-
181
-
182
-
183
-
184
-
185
-
186
-
187
-
188
-
189
-
190
-
191
-
192
-
193
-
194
-
195
-
196
-
197
-
198
-
199
-
200
-
201
-
202
-
203
-
204
-
205
-
206
-
207
-
208
-
209
-
210
-
211
-
212
-
213
-
214
-
215
-
216
-
217
-
218
-
219
-
220
-
221
-
222
-
223
-
224
-
225
-
226
-
227
-
228
-
229
-
230
-
231
-
232
-
233
-
234
-
235
-
236
-
237
-
238
-
239
-
240
-
241
-
242
-
243
-
244
-
245
-
246
-
247
-
248
-
249
-
250
-
251
-
252
-
253
-
254
-
255
-
256
-
257
-
258
-
259
-
260
-
261
-
262
-
263
-
264
-
265
-
266
-
267
-
268
-
269
-
270
-
271
-
272
-
273
-
274
-
275
-
276
-
277
-
278
-
279
-
280
-
281
-
282
-
283
-
284
-
285
-
286
-
287
-
288
-
289
-
290
-
291
-
292
-
293
-
294
-
295
-
296
-
297
-
298
-
299
-
300
-
301
-
302
-
303
-
304
-
305
-
306
-
307
-
308
-
309
-
310
-
311
-
312
 |
 |
64
Chapter 3: Using the Operator Panel and Menus
CONFIDENTIAL
JOB
(continued)
PRINT COPIES
If you press
Select
to choose this value, a list of jobs held in printer memory is displayed as
shown. The first job is displayed on the second line.
All Confidential Jobs associated with your assigned PIN are listed. Use
Menu>
or
<Menu
to
scroll through the list of available jobs.
See the note on page 60 for an explanation of Username and Jobname.
You may select one or more jobs to print and you may change the number of copies for each
job to be printed.
Press
Menu>
or
<Menu
to scroll to the one job you want to print. When the job is on the
second line of the display, press
Select
.
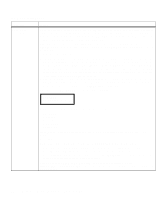
The following prompt displays:
The setting for the current number of copies is indicated by the asterisk (*). Press
Menu>
or
<Menu
to increase or decrease the number of copies as specified by the
x
value. You may
choose to print from 1 to 999 copies of a single job at a time.
Press
Select
to save the setting for the number of copies you need. The
Saved
message
displays and then the list of jobs displays. An asterisk (*) appears beside the job name to
indicate it is selected for printing. You may select other jobs to print and change the number of
copies required.
When a job has been marked for printing, the job is removed from the list of available print
jobs in the
DELETE A JOB
list. See
DELETE A JOB
on page 63 for more information.
When you finish making selections and change the number of copies, press
Return
until you
exit the menus or press
Go
to exit the menus. The message
Queuing Jobs
displays; however,
the message
Queuing and Deleting Jobs
displays if you previously selected some jobs for
deletion. Once the printer exits the menus and returns to an online state, the remaining copies
print. Once all copies are printed, the job is deleted from printer memory. For more infor-
mation, see
Queuing Jobs
and
Queuing and Deleting Jobs
on page 156.
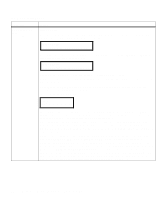
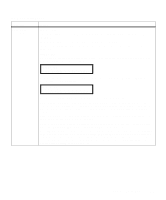
Job Menu (continued)
Menu Item
Values
PRINT COPIES
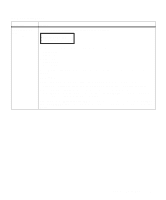
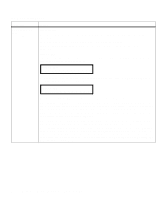
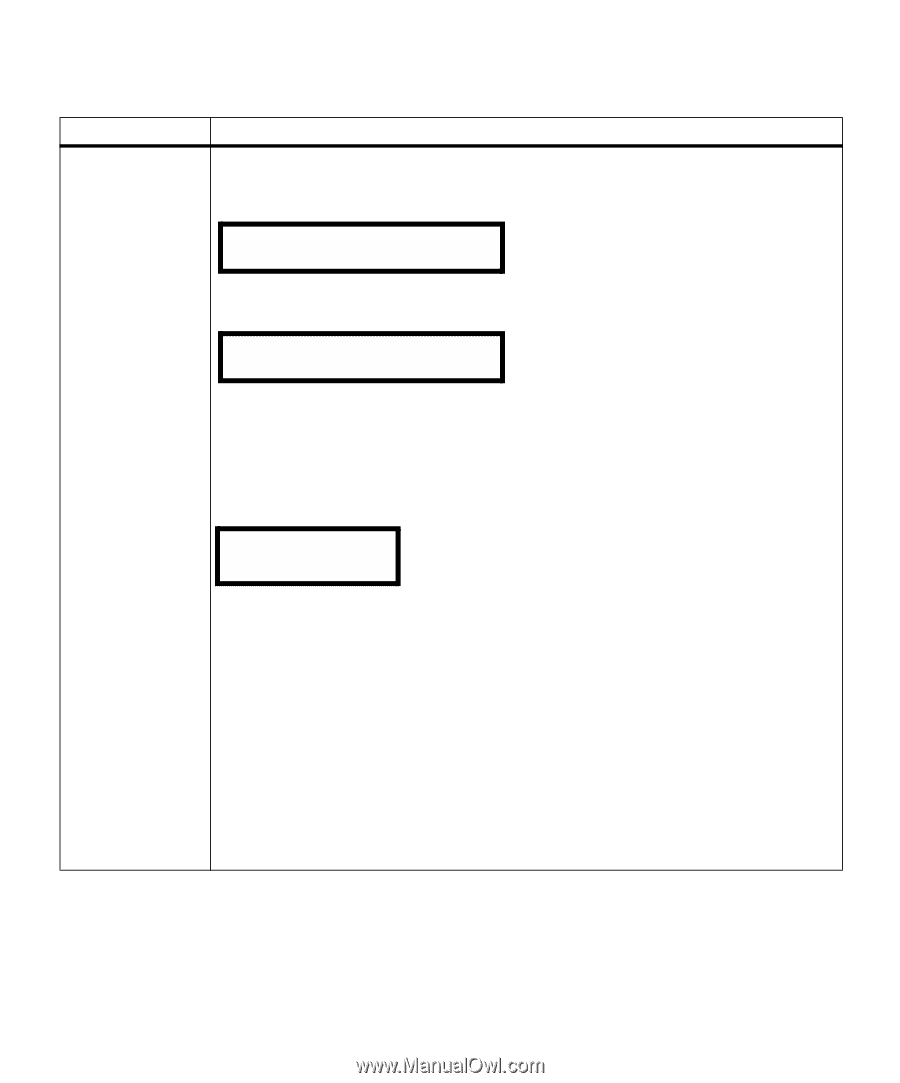
<Job #1 Username> <Job #1 Jobname>
PRINT COPIES
<Job #2 Username> <Job #2 Jobname>
Copies
=x*