Netgear RAXE290 User Manual - Page 96
Delete a reserved IP address entry, Set up a bridge for a port group or VLAN tag group
 |
View all Netgear RAXE290 manuals
Add to My Manuals
Save this manual to your list of manuals |
Page 96 highlights
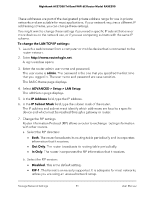
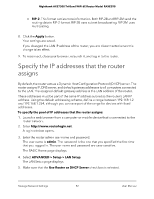
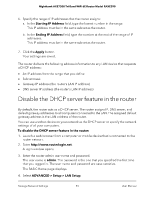
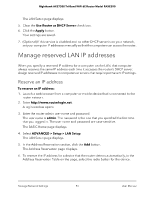
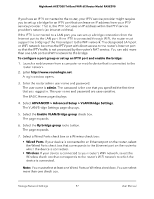
Nighthawk AXE7300 Tri-Band WiFi 6E Router Model RAXE290 Delete a reserved IP address entry To delete a reserved address entry: 1. Launch a web browser from a computer or mobile device that is connected to the router network. 2. Enter http://www.routerlogin.net. A login window opens. 3. Enter the router admin user name and password. The user name is admin. The password is the one that you specified the first time that you logged in. The user name and password are case-sensitive. The BASIC Home page displays. 4. Select ADVANCED > Setup > LAN Setup. The LAN Setup page displays. 5. Select the radio button next to the reserved address that you want to delete. 6. Click the Delete button. The address is removed. Set up a bridge for a port group or VLAN tag group Some devices, such as an IPTV, cannot function behind the router's network address translation (NAT) service or firewall. Based on what your Internet service provider (ISP) requires, for the device to connect to the ISP's network directly, you can enable the bridge between the device and the router's Internet port or add new VLAN tag groups to the bridge. Note: If your ISP provides instructions for how to set up a bridge for IPTV and Internet service, follow those instruction. Set up a bridge for a port group or an IPTV port To let packets bypass the router's network address translation (NAT) service, you can set up a bridge for a port group, that is, a group of ports and WiFi networks. Packets that are sent on your network between the router's Internet port and a device that is part of the port group are not processed by the router's NAT service. Manage Network Settings 96 User Manual
-
 1
1 -
2
-
3
-
4
-
5
-
6
-
7
-
8
-
9
-
10
-
11
-
12
-
13
-
14
-
15
-
16
-
17
-
18
-
19
-
20
-
21
-
22
-
23
-
24
-
25
-
26
-
27
-
28
-
29
-
30
-
31
-
32
-
33
-
34
-
35
-
36
-
37
-
38
-
39
-
40
-
41
-
42
-
43
-
44
-
45
-
46
-
47
-
48
-
49
-
50
-
51
-
52
-
53
-
54
-
55
-
56
-
57
-
58
-
59
-
60
-
61
-
62
-
63
-
64
-
65
-
66
-
67
-
68
-
69
-
70
-
71
-
72
-
73
-
74
-
75
-
76
-
77
-
78
-
79
-
80
-
81
-
82
-
83
-
84
-
85
-
86
-
87
-
88
-
89
-
90
-
 91
91 -
 92
92 -
 93
93 -
 94
94 -
 95
95 -
 96
96 -
 97
97 -
 98
98 -
 99
99 -
 100
100 -
 101
101 -
102
-
103
-
104
-
105
-
106
-
107
-
108
-
109
-
110
-
111
-
112
-
113
-
114
-
115
-
116
-
117
-
118
-
119
-
120
-
121
-
122
-
123
-
124
-
125
-
126
-
127
-
128
-
129
-
130
-
131
-
132
-
133
-
134
-
135
-
136
-
137
-
138
-
139
-
140
-
141
-
142
-
143
-
144
-
145
-
146
-
147
-
148
-
149
-
150
-
151
-
152
-
153
-
154
-
155
-
156
-
157
-
158
-
159
-
160
-
161
-
162
-
163
-
164
-
165
-
166
-
167
-
168
-
169
-
170
-
171
-
172
-
173
-
174
-
175
-
176
-
177
-
178
-
179
-
180
-
181
-
182
-
183
-
184
-
185
-
186
 |
 |
