Panasonic KX-HNC850G HomeHawk Users Guide - Page 26
off for 1 second, blinking quickly
 |
View all Panasonic KX-HNC850G manuals
Add to My Manuals
Save this manual to your list of manuals |
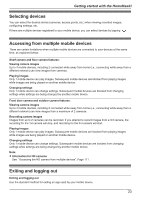
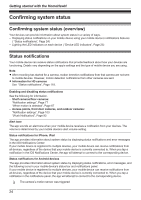
Page 26 highlights
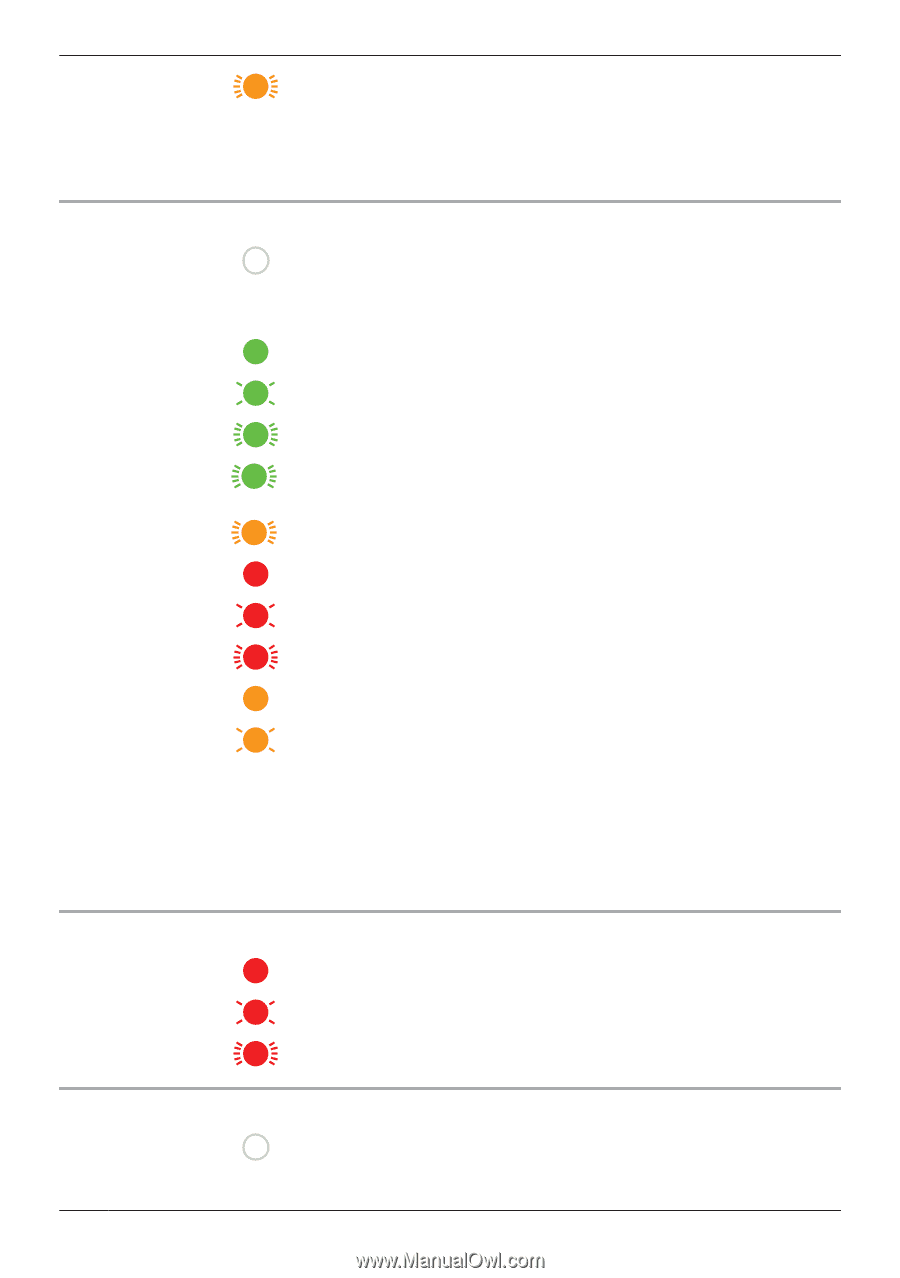
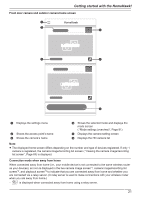
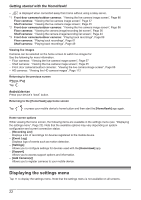
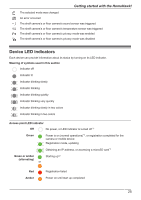
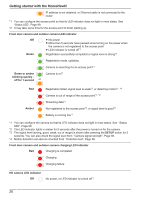
Getting started with the HomeHawk! IP address is not obtained, or Ethernet cable is not connected to the router *1 You can configure the access point so that its LED indicator does not light in most states. See "Status LED", Page 99. *2 It may take some time for the access point to finish starting up. Front door camera and outdoor camera LED indicator Off Green R No power R More than 5 seconds have passed since turning on the power when the camera is not registered to the access point R LED indicator is turned off*1 Registration successfully completed or signal level is strong*3 Registration mode, updating Camera is searching for an access point*1 Green or amber Camera is on*1 blinking quickly off for 1 second or Red Amber Registration failed, signal level is weak*3, or detecting motion*1, *4 Camera is out of range of the access point*1, *3 Streaming data*1 Not registered to the access point*2, or signal level is good*3 Battery is running low*1 *1 You can configure the camera so that its LED indicator does not light in most states. See "Status LED", Page 99. *2 The LED indicator lights in amber for 5 seconds after the power is turned on for the camera. *3 The signal level (strong, good, weak, out of range) is shown after pressing the SETUP button for 3 seconds. You can also check the signal level from "Camera signal strength", Page 95. *4 Motion detection can also be checked from "Detection test", Page 98. Front door camera and outdoor camera charging LED indicator Red Charging is completed Charging Charging failure HD camera LED indicator Off No power, or LED indicator is turned off*1 26
-
 1
1 -
2
-
3
-
4
-
5
-
6
-
7
-
8
-
9
-
10
-
11
-
12
-
13
-
14
-
15
-
16
-
17
-
18
-
19
-
20
-
 21
21 -
 22
22 -
 23
23 -
 24
24 -
 25
25 -
 26
26 -
 27
27 -
 28
28 -
 29
29 -
 30
30 -
 31
31 -
32
-
33
-
34
-
35
-
36
-
37
-
38
-
39
-
40
-
41
-
42
-
43
-
44
-
45
-
46
-
47
-
48
-
49
-
50
-
51
-
52
-
53
-
54
-
55
-
56
-
57
-
58
-
59
-
60
-
61
-
62
-
63
-
64
-
65
-
66
-
67
-
68
-
69
-
70
-
71
-
72
-
73
-
74
-
75
-
76
-
77
-
78
-
79
-
80
-
81
-
82
-
83
-
84
-
85
-
86
-
87
-
88
-
89
-
90
-
91
-
92
-
93
-
94
-
95
-
96
-
97
-
98
-
99
-
100
-
101
-
102
-
103
-
104
-
105
-
106
-
107
-
108
-
109
-
110
-
111
-
112
-
113
-
114
-
115
-
116
-
117
-
118
-
119
-
120
-
121
-
122
-
123
-
124
-
125
-
126
-
127
-
128
-
129
-
130
-
131
-
132
-
133
-
134
-
135
-
136
-
137
-
138
-
139
-
140
-
141
-
142
-
143
-
144
-
145
-
146
-
147
-
148
-
149
-
150
-
151
-
152
-
153
-
154
-
155
-
156
 |
 |