JVC GZ-EX310 User Guide - Page 145
Image Monitoring on TV (TV MONITORING
 |
View all JVC GZ-EX310 manuals
Add to My Manuals
Save this manual to your list of manuals |
Page 145 highlights
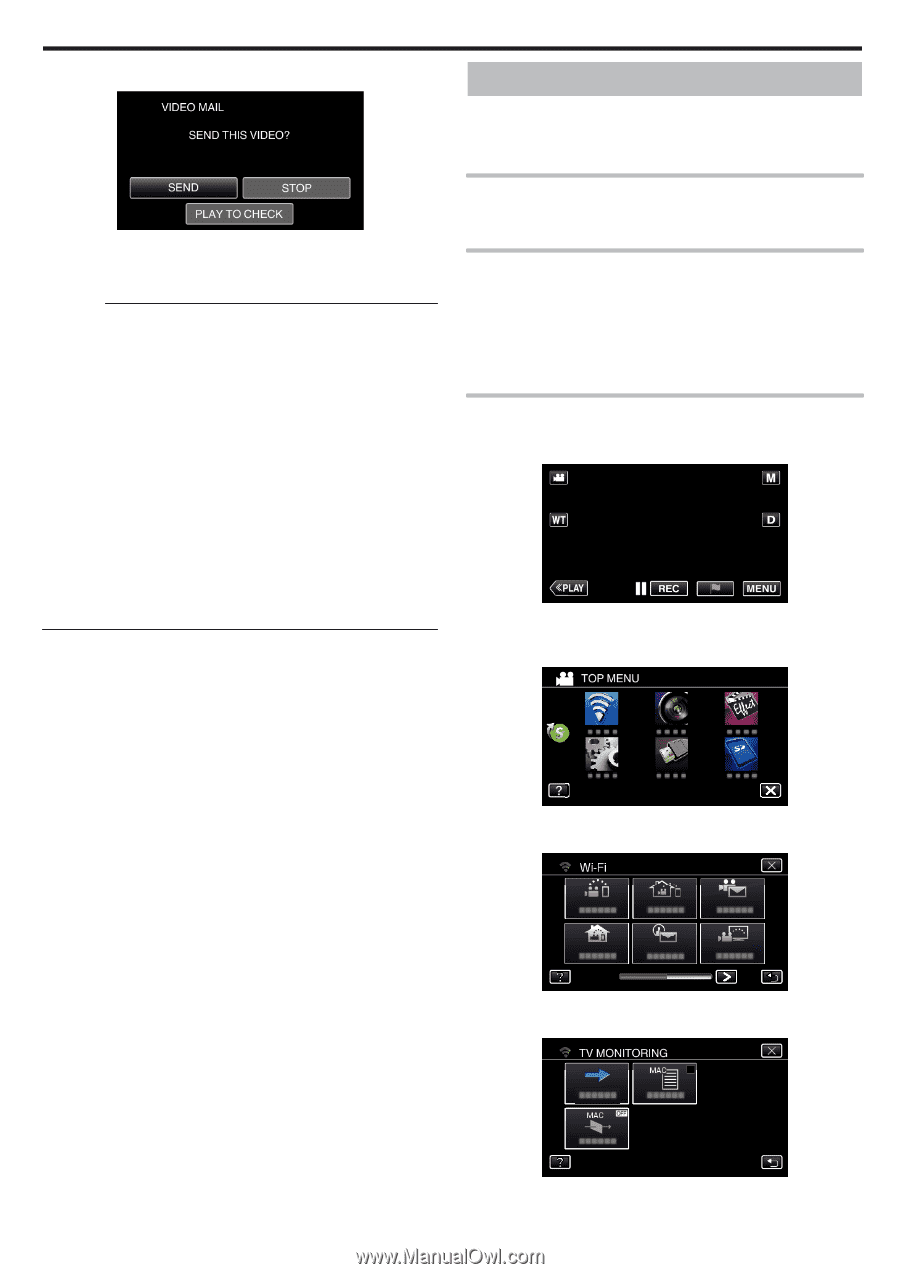
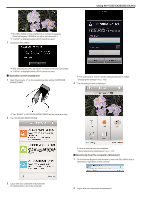
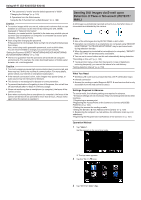
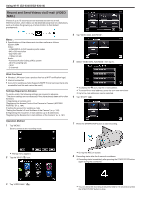
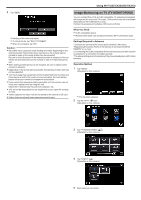
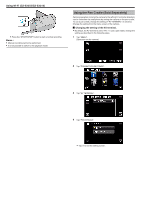
. .. . . Using Wi-Fi (GZ-EX355/GZ-EX310) 9 Tap "SEND". 0 Sending of the video mail starts. 0 To check the file, tap "PLAY TO CHECK". 0 When it is complete, tap "OK". Caution : 0 Be careful not to cause too much sending of e-mails. Depending on the internet provider that provides the e-mail service, the e-mails may be marked as spam or the usage limited may be exceeded. Be sure to check the terms of the internet provider in advance to find out if there are any restrictions on the number or size of e-mails that can be sent. 0 When setting another person as the recipient, be sure to obtain his/her consent in advance. 0 Depending on the e-mail service provider, the sending of video mail may not be supported. 0 Too much usage may cause high communication fees to be incurred, and there may be a limit to the volume of communication. For more details, please check your Internet or smartphone subscription. 0 If you reply to the received e-mail by using this unit, the receiver can not check your replied e-mail by using this unit. Check the e-mails sent by this unit from computer, etc. 0 JVC will not be responsible for any trouble that occurs upon the sending of mails. 0 Videos captured via video mail are not saved to the camera or SD card. 0 Videos that have already been captured cannot be sent. Image Monitoring on TV (TV MONITORING) You can connect this unit to a DLNA compatible TV wirelessly to playback still images on this unit on the TV screen. (This function may not be available depending on the DLNA device in use.) Connect via access point (wireless LAN router) at home. What You Need 0 DLNA compatible device 0 Wireless LAN router (use a product that has a Wi-Fi certification logo) Settings Required in Advance 1 Connect the camera to the access point (wireless LAN router). "Registering the Access Points of the Camera to Connect (ACCESS POINTS)" (A p. 164) 2. Connecting the DLNA compatible device to the access point (this function is available for a connection via cables as well) *The above settings are not necessary if they have already been set for other functions. Operation Method 1 Tap "MENU". (Operation on this camera) 0 The top menu appears. 2 Tap the "Wi-Fi" (Q) icon. (Operation on this camera) 3 Tap "TV MONITORING" (K). (Operation on this camera) 4 Tap "START" (I). (Operation on this camera) 5 Start making a connection. 145
-
 1
1 -
2
-
3
-
4
-
5
-
6
-
7
-
8
-
9
-
10
-
11
-
12
-
13
-
14
-
15
-
16
-
17
-
18
-
19
-
20
-
21
-
22
-
23
-
24
-
25
-
26
-
27
-
28
-
29
-
30
-
31
-
32
-
33
-
34
-
35
-
36
-
37
-
38
-
39
-
40
-
41
-
42
-
43
-
44
-
45
-
46
-
47
-
48
-
49
-
50
-
51
-
52
-
53
-
54
-
55
-
56
-
57
-
58
-
59
-
60
-
61
-
62
-
63
-
64
-
65
-
66
-
67
-
68
-
69
-
70
-
71
-
72
-
73
-
74
-
75
-
76
-
77
-
78
-
79
-
80
-
81
-
82
-
83
-
84
-
85
-
86
-
87
-
88
-
89
-
90
-
91
-
92
-
93
-
94
-
95
-
96
-
97
-
98
-
99
-
100
-
101
-
102
-
103
-
104
-
105
-
106
-
107
-
108
-
109
-
110
-
111
-
112
-
113
-
114
-
115
-
116
-
117
-
118
-
119
-
120
-
121
-
122
-
123
-
124
-
125
-
126
-
127
-
128
-
129
-
130
-
131
-
132
-
133
-
134
-
135
-
136
-
137
-
138
-
139
-
 140
140 -
 141
141 -
 142
142 -
 143
143 -
 144
144 -
 145
145 -
 146
146 -
 147
147 -
 148
148 -
 149
149 -
 150
150 -
151
-
152
-
153
-
154
-
155
-
156
-
157
-
158
-
159
-
160
-
161
-
162
-
163
-
164
-
165
-
166
-
167
-
168
-
169
-
170
-
171
-
172
-
173
-
174
-
175
-
176
-
177
-
178
-
179
-
180
-
181
-
182
-
183
-
184
-
185
-
186
-
187
-
188
-
189
-
190
-
191
-
192
-
193
-
194
-
195
-
196
-
197
-
198
-
199
-
200
-
201
-
202
-
203
-
204
-
205
-
206
-
207
-
208
-
209
-
210
-
211
-
212
-
213
-
214
-
215
-
216
-
217
-
218
-
219
-
220
-
221
-
222
-
223
-
224
-
225
-
226
-
227
-
228
-
229
-
230
-
231
-
232
-
233
-
234
-
235
-
236
-
237
-
238
-
239
-
240
-
241
-
242
-
243
-
244
-
245
-
246
-
247
-
248
-
249
-
250
-
251
-
252
-
253
-
254
-
255
-
256
-
257
-
258
-
259
-
260
-
261
 |
 |