Kyocera FS-C8500DN FS-C8500DN Operation Guide - Page 188
Printed Results, Corrective Action, Black or white vertical streaks, Faint or blurred printing
 |
View all Kyocera FS-C8500DN manuals
Add to My Manuals
Save this manual to your list of manuals |
Page 188 highlights
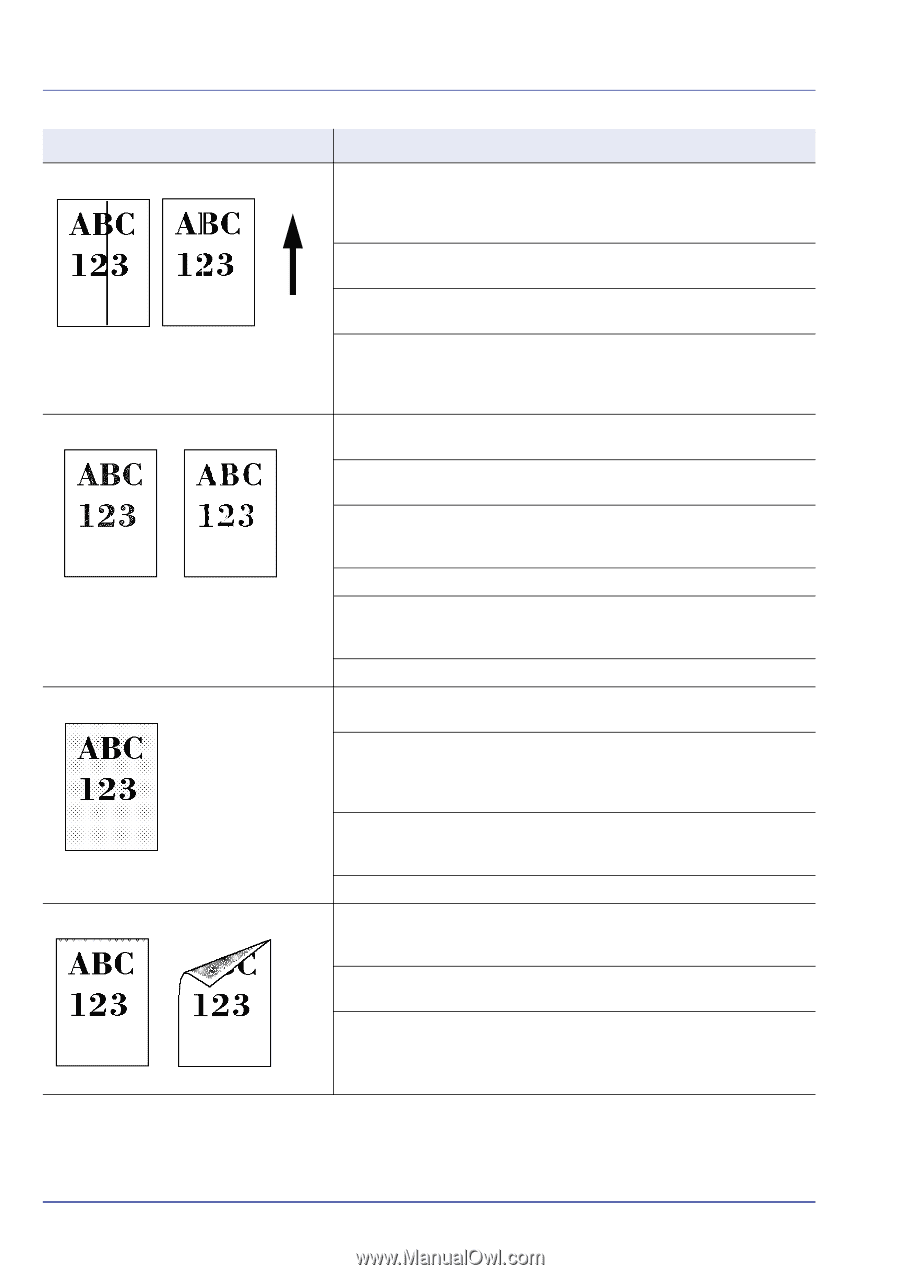
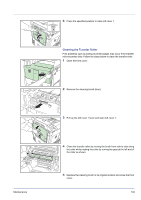
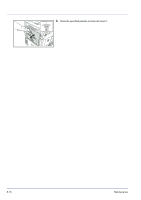
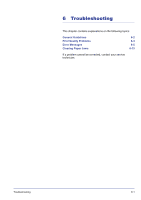
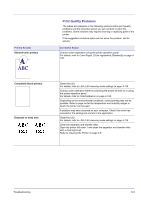
Printed Results Corrective Action Black or white vertical streaks Direction of Paper Feed Check the operation panel for toner. If the Toner is running out. message is displayed, install a new toner kit. To replace the toner container, refer to Toner Container Replacement on page 5-2. Clean the LSU. For details, refer to LSU (LSU cleaning mode setting) on page 4-116. Refresh drum. For details, refer to Drum (Drum/Refresh mode setting) on page 4-116. Clean the separator and transfer roller. Open the printer left cover 1 and clean the separator and transfer roller with a cleaning brush. Refer to Cleaning the Printer on page 5-8. Faint or blurred printing Refresh drum. For details, refer to Drum (Drum/Refresh mode setting) on page 4-116. Make sure the paper type setting is correct the paper being used. For details, refer to Paper Settings on page 4-46. Conduct color calibration either by switching the printer off then on or using the printer operation panel. For details, refer to ColorCalibration on page 4-106. Try adjusting the color control settings using the printer driver. Check the operation panel. If the Toner is running out. message is displayed, install a new toner kit. To replace toner, refer to Toner Container Replacement on page 5-2. The paper you are using may be damp. Replace it with new paper. Grey background Refresh drum. For details, refer to Drum (Drum/Refresh mode setting) on page 4-116. Check the operation panel for toner. If the Toner is running out. message is displayed, install a new toner kit. To replace the toner container, refer to Toner Container Replacement on page 5-2. Conduct color calibration either by switching the printer off then on or using the printer operation panel. For details, refer to ColorCalibration on page 4-106. The paper you are using may be damp. Replace it with new paper. Dirt on the top edge or back of the paper Clean the inside of the printer. Open the left cover 1 and check if the inside is dirty. If dirty, clean the inside with the cleaning cloth included in the toner kit. Clean the LSU. For details, refer to LSU (LSU cleaning mode setting) on page 4-116. Change to a different type of paper. 6-4 Troubleshooting
-
 1
1 -
2
-
3
-
4
-
5
-
6
-
7
-
8
-
9
-
10
-
11
-
12
-
13
-
14
-
15
-
16
-
17
-
18
-
19
-
20
-
21
-
22
-
23
-
24
-
25
-
26
-
27
-
28
-
29
-
30
-
31
-
32
-
33
-
34
-
35
-
36
-
37
-
38
-
39
-
40
-
41
-
42
-
43
-
44
-
45
-
46
-
47
-
48
-
49
-
50
-
51
-
52
-
53
-
54
-
55
-
56
-
57
-
58
-
59
-
60
-
61
-
62
-
63
-
64
-
65
-
66
-
67
-
68
-
69
-
70
-
71
-
72
-
73
-
74
-
75
-
76
-
77
-
78
-
79
-
80
-
81
-
82
-
83
-
84
-
85
-
86
-
87
-
88
-
89
-
90
-
91
-
92
-
93
-
94
-
95
-
96
-
97
-
98
-
99
-
100
-
101
-
102
-
103
-
104
-
105
-
106
-
107
-
108
-
109
-
110
-
111
-
112
-
113
-
114
-
115
-
116
-
117
-
118
-
119
-
120
-
121
-
122
-
123
-
124
-
125
-
126
-
127
-
128
-
129
-
130
-
131
-
132
-
133
-
134
-
135
-
136
-
137
-
138
-
139
-
140
-
141
-
142
-
143
-
144
-
145
-
146
-
147
-
148
-
149
-
150
-
151
-
152
-
153
-
154
-
155
-
156
-
157
-
158
-
159
-
160
-
161
-
162
-
163
-
164
-
165
-
166
-
167
-
168
-
169
-
170
-
171
-
172
-
173
-
174
-
175
-
176
-
177
-
178
-
179
-
180
-
181
-
182
-
 183
183 -
 184
184 -
 185
185 -
 186
186 -
 187
187 -
 188
188 -
 189
189 -
 190
190 -
 191
191 -
 192
192 -
 193
193 -
194
-
195
-
196
-
197
-
198
-
199
-
200
-
201
-
202
-
203
-
204
-
205
-
206
-
207
-
208
-
209
-
210
-
211
-
212
-
213
-
214
-
215
-
216
-
217
-
218
-
219
-
220
-
221
-
222
-
223
-
224
-
225
-
226
-
227
-
228
-
229
-
230
-
231
-
232
-
233
-
234
-
235
-
236
-
237
-
238
-
239
-
240
 |
 |