Canon EOS C70 Instruction Manual - Page 146
In the [Select a network] screen, select [Enter SSID/Authentication Method]., Detected Access Points
 |
View all Canon EOS C70 manuals
Add to My Manuals
Save this manual to your list of manuals |
Page 146 highlights
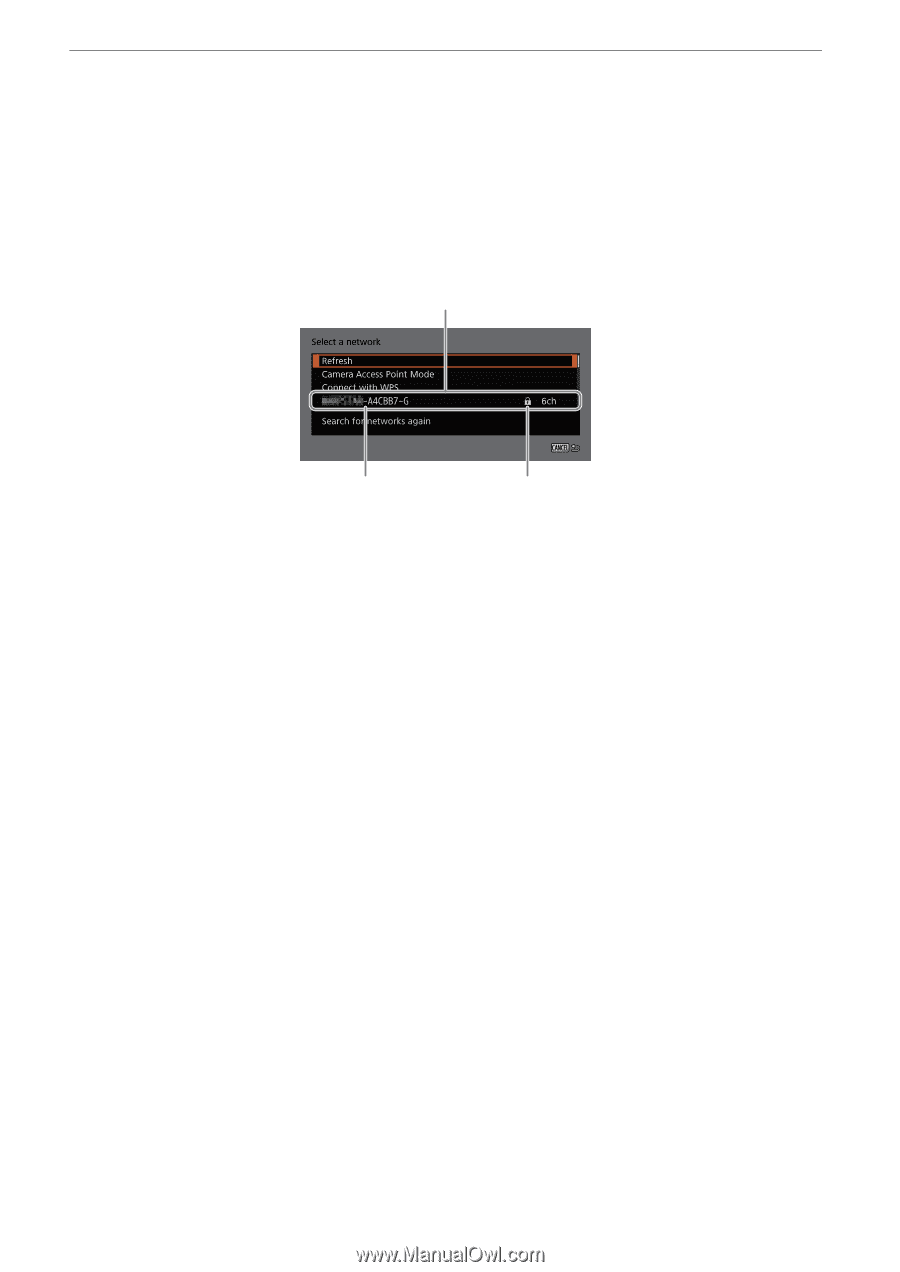
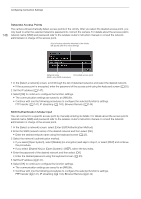
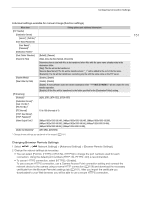
Configuring Connection Settings 146 Detected Access Points The camera will automatically detect access points in the vicinity. After you select the desired access point, you only need to enter the selected network's password to connect the camera. For details about the access point's network name (SSID) and password refer to the wireless router's instruction manual or consult the network administrator in charge of the access point. A list of active networks detected in the vicinity will appear after the menu settings Network name Encrypted access point (SSID, only ASCII characters) 1 In the [Select a network] screen, scroll through the list of detected networks and select the desired network. • If the access point is encrypted, enter the password of the access point using the keyboard screen (A 25). 2 Set the IP address (A 147). 3 Select [OK] to continue to configure the function settings. • The communication settings are saved to an [NW] file. • Continue with one the following procedures to configure the selected function's settings. FTP transfer (A 141), IP streaming (A 143), Browser Remote (A 144) SSID/Authentication Mode Input You can connect to a specific access point by manually entering its details. For details about the access point's network name (SSID) and password refer to the wireless router's instruction manual or consult the network administrator in charge of the access point. 1 In the [Select a network] screen, select [Enter SSID/Authentication Method]. 2 Enter the SSID (network name) of the desired network and then select [OK]. • Enter the desired network name using the keyboard screen (A 25). 3 Select the network's authentication method. • If you select [Open System], select [Disable] (no encryption) and skip to step 6, or select [WEP] and continue the procedure. • If you select [Shared Key] or [Open System] > [WEP], select the key index. 4 Enter the password of the desired network and then select [OK]. • Enter the desired password using the keyboard screen (A 25). 5 Set the IP address (A 147). 6 Select [OK] to continue to configure the function settings. • The communication settings are saved to an [NW] file. • Continue with one the following procedures to configure the selected function's settings. FTP transfer (A 141), IP streaming (A 143), Browser Remote (A 144)
-
 1
1 -
2
-
3
-
4
-
5
-
6
-
7
-
8
-
9
-
10
-
11
-
12
-
13
-
14
-
15
-
16
-
17
-
18
-
19
-
20
-
21
-
22
-
23
-
24
-
25
-
26
-
27
-
28
-
29
-
30
-
31
-
32
-
33
-
34
-
35
-
36
-
37
-
38
-
39
-
40
-
41
-
42
-
43
-
44
-
45
-
46
-
47
-
48
-
49
-
50
-
51
-
52
-
53
-
54
-
55
-
56
-
57
-
58
-
59
-
60
-
61
-
62
-
63
-
64
-
65
-
66
-
67
-
68
-
69
-
70
-
71
-
72
-
73
-
74
-
75
-
76
-
77
-
78
-
79
-
80
-
81
-
82
-
83
-
84
-
85
-
86
-
87
-
88
-
89
-
90
-
91
-
92
-
93
-
94
-
95
-
96
-
97
-
98
-
99
-
100
-
101
-
102
-
103
-
104
-
105
-
106
-
107
-
108
-
109
-
110
-
111
-
112
-
113
-
114
-
115
-
116
-
117
-
118
-
119
-
120
-
121
-
122
-
123
-
124
-
125
-
126
-
127
-
128
-
129
-
130
-
131
-
132
-
133
-
134
-
135
-
136
-
137
-
138
-
139
-
140
-
 141
141 -
 142
142 -
 143
143 -
 144
144 -
 145
145 -
 146
146 -
 147
147 -
 148
148 -
 149
149 -
 150
150 -
 151
151 -
152
-
153
-
154
-
155
-
156
-
157
-
158
-
159
-
160
-
161
-
162
-
163
-
164
-
165
-
166
-
167
-
168
-
169
-
170
-
171
-
172
-
173
-
174
-
175
-
176
-
177
-
178
-
179
-
180
-
181
-
182
-
183
-
184
-
185
-
186
-
187
-
188
-
189
-
190
-
191
-
192
-
193
-
194
-
195
-
196
-
197
-
198
-
199
-
200
-
201
-
202
-
203
-
204
-
205
-
206
-
207
-
208
-
209
-
210
-
211
-
212
-
213
-
214
-
215
 |
 |