Canon EOS C70 Instruction Manual - Page 71
Assistance Functions] > [Peaking] > [Peaking 1] or [Peaking 2].
 |
View all Canon EOS C70 manuals
Add to My Manuals
Save this manual to your list of manuals |
Page 71 highlights
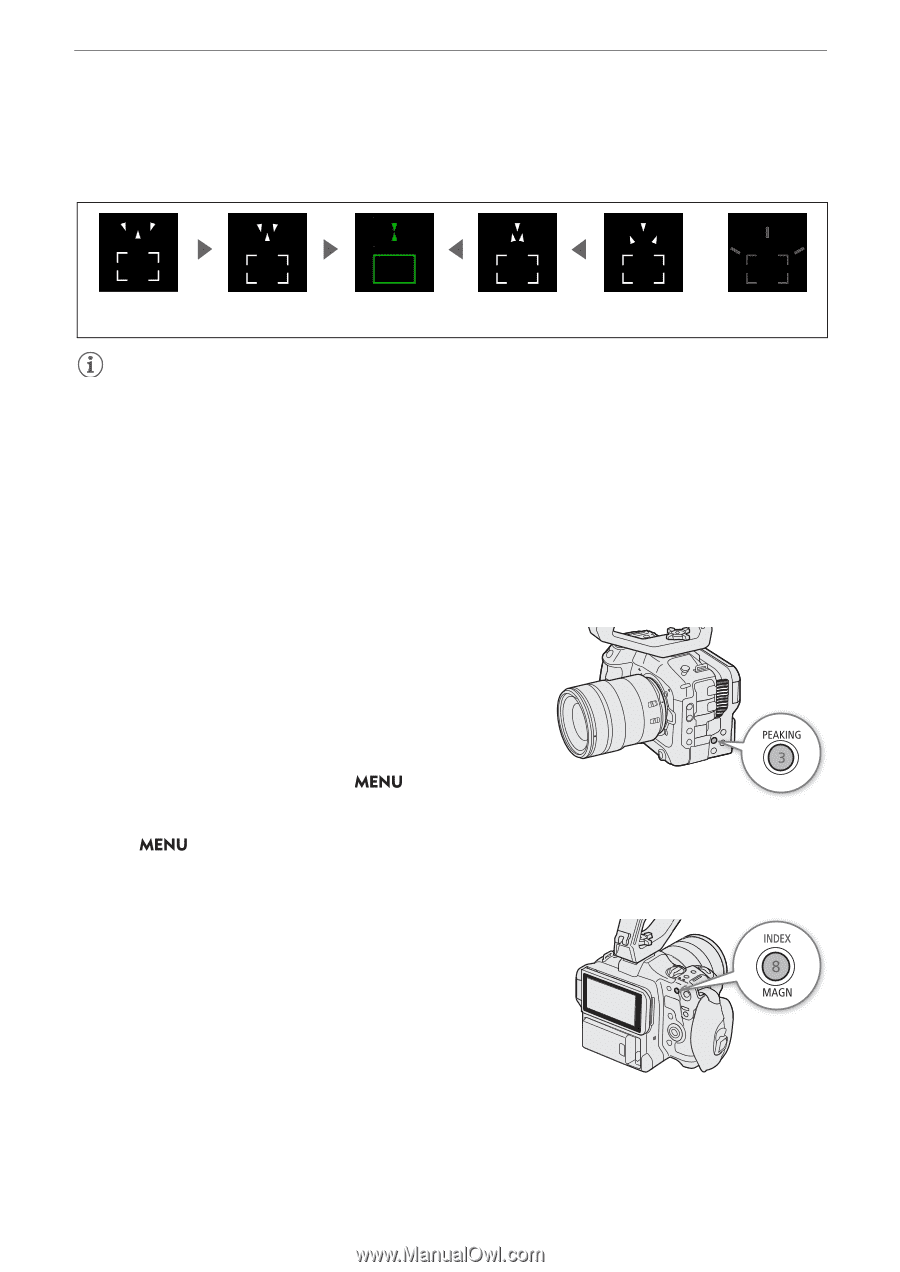
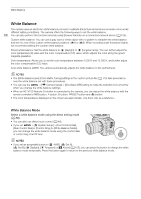
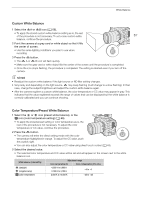
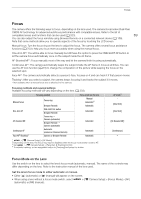
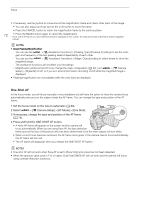
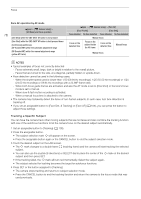
Focus 3 Adjust the focus manually as necessary. • When the focus guide turns green, the subject is correctly focused. 71 Focus farther (large adjustment) Focus farther (small adjustment) In focus (in green) Focus closer (small adjustment) Focus closer (large adjustment) Cannot determine adjustment NOTES • With subjects or in situations where autofocus may not work well (A 74), the focus guide may not work correctly. • The focus guide cannot be used in the following cases: - While the focus is being adjusted automatically using one-shot AF, AF-Boosted MF or continuous AF. - When the aperture value used is F13 or larger. - When a manual focus lens is attached to the camera, except for compatible EF Cinema lenses (A 203). • When the focus guide and face detection/tracking functions are used together, the focus guide may not focus the main subject's eyes correctly, depending on the direction in which the face is turned. Peaking The camera offers two peaking levels. 1 Press the PEAKING button. • The peaking icon (J or K) appears on the left of the screen and outlines (contour lines) in the image that are in focus will be shown highlighted. • Press the button again to turn off peaking. • You can use direct touch control (A 49) to turn the [Peaking 1]/[Peaking 2] setting on/off. • Alternatively, you can use one of the > [A Assistance Functions] > [Peaking:] settings to turn the peaking function on/ off separately on the respective terminal/output destination. 2 Select > [A Assistance Functions] > [Peaking] > [Peaking 1] or [Peaking 2]. Magnification 1 Press the MAGN. button. • ^ appears on the left of the screen and the center of the screen* is magnified 5 times. • The orange frame displayed on the top right of the screen (magnification frame) shows the approximate part of the image shown magnified. • Press SET to switch back and forth between 5x and 10x magnification.
-
 1
1 -
2
-
3
-
4
-
5
-
6
-
7
-
8
-
9
-
10
-
11
-
12
-
13
-
14
-
15
-
16
-
17
-
18
-
19
-
20
-
21
-
22
-
23
-
24
-
25
-
26
-
27
-
28
-
29
-
30
-
31
-
32
-
33
-
34
-
35
-
36
-
37
-
38
-
39
-
40
-
41
-
42
-
43
-
44
-
45
-
46
-
47
-
48
-
49
-
50
-
51
-
52
-
53
-
54
-
55
-
56
-
57
-
58
-
59
-
60
-
61
-
62
-
63
-
64
-
65
-
 66
66 -
 67
67 -
 68
68 -
 69
69 -
 70
70 -
 71
71 -
 72
72 -
 73
73 -
 74
74 -
 75
75 -
 76
76 -
77
-
78
-
79
-
80
-
81
-
82
-
83
-
84
-
85
-
86
-
87
-
88
-
89
-
90
-
91
-
92
-
93
-
94
-
95
-
96
-
97
-
98
-
99
-
100
-
101
-
102
-
103
-
104
-
105
-
106
-
107
-
108
-
109
-
110
-
111
-
112
-
113
-
114
-
115
-
116
-
117
-
118
-
119
-
120
-
121
-
122
-
123
-
124
-
125
-
126
-
127
-
128
-
129
-
130
-
131
-
132
-
133
-
134
-
135
-
136
-
137
-
138
-
139
-
140
-
141
-
142
-
143
-
144
-
145
-
146
-
147
-
148
-
149
-
150
-
151
-
152
-
153
-
154
-
155
-
156
-
157
-
158
-
159
-
160
-
161
-
162
-
163
-
164
-
165
-
166
-
167
-
168
-
169
-
170
-
171
-
172
-
173
-
174
-
175
-
176
-
177
-
178
-
179
-
180
-
181
-
182
-
183
-
184
-
185
-
186
-
187
-
188
-
189
-
190
-
191
-
192
-
193
-
194
-
195
-
196
-
197
-
198
-
199
-
200
-
201
-
202
-
203
-
204
-
205
-
206
-
207
-
208
-
209
-
210
-
211
-
212
-
213
-
214
-
215
 |
 |