Canon PowerShot G1 X Mark III PowerShot G1X MarkIII Camera User Guide - Page 152
connection only., Display CameraWindow., Import images.
 |
View all Canon PowerShot G1 X Mark III manuals
Add to My Manuals
Save this manual to your list of manuals |
Page 152 highlights
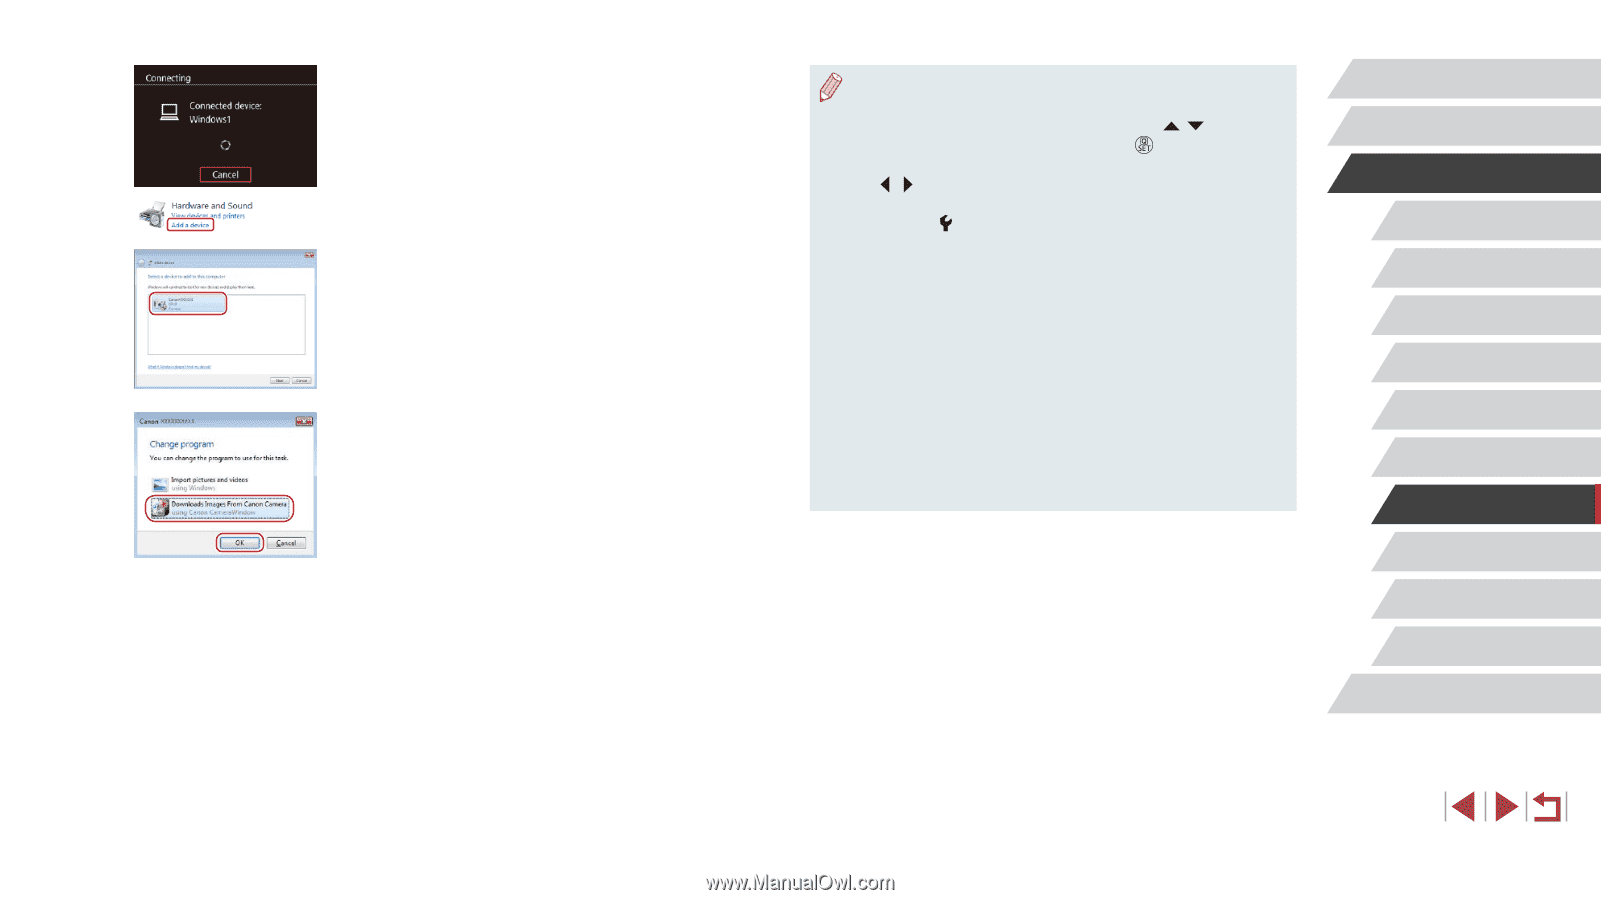
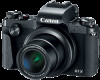
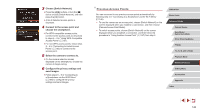
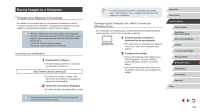
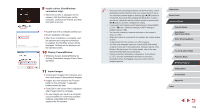
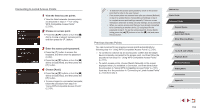
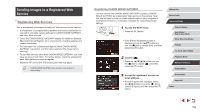
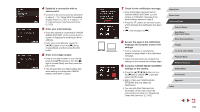
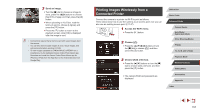
9 Install a driver (first Windows connection only). zzWhen this screen is displayed on the camera, click the Start menu on the computer, click [Control Panel], and then click [Add a device]. zzDouble-click the connected camera icon. zzDriver installation will begin. zzAfter driver installation is complete, and the camera and computer connection is enabled, the AutoPlay screen will be displayed. Nothing will be displayed on the camera screen. 10 Display CameraWindow. zzWindows: Access CameraWindow by clicking [Downloads Images From Canon Camera]. 11 Import images. zzClick [Import Images from Camera], and then click [Import Untransferred Images]. zzImages are now saved to the Pictures folder on the computer, in separate folders named by date. zzClick [OK] in the screen that is displayed after image import is complete. zzTo view images you save to a computer, use preinstalled or commonly available software compatible with images captured by the camera. ●● Once you have connected to devices via the Wi-Fi menu, recent destinations will be listed first when you access the Wi-Fi menu. You can easily connect again by pressing the [ ][ ] buttons to choose the device and then pressing the [ ] button. To add a new device, display the device selection screen by pressing the [ ][ ] buttons, and then configure the setting. ●● If you prefer not to display recent target devices, choose MENU (=31) > [ 4] tab > [Wireless settings] > [Wi-Fi Settings] > [Target History] > [Off]. ●● You can also change the camera nickname on the screen in step 2 (=168). ●● When the camera is connected to a computer, the camera screen is blank. ●● To disconnect from the camera, turn off the camera. ●● The PIN code displayed when you choose [WPS (PIN mode)] in step 6 is to be set in the access point. Choose a device in the [Select a Device] screen. For further details, refer to the user manual included with your access point. ●● Once a connection destination is assigned in Touch Actions (=127), you can automatically reconnect to a previous destination simply by dragging across the screen with the assigned gesture. Before Use Basic Guide Advanced Guide Camera Basics Auto Mode / Hybrid Auto Mode Other Shooting Modes P Mode Tv, Av, M, and C Mode Playback Mode Wireless Features Setting Menu Accessories Appendix Index 152
-
 1
1 -
2
-
3
-
4
-
5
-
6
-
7
-
8
-
9
-
10
-
11
-
12
-
13
-
14
-
15
-
16
-
17
-
18
-
19
-
20
-
21
-
22
-
23
-
24
-
25
-
26
-
27
-
28
-
29
-
30
-
31
-
32
-
33
-
34
-
35
-
36
-
37
-
38
-
39
-
40
-
41
-
42
-
43
-
44
-
45
-
46
-
47
-
48
-
49
-
50
-
51
-
52
-
53
-
54
-
55
-
56
-
57
-
58
-
59
-
60
-
61
-
62
-
63
-
64
-
65
-
66
-
67
-
68
-
69
-
70
-
71
-
72
-
73
-
74
-
75
-
76
-
77
-
78
-
79
-
80
-
81
-
82
-
83
-
84
-
85
-
86
-
87
-
88
-
89
-
90
-
91
-
92
-
93
-
94
-
95
-
96
-
97
-
98
-
99
-
100
-
101
-
102
-
103
-
104
-
105
-
106
-
107
-
108
-
109
-
110
-
111
-
112
-
113
-
114
-
115
-
116
-
117
-
118
-
119
-
120
-
121
-
122
-
123
-
124
-
125
-
126
-
127
-
128
-
129
-
130
-
131
-
132
-
133
-
134
-
135
-
136
-
137
-
138
-
139
-
140
-
141
-
142
-
143
-
144
-
145
-
146
-
 147
147 -
 148
148 -
 149
149 -
 150
150 -
 151
151 -
 152
152 -
 153
153 -
 154
154 -
 155
155 -
 156
156 -
 157
157 -
158
-
159
-
160
-
161
-
162
-
163
-
164
-
165
-
166
-
167
-
168
-
169
-
170
-
171
-
172
-
173
-
174
-
175
-
176
-
177
-
178
-
179
-
180
-
181
-
182
-
183
-
184
-
185
-
186
-
187
-
188
-
189
-
190
-
191
-
192
-
193
-
194
-
195
-
196
-
197
-
198
-
199
-
200
-
201
-
202
-
203
-
204
-
205
-
206
-
207
-
208
-
209
-
210
-
211
-
212
-
213
-
214
-
215
-
216
-
217
-
218
-
219
-
220
-
221
-
222
-
223
-
224
-
225
-
226
-
227
-
228
-
229
-
230
-
231
 |
 |