Canon PowerShot G1 X Mark III PowerShot G1X MarkIII Camera User Guide - Page 82
Shooting Bright Subjects Highlight Tone Priority, Auto Correction of Brightness and Contrast, Auto
 |
View all Canon PowerShot G1 X Mark III manuals
Add to My Manuals
Save this manual to your list of manuals |
Page 82 highlights
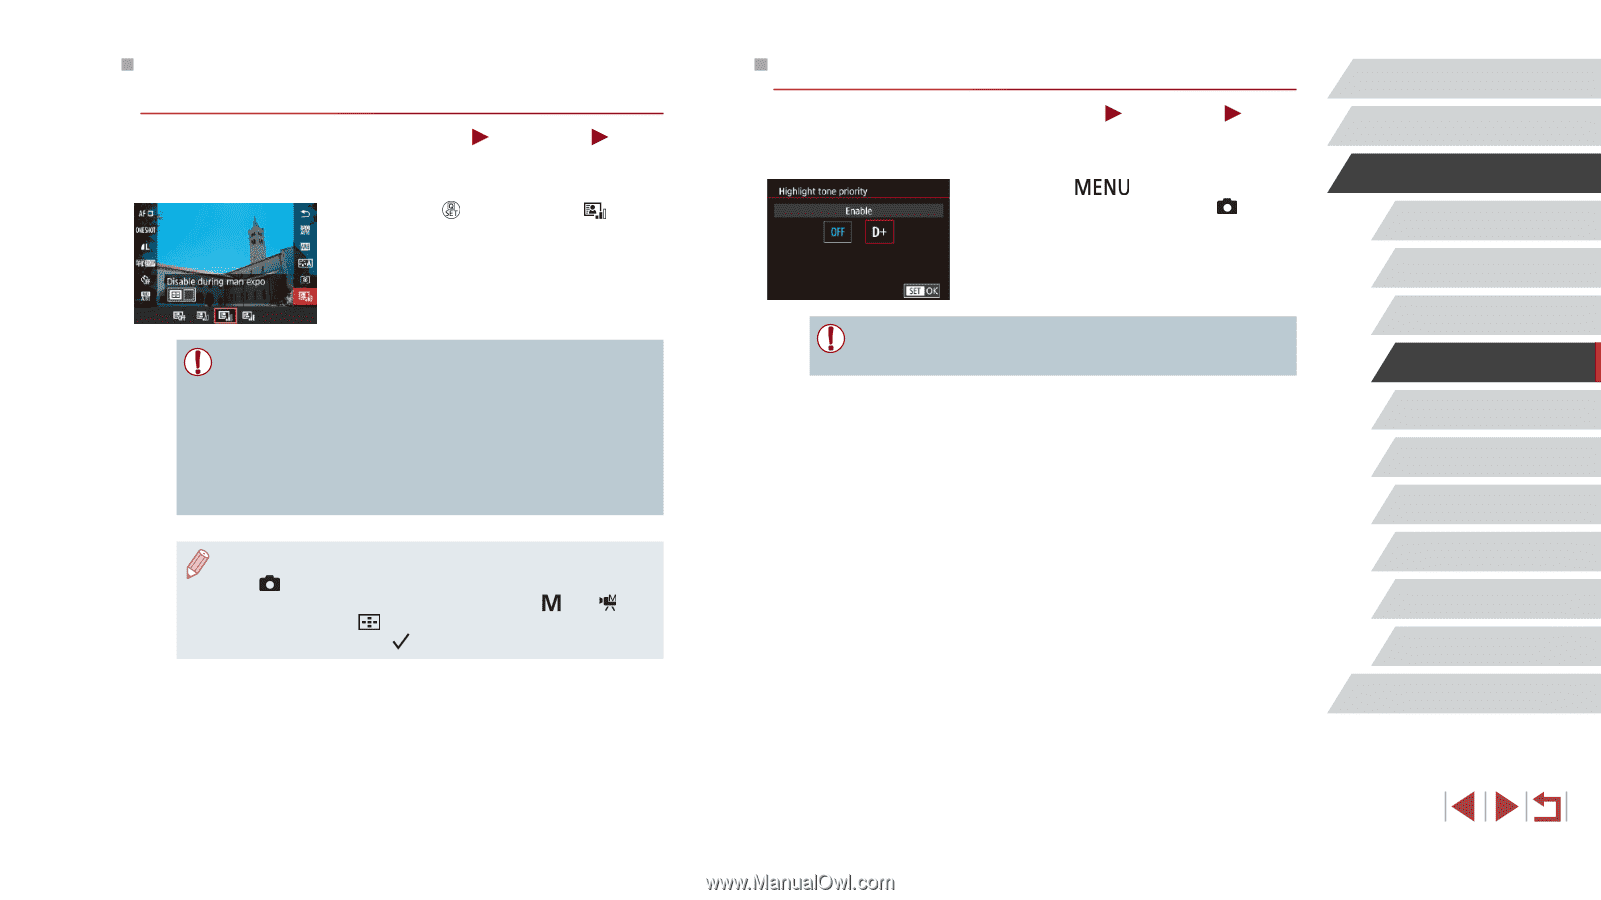
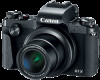
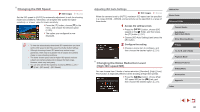
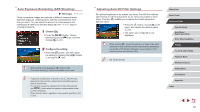
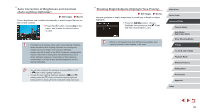
Auto Correction of Brightness and Contrast (Auto Lighting Optimizer) Still Images Movies Correct brightness and contrast automatically to avoid images that are too dark or lack contrast. zzPress the [ ] button, choose [ ] in the menu, and choose the desired option (= 30). ●● This feature may increase noise under some shooting conditions. ●● When the effect of Auto Lighting Optimizer is too strong and images become too bright, set it to [Low] or [Disable]. ●● Images may still be bright or the effect of exposure compensation may be weak under a setting other than [Disable] if you use a darker setting for exposure compensation or flash exposure compensation. For shots at your specified brightness, set this feature to [Disable]. ●● You can also configure this setting by choosing MENU (=31) > [ 5] tab > [Auto Lighting Optimizer]. ●● To keep the Auto Lighting Optimizer disabled in [ ] and [ ] modes, press the [ ] button on the Auto Lighting Optimizer setting screen to add a [ ] mark to [Disable during man expo]. Shooting Bright Subjects (Highlight Tone Priority) Still Images Movies Improve gradation in bright image areas to avoid loss of detail in subject highlights. zzPress the [ ] button, choose [Highlight tone priority] on the [ 5] tab, and then choose [D+] (=31). ●● With [D+], ISO speeds lower than [160] are not available. Auto Lighting Optimizer is also disabled, in this case. Before Use Basic Guide Advanced Guide Camera Basics Auto Mode / Hybrid Auto Mode Other Shooting Modes P Mode Tv, Av, M, and C Mode Playback Mode Wireless Features Setting Menu Accessories Appendix Index 82
-
 1
1 -
2
-
3
-
4
-
5
-
6
-
7
-
8
-
9
-
10
-
11
-
12
-
13
-
14
-
15
-
16
-
17
-
18
-
19
-
20
-
21
-
22
-
23
-
24
-
25
-
26
-
27
-
28
-
29
-
30
-
31
-
32
-
33
-
34
-
35
-
36
-
37
-
38
-
39
-
40
-
41
-
42
-
43
-
44
-
45
-
46
-
47
-
48
-
49
-
50
-
51
-
52
-
53
-
54
-
55
-
56
-
57
-
58
-
59
-
60
-
61
-
62
-
63
-
64
-
65
-
66
-
67
-
68
-
69
-
70
-
71
-
72
-
73
-
74
-
75
-
76
-
 77
77 -
 78
78 -
 79
79 -
 80
80 -
 81
81 -
 82
82 -
 83
83 -
 84
84 -
 85
85 -
 86
86 -
 87
87 -
88
-
89
-
90
-
91
-
92
-
93
-
94
-
95
-
96
-
97
-
98
-
99
-
100
-
101
-
102
-
103
-
104
-
105
-
106
-
107
-
108
-
109
-
110
-
111
-
112
-
113
-
114
-
115
-
116
-
117
-
118
-
119
-
120
-
121
-
122
-
123
-
124
-
125
-
126
-
127
-
128
-
129
-
130
-
131
-
132
-
133
-
134
-
135
-
136
-
137
-
138
-
139
-
140
-
141
-
142
-
143
-
144
-
145
-
146
-
147
-
148
-
149
-
150
-
151
-
152
-
153
-
154
-
155
-
156
-
157
-
158
-
159
-
160
-
161
-
162
-
163
-
164
-
165
-
166
-
167
-
168
-
169
-
170
-
171
-
172
-
173
-
174
-
175
-
176
-
177
-
178
-
179
-
180
-
181
-
182
-
183
-
184
-
185
-
186
-
187
-
188
-
189
-
190
-
191
-
192
-
193
-
194
-
195
-
196
-
197
-
198
-
199
-
200
-
201
-
202
-
203
-
204
-
205
-
206
-
207
-
208
-
209
-
210
-
211
-
212
-
213
-
214
-
215
-
216
-
217
-
218
-
219
-
220
-
221
-
222
-
223
-
224
-
225
-
226
-
227
-
228
-
229
-
230
-
231
 |
 |