Canon PowerShot G1 X Mark III PowerShot G1X MarkIII Camera User Guide - Page 39
Scene Icons
 |
View all Canon PowerShot G1 X Mark III manuals
Add to My Manuals
Save this manual to your list of manuals |
Page 39 highlights
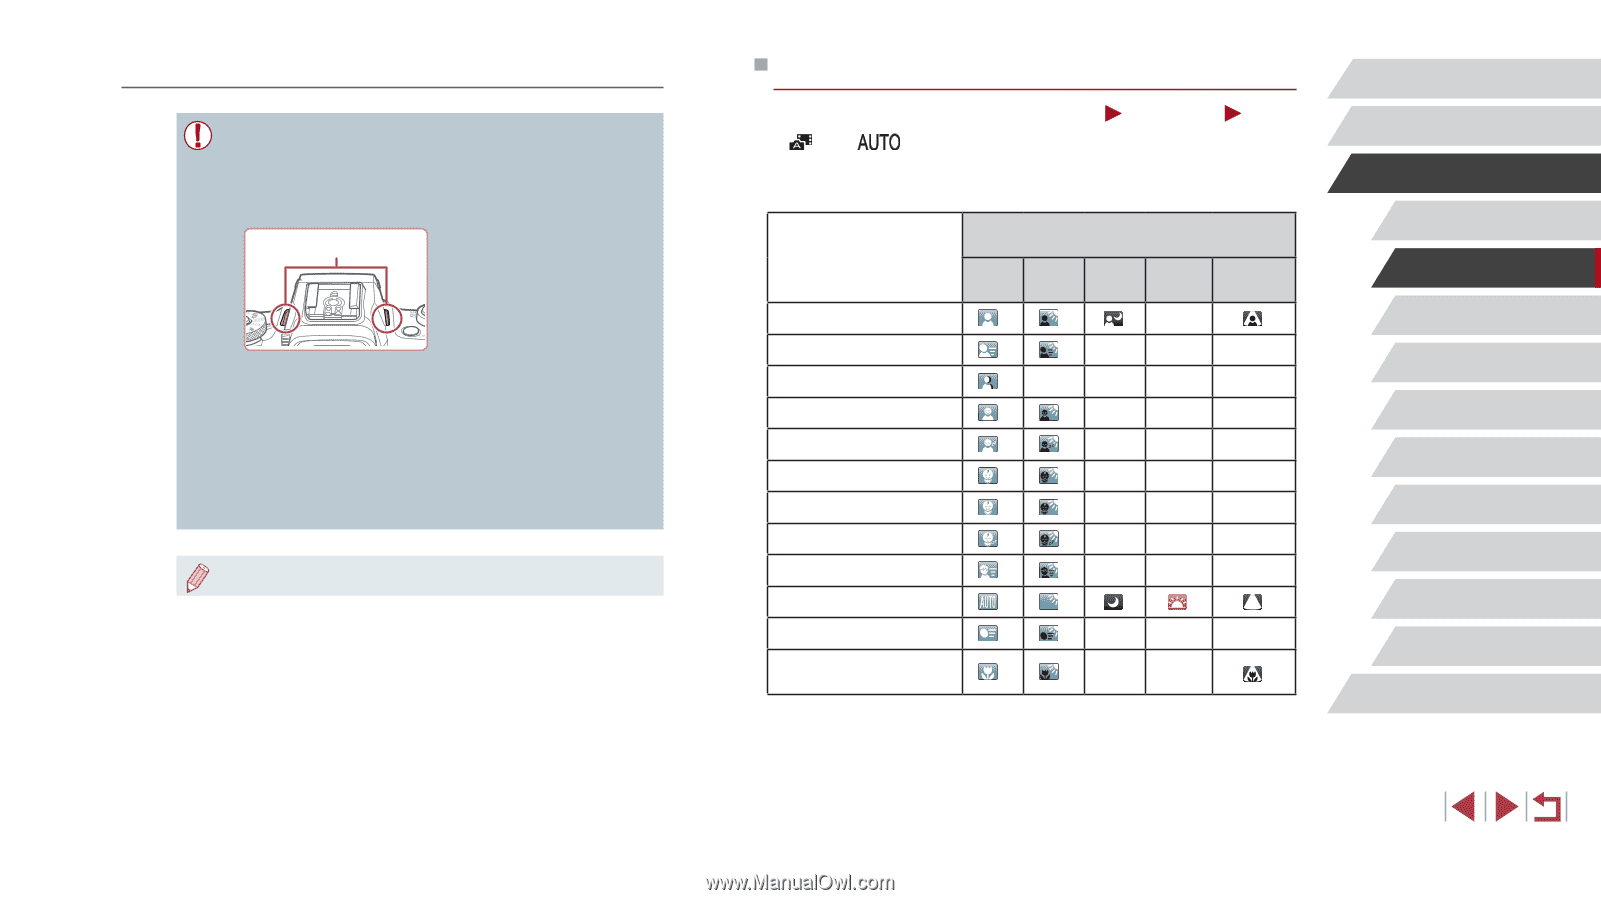
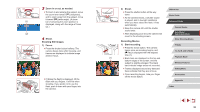
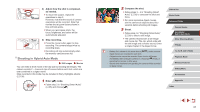
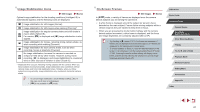
Movies ●● Before movie recording, lower the flash with your finger. During recording, keep your fingers away from the microphone (1). Leaving the flash raised, or blocking the microphone may prevent audio from being recorded or may cause the recording to sound muffled. (1) ●● Avoid touching camera controls other than the movie button when recording movies, because sounds made by the camera will be recorded. ●● Once movie recording begins, the image display area changes and subjects are enlarged to allow for correction of significant camera shake. To shoot subjects at the same size shown before shooting, follow the steps in "Recording Movies with Subjects at the Same Size Shown before Shooting" (= 54). ●● Audio is recorded in stereo. Scene Icons Still Images Movies In [ ] and [ ] modes, shooting scenes determined by the camera are indicated by the icon displayed, and corresponding settings are automatically selected for optimal focusing, subject brightness, and color. Depending on the scene, continuous images may be shot (=40). Subject Background Normal Backlit Dark*1 Sunsets Spotlights People *2 *3 - Moving People *3 *3 - - - Shadows on Face *2 - - - - Smiling *3 *3 - - - Sleeping *2 *3 - - - Babies *3 *3 - - - Smiling Babies *3 *3 - - - Sleeping Babies *2 *3 - - - Moving Children *3 *3 - - - Other Subjects *2 *3 Other Moving Subjects *3 *3 - - - Other Close-Range Subjects *2 *3 - - *1 Tripod used. *2 The background color of icons is light blue when the background is a blue sky, dark blue when the background is dark, and gray for all other backgrounds. *3 The background color of icons is light blue when the background is a blue sky, and gray for all other backgrounds. Before Use Basic Guide Advanced Guide Camera Basics Auto Mode / Hybrid Auto Mode Other Shooting Modes P Mode Tv, Av, M, and C Mode Playback Mode Wireless Features Setting Menu Accessories Appendix Index 39
-
 1
1 -
2
-
3
-
4
-
5
-
6
-
7
-
8
-
9
-
10
-
11
-
12
-
13
-
14
-
15
-
16
-
17
-
18
-
19
-
20
-
21
-
22
-
23
-
24
-
25
-
26
-
27
-
28
-
29
-
30
-
31
-
32
-
33
-
 34
34 -
 35
35 -
 36
36 -
 37
37 -
 38
38 -
 39
39 -
 40
40 -
 41
41 -
 42
42 -
 43
43 -
 44
44 -
45
-
46
-
47
-
48
-
49
-
50
-
51
-
52
-
53
-
54
-
55
-
56
-
57
-
58
-
59
-
60
-
61
-
62
-
63
-
64
-
65
-
66
-
67
-
68
-
69
-
70
-
71
-
72
-
73
-
74
-
75
-
76
-
77
-
78
-
79
-
80
-
81
-
82
-
83
-
84
-
85
-
86
-
87
-
88
-
89
-
90
-
91
-
92
-
93
-
94
-
95
-
96
-
97
-
98
-
99
-
100
-
101
-
102
-
103
-
104
-
105
-
106
-
107
-
108
-
109
-
110
-
111
-
112
-
113
-
114
-
115
-
116
-
117
-
118
-
119
-
120
-
121
-
122
-
123
-
124
-
125
-
126
-
127
-
128
-
129
-
130
-
131
-
132
-
133
-
134
-
135
-
136
-
137
-
138
-
139
-
140
-
141
-
142
-
143
-
144
-
145
-
146
-
147
-
148
-
149
-
150
-
151
-
152
-
153
-
154
-
155
-
156
-
157
-
158
-
159
-
160
-
161
-
162
-
163
-
164
-
165
-
166
-
167
-
168
-
169
-
170
-
171
-
172
-
173
-
174
-
175
-
176
-
177
-
178
-
179
-
180
-
181
-
182
-
183
-
184
-
185
-
186
-
187
-
188
-
189
-
190
-
191
-
192
-
193
-
194
-
195
-
196
-
197
-
198
-
199
-
200
-
201
-
202
-
203
-
204
-
205
-
206
-
207
-
208
-
209
-
210
-
211
-
212
-
213
-
214
-
215
-
216
-
217
-
218
-
219
-
220
-
221
-
222
-
223
-
224
-
225
-
226
-
227
-
228
-
229
-
230
-
231
 |
 |