Canon PowerShot G1 X Mark III PowerShot G1X MarkIII Camera User Guide - Page 60
Shooting Panoramas Panoramic Shot, Making Skin Look Smoother Smooth Skin
 |
View all Canon PowerShot G1 X Mark III manuals
Add to My Manuals
Save this manual to your list of manuals |
Page 60 highlights
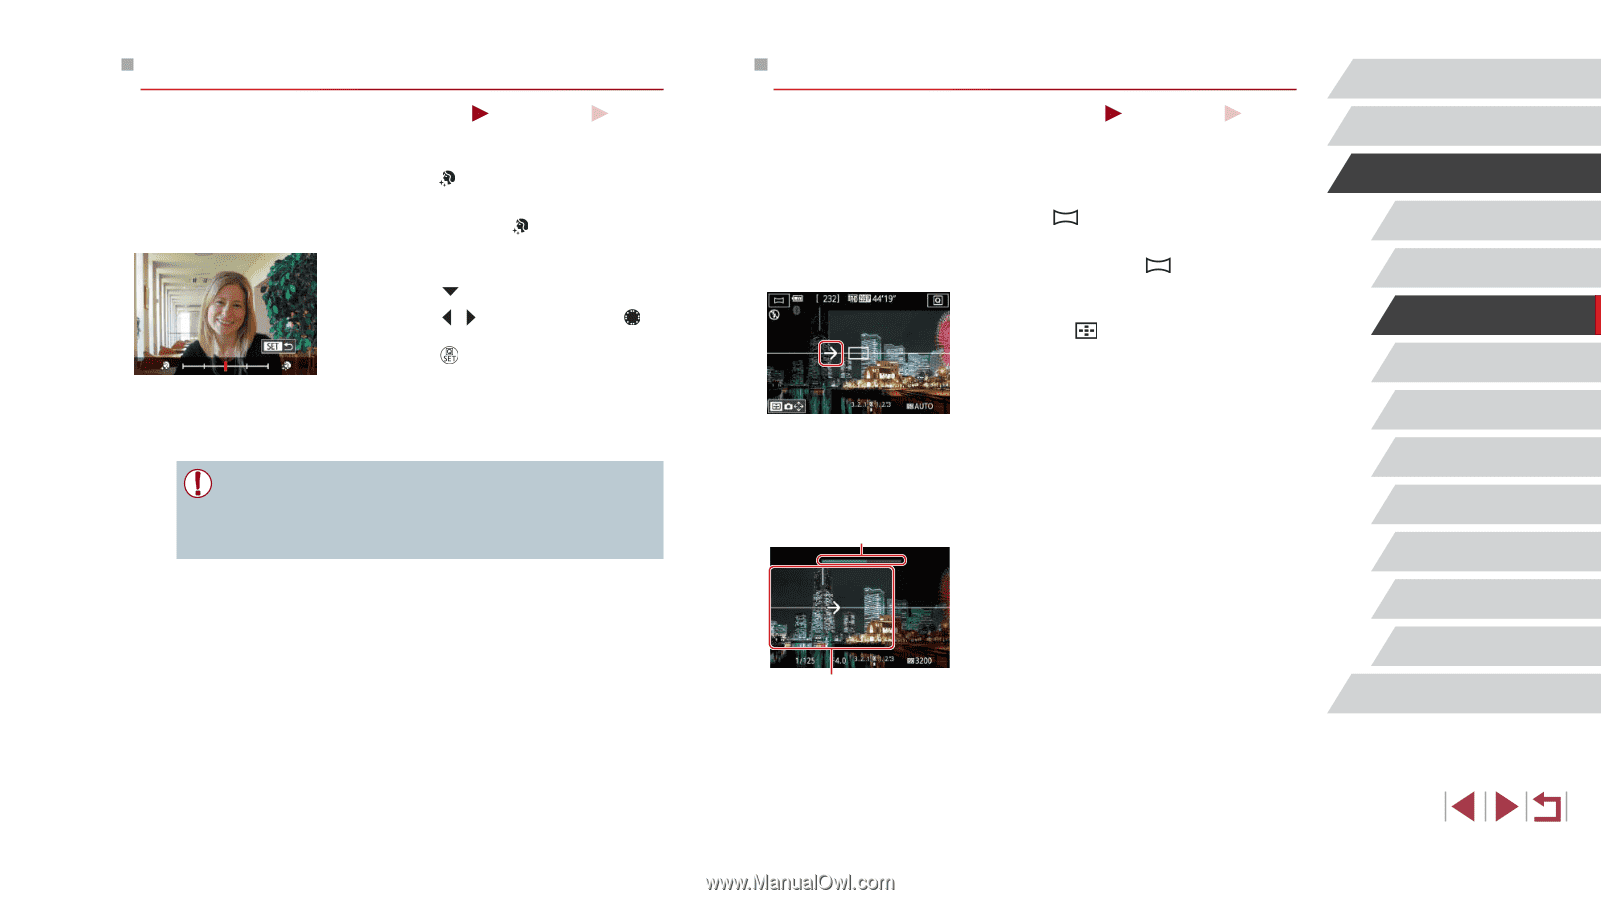
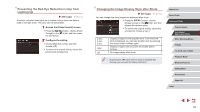
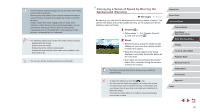
Making Skin Look Smoother (Smooth Skin) Still Images You can enhance skin tone to make it look smoother. Movies 1 Choose [ ]. zzFollow steps 1 - 2 in "Specific Scenes" (=56) and choose [ ]. 2 Choose an effect level. zzPress the [ ] button. zzPress the [ ][ ] buttons or turn the [ ] dial to choose an effect level, and then press the [ ] button. zzA preview is shown of how your shot will look with the effect applied. 3 Shoot. ●● Areas other than people's skin may be modified, depending on the shooting conditions. ●● Try taking some test shots first to make sure you obtain the desired results. Shooting Panoramas (Panoramic Shot) Still Images Movies Create a panorama combining shots captured continuously as you move the camera one direction while holding the shutter button all the way down. 1 Enter [ ] mode. zzFollow steps 1 - 2 in "Specific Scenes" (=56) and choose [ ]. 2 Choose a shooting direction. zzPress the [ ] button and choose the direction you will shoot. zzAn arrow is displayed showing the direction to move the camera. 3 Focus. zzPress the shutter button halfway to focus on the subject, and continue holding the button halfway down. (2) (1) 4 Shoot. zzHolding the shutter button all the way down, move the camera at a constant speed in the direction of the arrow. zzThe area displayed clearly (1) is captured. zzA shooting progress indicator is displayed (2). zzShooting stops when you release the shutter button, or when the progress indicator is completely blue. Before Use Basic Guide Advanced Guide Camera Basics Auto Mode / Hybrid Auto Mode Other Shooting Modes P Mode Tv, Av, M, and C Mode Playback Mode Wireless Features Setting Menu Accessories Appendix Index 60
-
 1
1 -
2
-
3
-
4
-
5
-
6
-
7
-
8
-
9
-
10
-
11
-
12
-
13
-
14
-
15
-
16
-
17
-
18
-
19
-
20
-
21
-
22
-
23
-
24
-
25
-
26
-
27
-
28
-
29
-
30
-
31
-
32
-
33
-
34
-
35
-
36
-
37
-
38
-
39
-
40
-
41
-
42
-
43
-
44
-
45
-
46
-
47
-
48
-
49
-
50
-
51
-
52
-
53
-
54
-
 55
55 -
 56
56 -
 57
57 -
 58
58 -
 59
59 -
 60
60 -
 61
61 -
 62
62 -
 63
63 -
 64
64 -
 65
65 -
66
-
67
-
68
-
69
-
70
-
71
-
72
-
73
-
74
-
75
-
76
-
77
-
78
-
79
-
80
-
81
-
82
-
83
-
84
-
85
-
86
-
87
-
88
-
89
-
90
-
91
-
92
-
93
-
94
-
95
-
96
-
97
-
98
-
99
-
100
-
101
-
102
-
103
-
104
-
105
-
106
-
107
-
108
-
109
-
110
-
111
-
112
-
113
-
114
-
115
-
116
-
117
-
118
-
119
-
120
-
121
-
122
-
123
-
124
-
125
-
126
-
127
-
128
-
129
-
130
-
131
-
132
-
133
-
134
-
135
-
136
-
137
-
138
-
139
-
140
-
141
-
142
-
143
-
144
-
145
-
146
-
147
-
148
-
149
-
150
-
151
-
152
-
153
-
154
-
155
-
156
-
157
-
158
-
159
-
160
-
161
-
162
-
163
-
164
-
165
-
166
-
167
-
168
-
169
-
170
-
171
-
172
-
173
-
174
-
175
-
176
-
177
-
178
-
179
-
180
-
181
-
182
-
183
-
184
-
185
-
186
-
187
-
188
-
189
-
190
-
191
-
192
-
193
-
194
-
195
-
196
-
197
-
198
-
199
-
200
-
201
-
202
-
203
-
204
-
205
-
206
-
207
-
208
-
209
-
210
-
211
-
212
-
213
-
214
-
215
-
216
-
217
-
218
-
219
-
220
-
221
-
222
-
223
-
224
-
225
-
226
-
227
-
228
-
229
-
230
-
231
 |
 |