Canon PowerShot G1 X Mark III PowerShot G1X MarkIII Camera User Guide - Page 196
Printing Images Added to the Print List DPOF
 |
View all Canon PowerShot G1 X Mark III manuals
Add to My Manuals
Save this manual to your list of manuals |
Page 196 highlights
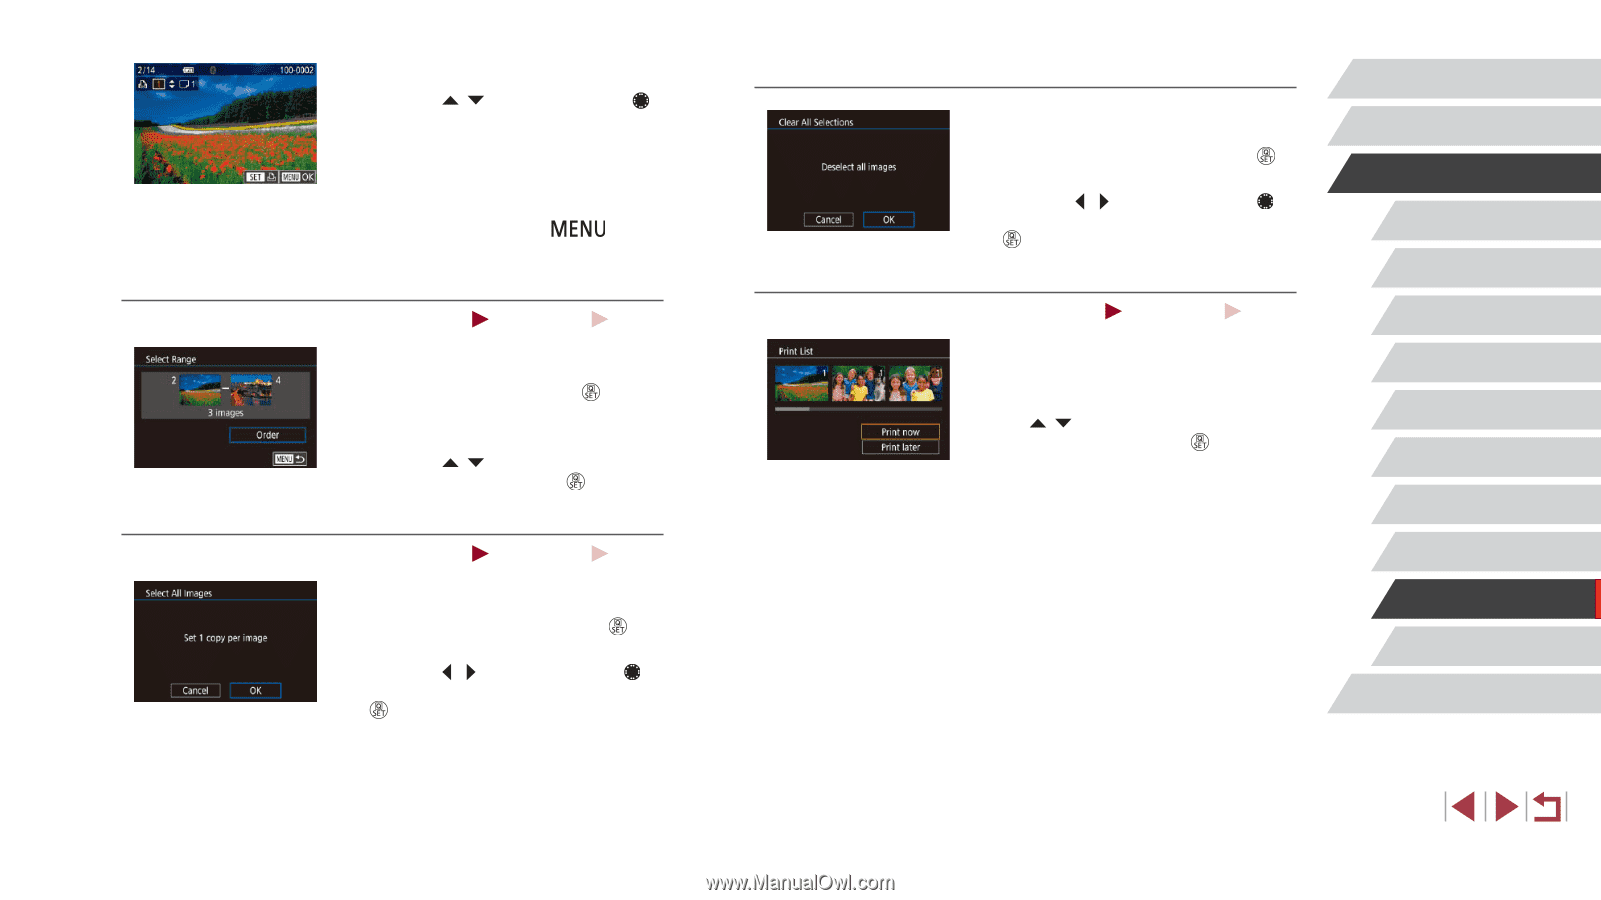
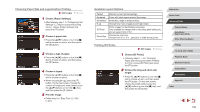
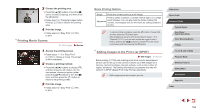
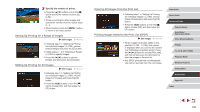
3 Specify the number of prints. zzPress the [ ][ ] buttons or turn the [ ] dial to specify the number of prints (up to 99). zzTo set up printing for other images and specify the number of prints, repeat steps 2 - 3. zzWhen finished, press the [ to return to the menu screen. ] button Setting Up Printing for a Range of Images Still Images Movies zzFollowing step 1 in "Setting Up Printing for Individual Images" (=195), choose [Select Range] and press the [ ] button. zzFollow steps 2 - 3 in "Selecting a Range" (=122) to specify images. zzPress the [ ][ ] buttons to choose [Order], and then press the [ ] button. Setting Up Printing for All Images Still Images Movies zzFollowing step 1 in "Setting Up Printing for Individual Images" (=195), choose [Select All Images] and press the [ ] button. zzPress the [ ][ ] buttons or turn the [ ] dial to choose [OK], and then press the [ ] button. Clearing All Images from the Print List zzFollowing step 1 in "Setting Up Printing for Individual Images" (=195), choose [Clear All Selections] and press the [ ] button. zzPress the [ ][ ] buttons or turn the [ ] dial to choose [OK], and then press the [ ] button. Printing Images Added to the Print List (DPOF) Still Images Movies zzWhen images have been added to the print list (=194 - =196), this screen is displayed after you connect the camera to a PictBridge-compatible printer. Press the [ ][ ] buttons to choose [Print now], and then simply press the [ ] button to print the images in the print list. zzAny DPOF print job that you temporarily stop will be resumed from the next image. Before Use Basic Guide Advanced Guide Camera Basics Auto Mode / Hybrid Auto Mode Other Shooting Modes P Mode Tv, Av, M, and C Mode Playback Mode Wireless Features Setting Menu Accessories Appendix Index 196
-
 1
1 -
2
-
3
-
4
-
5
-
6
-
7
-
8
-
9
-
10
-
11
-
12
-
13
-
14
-
15
-
16
-
17
-
18
-
19
-
20
-
21
-
22
-
23
-
24
-
25
-
26
-
27
-
28
-
29
-
30
-
31
-
32
-
33
-
34
-
35
-
36
-
37
-
38
-
39
-
40
-
41
-
42
-
43
-
44
-
45
-
46
-
47
-
48
-
49
-
50
-
51
-
52
-
53
-
54
-
55
-
56
-
57
-
58
-
59
-
60
-
61
-
62
-
63
-
64
-
65
-
66
-
67
-
68
-
69
-
70
-
71
-
72
-
73
-
74
-
75
-
76
-
77
-
78
-
79
-
80
-
81
-
82
-
83
-
84
-
85
-
86
-
87
-
88
-
89
-
90
-
91
-
92
-
93
-
94
-
95
-
96
-
97
-
98
-
99
-
100
-
101
-
102
-
103
-
104
-
105
-
106
-
107
-
108
-
109
-
110
-
111
-
112
-
113
-
114
-
115
-
116
-
117
-
118
-
119
-
120
-
121
-
122
-
123
-
124
-
125
-
126
-
127
-
128
-
129
-
130
-
131
-
132
-
133
-
134
-
135
-
136
-
137
-
138
-
139
-
140
-
141
-
142
-
143
-
144
-
145
-
146
-
147
-
148
-
149
-
150
-
151
-
152
-
153
-
154
-
155
-
156
-
157
-
158
-
159
-
160
-
161
-
162
-
163
-
164
-
165
-
166
-
167
-
168
-
169
-
170
-
171
-
172
-
173
-
174
-
175
-
176
-
177
-
178
-
179
-
180
-
181
-
182
-
183
-
184
-
185
-
186
-
187
-
188
-
189
-
190
-
 191
191 -
 192
192 -
 193
193 -
 194
194 -
 195
195 -
 196
196 -
 197
197 -
 198
198 -
 199
199 -
 200
200 -
 201
201 -
202
-
203
-
204
-
205
-
206
-
207
-
208
-
209
-
210
-
211
-
212
-
213
-
214
-
215
-
216
-
217
-
218
-
219
-
220
-
221
-
222
-
223
-
224
-
225
-
226
-
227
-
228
-
229
-
230
-
231
 |
 |