IBM 4846-545 Service Guide - Page 97
drawer
 |
View all IBM 4846-545 manuals
Add to My Manuals
Save this manual to your list of manuals |
Page 97 highlights
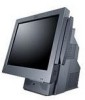
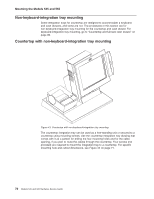
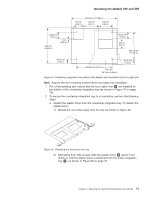
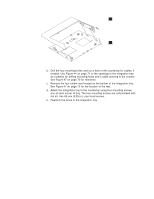
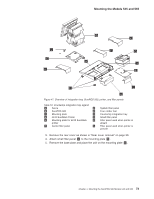
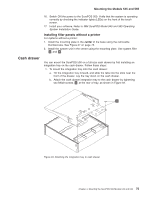
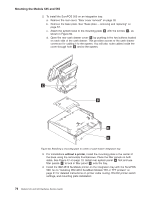
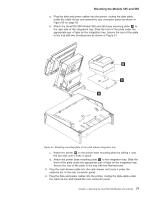
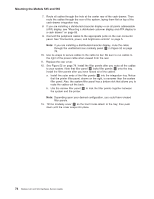
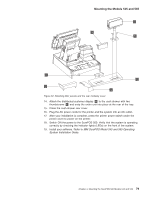
Mounting the Models 545 and 565 16. Switch ON the power to the SurePOS 500. Verify that the system is operating correctly by checking the indicator lights (LEDs) on the front of the touch screen. 17. Install your software. Refer to IBM SurePOS Model 545 and 565 Operating System Installation Guide. Installing filler panels without a printer For systems without a printer: 1. Install the mounting plate in the center of the base using the removable thumbscrews. See Figure 47 on page 73. 2. Install the system unit in the center using the mounting plate. Use system filler G and K . Cash drawer You can mount the SurePOS 500 on a full-size cash drawer by first installing an integration tray on the cash drawer. Follow these steps: 1. To mount the integration tray onto the cash drawer: a. Tilt the integration tray forward, and slide the tabs into the slots near the front of the drawer. Lay the tray down on the cash drawer. b. Attach the cash drawer integration tray to the cash drawer by tightening two M6x8 screws A at the rear of tray, as shown in Figure 49. A Figure 49. Attaching the integration tray to cash drawer Chapter 4. Mounting the SurePOS 500 Models 545 and 565 75
-
 1
1 -
2
-
3
-
4
-
5
-
6
-
7
-
8
-
9
-
10
-
11
-
12
-
13
-
14
-
15
-
16
-
17
-
18
-
19
-
20
-
21
-
22
-
23
-
24
-
25
-
26
-
27
-
28
-
29
-
30
-
31
-
32
-
33
-
34
-
35
-
36
-
37
-
38
-
39
-
40
-
41
-
42
-
43
-
44
-
45
-
46
-
47
-
48
-
49
-
50
-
51
-
52
-
53
-
54
-
55
-
56
-
57
-
58
-
59
-
60
-
61
-
62
-
63
-
64
-
65
-
66
-
67
-
68
-
69
-
70
-
71
-
72
-
73
-
74
-
75
-
76
-
77
-
78
-
79
-
80
-
81
-
82
-
83
-
84
-
85
-
86
-
87
-
88
-
89
-
90
-
91
-
 92
92 -
 93
93 -
 94
94 -
 95
95 -
 96
96 -
 97
97 -
 98
98 -
 99
99 -
 100
100 -
 101
101 -
 102
102 -
103
-
104
-
105
-
106
-
107
-
108
-
109
-
110
-
111
-
112
-
113
-
114
-
115
-
116
-
117
-
118
-
119
-
120
-
121
-
122
-
123
-
124
-
125
-
126
-
127
-
128
-
129
-
130
-
131
-
132
-
133
-
134
-
135
-
136
-
137
-
138
-
139
-
140
-
141
-
142
-
143
-
144
-
145
-
146
-
147
-
148
-
149
-
150
-
151
-
152
-
153
-
154
-
155
-
156
-
157
-
158
-
159
-
160
-
161
-
162
-
163
-
164
-
165
-
166
-
167
-
168
-
169
-
170
-
171
-
172
-
173
-
174
-
175
-
176
-
177
-
178
-
179
-
180
-
181
-
182
-
183
-
184
-
185
-
186
-
187
-
188
-
189
-
190
-
191
-
192
-
193
-
194
-
195
-
196
 |
 |
