Canon MultiPASS C635 User Manual - Page 113
Selecting or Cropping an Area to Scan, Zooming In On a Selected Area, Command+A
 |
View all Canon MultiPASS C635 manuals
Add to My Manuals
Save this manual to your list of manuals |
Page 113 highlights
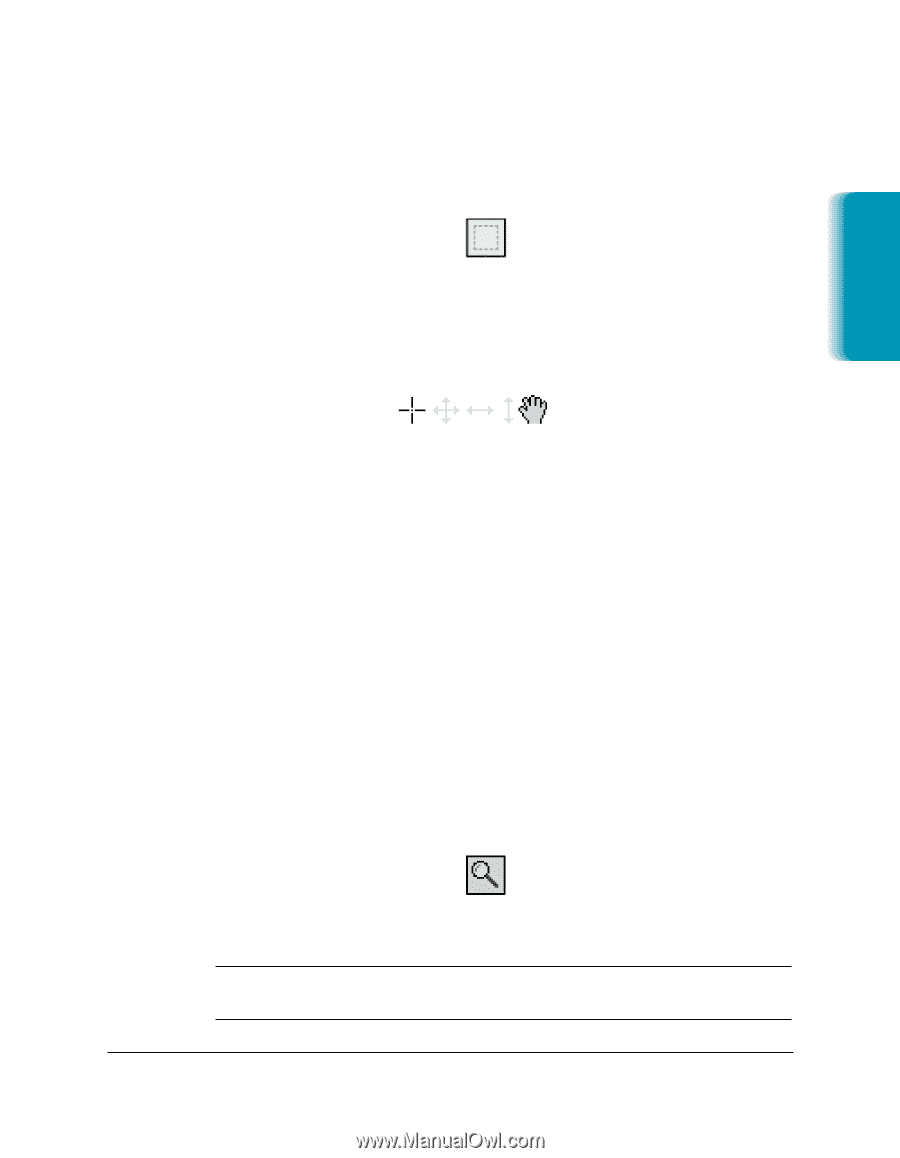
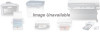
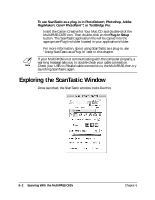
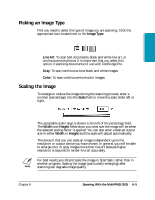
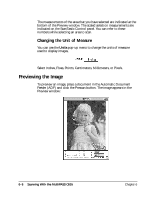
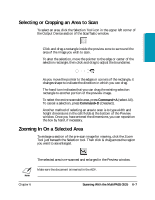
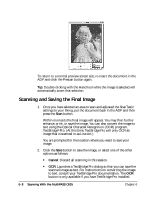
Scanning Selecting or Cropping an Area to Scan To select an area, click the Selection Tool icon in the upper left corner of the Output Device section of the ScanTastic window. ❍ Click and drag a rectangle inside the preview zone to surround the area of the image you wish to scan. To alter the selection, move the pointer to the edge or center of the selection rectangle, then click and drag to adjust the boundaries. As you move the pointer to the edges or corners of the rectangle, it changes shape to indicate the direction in which you can drag. The hand icon indicates that you can drag the existing selection rectangle to another portion of the preview image. ❍ To select the entire scannable area, press Command+A (select All). To cancel a selection, press Command+D (Deselect). ❍ Another method of selecting an area to scan is to type width and height dimensions in the edit fields at the bottom of the Preview window. Once you have entered the dimensions, you can reposition the box by hand, if necessary. Zooming In On a Selected Area To enlarge a section of the pre-scan image for viewing, click the Zoom Tool just beneath the Selection tool. Then click & drag across the region you want to see enlarged. The selected area is re-scanned and enlarged in the Preview window. N Make sure the document is inserted in the ADF. Chapter 6 Scanning With the MultiPASS C635 6-7
-
 1
1 -
2
-
3
-
4
-
5
-
6
-
7
-
8
-
9
-
10
-
11
-
12
-
13
-
14
-
15
-
16
-
17
-
18
-
19
-
20
-
21
-
22
-
23
-
24
-
25
-
26
-
27
-
28
-
29
-
30
-
31
-
32
-
33
-
34
-
35
-
36
-
37
-
38
-
39
-
40
-
41
-
42
-
43
-
44
-
45
-
46
-
47
-
48
-
49
-
50
-
51
-
52
-
53
-
54
-
55
-
56
-
57
-
58
-
59
-
60
-
61
-
62
-
63
-
64
-
65
-
66
-
67
-
68
-
69
-
70
-
71
-
72
-
73
-
74
-
75
-
76
-
77
-
78
-
79
-
80
-
81
-
82
-
83
-
84
-
85
-
86
-
87
-
88
-
89
-
90
-
91
-
92
-
93
-
94
-
95
-
96
-
97
-
98
-
99
-
100
-
101
-
102
-
103
-
104
-
105
-
106
-
107
-
 108
108 -
 109
109 -
 110
110 -
 111
111 -
 112
112 -
 113
113 -
 114
114 -
 115
115 -
 116
116 -
 117
117 -
 118
118 -
119
-
120
-
121
-
122
-
123
-
124
-
125
-
126
-
127
-
128
-
129
-
130
-
131
-
132
-
133
-
134
-
135
-
136
-
137
-
138
-
139
-
140
-
141
-
142
-
143
-
144
-
145
-
146
-
147
-
148
-
149
-
150
-
151
-
152
-
153
-
154
-
155
-
156
-
157
-
158
-
159
-
160
-
161
-
162
-
163
-
164
-
165
-
166
-
167
-
168
-
169
-
170
-
171
-
172
-
173
-
174
-
175
-
176
-
177
-
178
-
179
-
180
-
181
-
182
-
183
-
184
-
185
-
186
-
187
-
188
-
189
-
190
-
191
-
192
-
193
-
194
-
195
-
196
-
197
-
198
-
199
-
200
-
201
-
202
-
203
-
204
-
205
-
206
-
207
-
208
-
209
-
210
-
211
-
212
-
213
-
214
-
215
-
216
 |
 |