Dell PowerEdge R905 Hardware Owner's Manual (PDF) - Page 103
Installing an Optical Drive - drive trays 2 5
 |
View all Dell PowerEdge R905 manuals
Add to My Manuals
Save this manual to your list of manuals |
Page 103 highlights
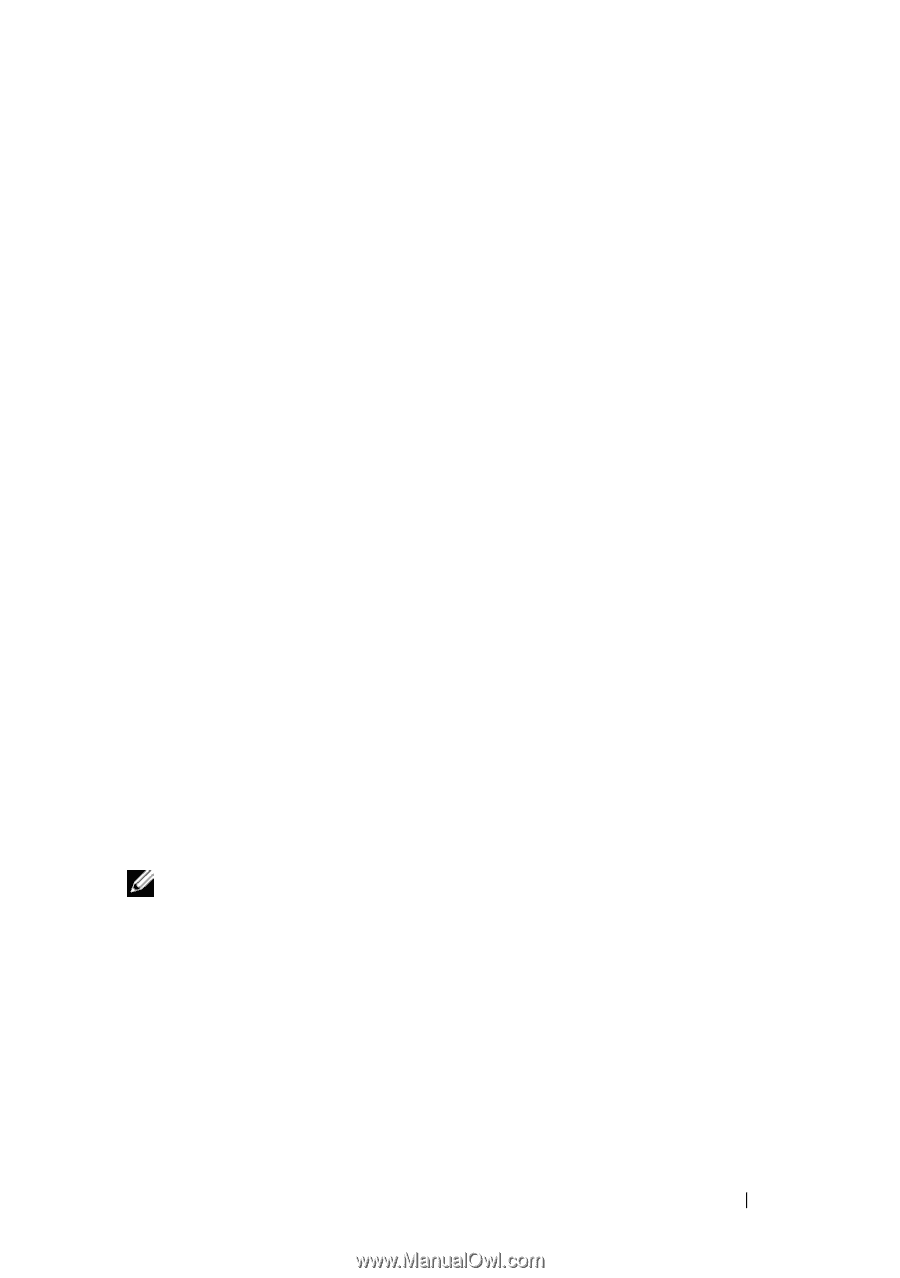
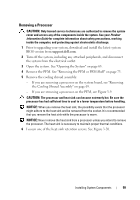
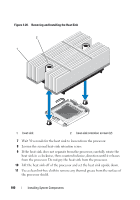
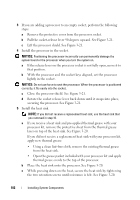
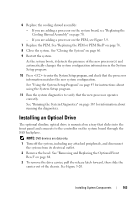
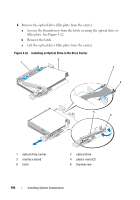
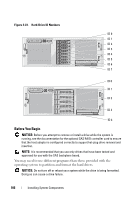
6 Replace the cooling shroud assembly: - If you are adding a processor on the system board, see "Replacing the Cooling Shroud Assembly" on page 70. - If you are adding a processor on the PEM, see Figure 3-9. 7 Replace the PEM. See "Replacing the PEM or PEM Shell" on page 76. 8 Close the system. See "Closing the System" on page 66. 9 Restart the system. As the system boots, it detects the presence of the new processor(s) and automatically changes the system configuration information in the System Setup program. 10 Press to enter the System Setup program, and check that the processor information matches the new system configuration. See "Using the System Setup Program" on page 43 for instructions about using the System Setup program. 11 Run the system diagnostics to verify that the new processor operates correctly. See "Running the System Diagnostics" on page 167 for information about running the diagnostics. Installing an Optical Drive The optional slimline optical drive is mounted on a tray that slides into the front panel and connects to the controller on the system board through the SAS backplane. NOTE: DVD devices are data only. 1 Turn off the system, including any attached peripherals, and disconnect the system from its electrical outlet. 2 Remove the bezel. See "Removing and Replacing the Optional Front Bezel" on page 64. 3 To remove the drive carrier, pull the release latch forward, then slide the carrier out of the chassis. See Figure 3-20. Installing System Components 103
-
 1
1 -
2
-
3
-
4
-
5
-
6
-
7
-
8
-
9
-
10
-
11
-
12
-
13
-
14
-
15
-
16
-
17
-
18
-
19
-
20
-
21
-
22
-
23
-
24
-
25
-
26
-
27
-
28
-
29
-
30
-
31
-
32
-
33
-
34
-
35
-
36
-
37
-
38
-
39
-
40
-
41
-
42
-
43
-
44
-
45
-
46
-
47
-
48
-
49
-
50
-
51
-
52
-
53
-
54
-
55
-
56
-
57
-
58
-
59
-
60
-
61
-
62
-
63
-
64
-
65
-
66
-
67
-
68
-
69
-
70
-
71
-
72
-
73
-
74
-
75
-
76
-
77
-
78
-
79
-
80
-
81
-
82
-
83
-
84
-
85
-
86
-
87
-
88
-
89
-
90
-
91
-
92
-
93
-
94
-
95
-
96
-
97
-
 98
98 -
 99
99 -
 100
100 -
 101
101 -
 102
102 -
 103
103 -
 104
104 -
 105
105 -
 106
106 -
 107
107 -
 108
108 -
109
-
110
-
111
-
112
-
113
-
114
-
115
-
116
-
117
-
118
-
119
-
120
-
121
-
122
-
123
-
124
-
125
-
126
-
127
-
128
-
129
-
130
-
131
-
132
-
133
-
134
-
135
-
136
-
137
-
138
-
139
-
140
-
141
-
142
-
143
-
144
-
145
-
146
-
147
-
148
-
149
-
150
-
151
-
152
-
153
-
154
-
155
-
156
-
157
-
158
-
159
-
160
-
161
-
162
-
163
-
164
-
165
-
166
-
167
-
168
-
169
-
170
-
171
-
172
-
173
-
174
-
175
-
176
-
177
-
178
-
179
-
180
-
181
-
182
-
183
-
184
-
185
-
186
-
187
-
188
-
189
-
190
-
191
-
192
-
193
-
194
-
195
-
196
-
197
-
198
 |
 |